Introduction
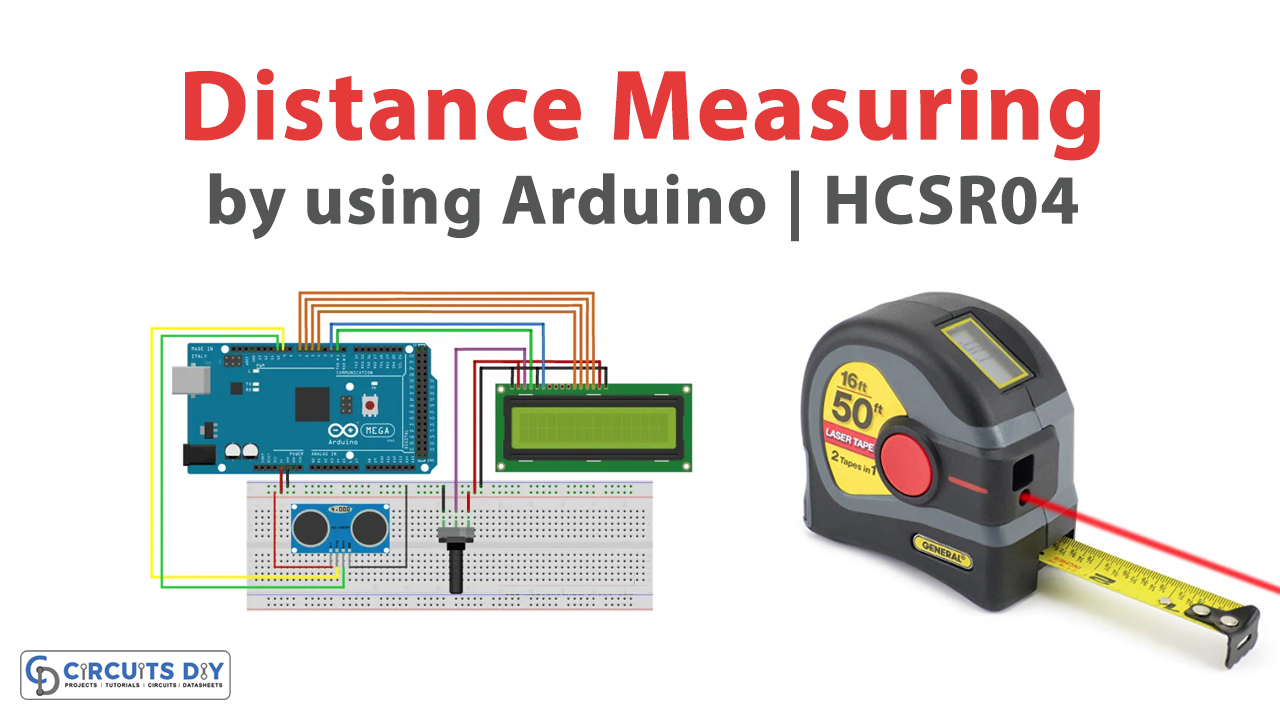
Measuring distance using an ultrasonic sensor with an Arduino UNO microcontroller is an increasingly popular method of distance sensing in a wide range of applications, from robotics and automation to security and automotive systems. This technique involves using an ultrasonic sensor to emit a sound wave and then measuring the time it takes for that sound wave to bounce off an object and return to the sensor. The distance can then be calculated by analyzing the time of flight of the sound wave.
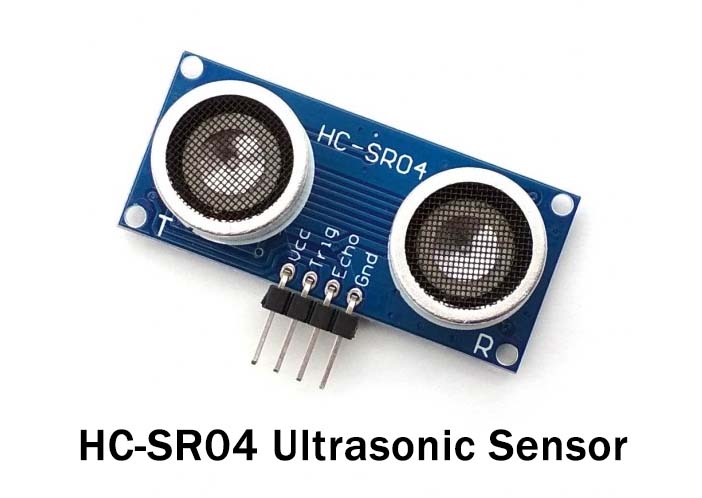
The HC-SR04 ultrasonic sensor is a commonly used distance-measuring device that works by emitting high-frequency sound waves and measuring the time it takes for those waves to bounce off an object and return to the sensor. This sensor consists of four pins: VCC, GND, Trig, and Echo. The VCC and GND pins provide power to the sensor, which can operate on a range of voltages from 5V to 20V. The Trig pin is used to trigger the ultrasonic pulse, and the Echo pin is used to detect the echo of the pulse. When the Trig pin is set high, the sensor emits a 40 kHz sound wave and starts a timer. The Echo pin then goes high when the sound wave is reflected back to the sensor, indicating the distance to the object.
Hardware Components
You will require the following hardware for distance-measuring with Arduino.
| Components | Value | Qty |
|---|---|---|
| Arduino UNO | – | 1 |
| USB Cable Type A to B | – | 1 |
| LCD | 16X2 | 1 |
| DC Power for Arduino | – | 1 |
| Ultrasonic Sensor | HCSR04 | 1 |
| Jumper Wires | – | 1 |
Arduino Distance Sensor Code
- Include the LiquidCrystal library:
#include <LiquidCrystal.h>
- Create an instance of the LiquidCrystal library with the pins connected to the LCD:
LiquidCrystal lcd(12, 11, 5, 4, 3, 2);
- Define the pins for the ultrasonic sensor:
const int trigPin = 8;
const int echoPin = 13;
- Initialize the LCD in the setup function:
void setup() {
  lcd.begin(16, 2);
}
- Use the pulseIn() function to measure the duration of the sound wave:
duration = pulseIn(echoPin, HIGH);
- Convert the duration to distance measurements in inches and meters using the following functions:
long int microsecondsToInches(long microseconds) {
  return microseconds / 74 / 2;
}

long int microsecondsToMeters(long microseconds) {
  return microseconds / 2900 / 2;
}
- Display the distance measurements on the LCD display:
lcd.clear();
lcd.setCursor(0,0);
lcd.print(inches);
lcd.setCursor(5,0);
lcd.print("Inches");
lcd.setCursor(0,1);
lcd.print(meter);
lcd.setCursor(5,1);
lcd.print("Meter");
delay(1000);
- Repeat the above steps in the loop function to continuously measure and display the distance on the LCD display:
void loop() {
  // Measure distance and display on LCD
}
Schematic
Make connections according to the circuit diagram given below.

Installing Arduino IDE
First, you need to install Arduino IDE Software from its official website Arduino. Here is a simple step-by-step guide on “How to install Arduino IDE“.
Installing Libraries
Before you start uploading a code, download and unzip the following libraries at /Progam Files(x86)/Arduino/Libraries (default), in order to use the sensor with the Arduino board. Here is a simple step-by-step guide on “How to Add Libraries in Arduino IDE“.
Code
Now copy the following code and upload it to Arduino IDE Software.
#include <LiquidCrystal.h> // includes the LiquidCrystal Library
LiquidCrystal lcd(1, 2, 4, 5, 6, 7); // Creates an LCD object. Parameters: (rs, enable, d4, d5, d6, d7)
const int trigPin = 9;
const int echoPin = 10;
long duration;
int distanceCm, distanceInch;
void setup() {
  lcd.begin(16, 2); // Initializes the interface to the LCD screen, and specifies the dimensions (width and height) of the display
  pinMode(trigPin, OUTPUT);
  pinMode(echoPin, INPUT);
}
void loop() {
  digitalWrite(trigPin, LOW);
  delayMicroseconds(2);
  digitalWrite(trigPin, HIGH);
  delayMicroseconds(10);
  digitalWrite(trigPin, LOW);
  duration = pulseIn(echoPin, HIGH);
  distanceCm = duration * 0.034 / 2;
  distanceInch = duration * 0.0133 / 2;
  lcd.setCursor(0, 0); // Sets the location at which subsequent text written to the LCD will be displayed
  lcd.print("Distance: "); // Prints string "Distance" on the LCD
  lcd.print(distanceCm); // Prints the distance value from the sensor
  lcd.print(" cm");
  delay(10);
  lcd.setCursor(0, 1);
  lcd.print("Distance: ");
  lcd.print(distanceInch);
  lcd.print(" inch");
  delay(10);
}
Working Explanation
This code uses an ultrasonic sensor to measure distance and displays the result in both inches and meters on an LCD screen. The distance is calculated by measuring the time it takes for an ultrasonic pulse to bounce off an object and return to the sensor.
The LiquidCrystal.h library is used to interface with the LCD display, and a LiquidCrystal object is initialized to communicate with it. The trigPin and echoPin are defined as constants and set to their respective pins on the Arduino board. In the setup() function, the LCD display is initialized using the begin() function.
In the loop() function, the duration of the ultrasonic pulse is measured using the pulseIn() function. The duration is then converted to distance in both inches and meters using the microsecondsToInches() and microsecondsToMeters() functions. The LCD display is cleared and the distance in inches is printed to the first line, followed by the string “Inches” at position (5,0). The distance in meters is then printed to the second line, followed by the string “Meter” at position (5,1).
Applications
- Robotics
- Automation
- Automotive systems
- Security systems
- Healthcare
- Environmental monitoring
Conclusion
We hope you have found this distance-measuring Circuit very useful. If you feel any difficulty in making it feel free to ask anything in the comment section.