Introduction
Today, whether for businesses or individuals, security is the top priority on all other levels. All modern technology can now be controlled with a single human finger, including mobile phones to home automation systems. Thus, those systems employ fingerprint scanners for that purpose. So, it’s crucial to discuss how the sensor interfaces with those systems to perform well. And, that’s why in this tutorial, we are going to “Interface GT511C3 Fingerprint Scanner Module with Arduino”
Overview of GT511C3
BaAccessontrol, identification, and security are all benefits of this module. However, This fingerprint sensor, s distinct from the capacitive and Ultrasonic Fingerprint sensor modules. This sensor module can save up to 200 fingerprint scans, and it gives each fingerprint an ID between 0 and 199.
Hardware Overview
The GT-511C3 fingerprint scanner is a compact integrated module made up of an optical sensor installed on a circuit board. The optical sensor scans a fingerprint, and the microprocessor and software enable the module to process the scanned fingerprint automatically.
To collect clear images of the fingerprints, the sensor includes an external camera and blue LEDs. It contains ports for communication as well (The module has two different communication options: serial communication through UART and USB protocol). To collect clear images of the fingerprints, the sensor includes an external camera and blue LEDs. It also contains communication ports. The module may interact in two ways: serially through UART or via USB protocol. For storing and processing fingerprints, an ARM Cortex IC with an EEPROM is used. Furthermore, an LED is available for power indication. When the module is turned on, the LED turns green.
Pin Configuration

| Pin Name | Description |
| VCC | This pin powers the Module and typically needs 5V |
| GND | Ground Pin to connect with the system’s ground |
| TX | UART Transmitter Pin |
| RX | UART Receiver Pin |
Hardware Required
| S.no | Components | Value | Qty |
|---|---|---|---|
| 1 | Arduino UNO | – | 1 |
| 2 | USB Cable Type A to B | – | 1 |
| 3 | Fingerprint Scanner | GT511C3 | 1 |
| 4 | Jumper Wires | – | – |
| 5 | Bread Board | – | 1 |
| 6 | Potentiometer | – | 1 |
| 7 | Push Button | – | 1 |
| 8 | LCD Display | – | 1 |
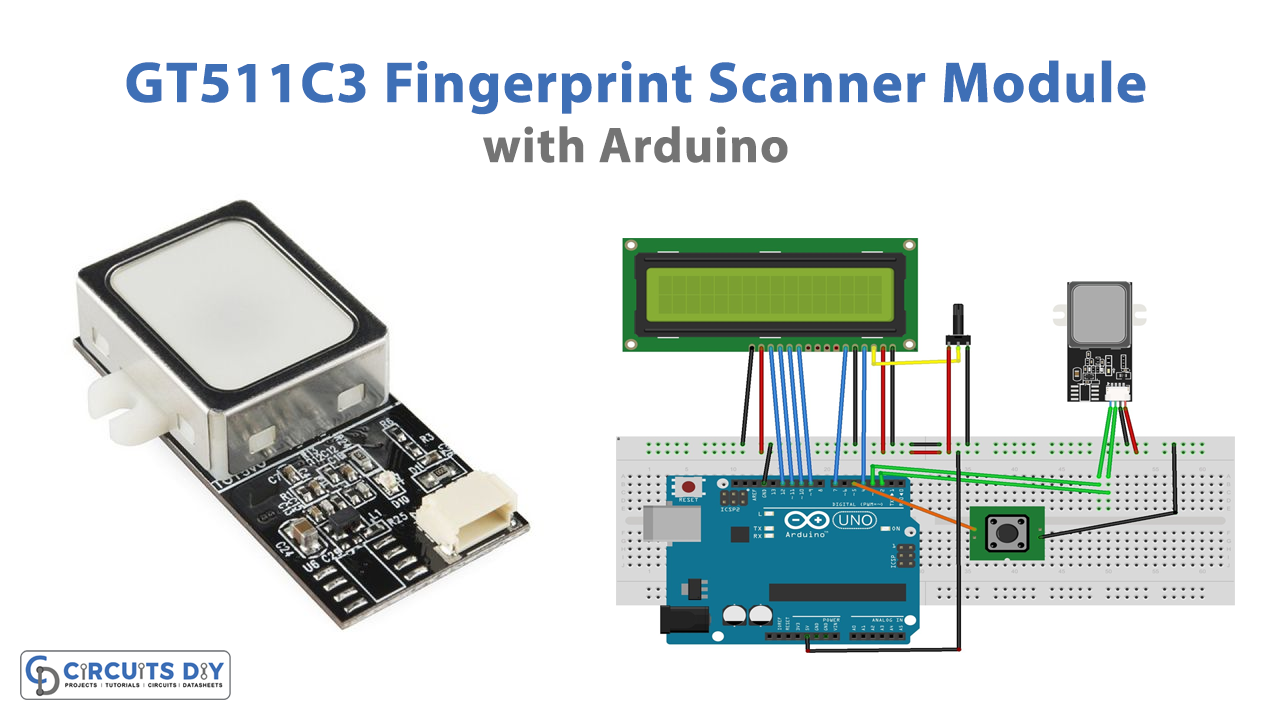
Circuit Diagram

Connection Table
| 16X2 LCD | Arduino | GT511C3 Fingerprint |
|---|---|---|
| D4 – D7 | 9, 10, 11, 12 | |
| E | 7 | |
| RS | 4 | |
| VEE | POT (Middle Leg) | |
| VSS | Ground | |
| VDD | +5V | |
| D+ | +5V | Vcc |
| D- | Ground | GND |
| 2 | TX | |
| 3 | RX |
Arduino Code
#include "FPS_GT511C3.h" //Get library from https://github.com/sparkfun/Fingerprint_Scanner-TTL
#include "SoftwareSerial.h" //Software serial library
#include <LiquidCrystal.h> //Library for LCD

FPS_GT511C3 fps(3, 2); //FPS connected to D4 and D5

const int rs = 12, en = 11, d4 = 5, d5 = 4, d6 = 3, d7 = 2;
LiquidCrystal lcd(rs, en, d4, d5, d6, d7);//Initialize LCD method

void setup()
{
  Serial.begin(9600);
  lcd.begin(16, 2); //Initialise 16*2 LCD
  lcd.print("GT511C3 FPS"); //Intro Message line 1
  lcd.setCursor(0, 1);
  lcd.print("with Arduino"); //Intro Message line 2
  delay(2000);
  lcd.clear();

  fps.Open();         //send serial command to initialize fps
  fps.SetLED(true);   //turn on LED so fps can see fingerprint

  pinMode(5,INPUT_PULLUP); //Connect to internal pull up resistor as input pin
}

void loop()
{
  if (digitalRead(2)==0)//If button pressed
  {
  Enroll(); //Enroll a fingerprint
  }

// Identify fingerprint test
  if (fps.IsPressFinger())
  {
    fps.CaptureFinger(false);
    int id = fps.Identify1_N();
      lcd.clear();
      lcd.print("Welcome:");
      if (id==200) lcd.print("Unkown  "); //If not recognised
      lcd.print(id);
      delay(1000);
  }
  else
  {
    lcd.clear(); lcd.print("Hi!....."); //Display hi when ready to scan
  }

}

void Enroll() //Enrol function from library exmaple program
{
  int enrollid = 0;
  bool usedid = true;
  while (usedid == true)
  {
    usedid = fps.CheckEnrolled(enrollid);
    if (usedid==true) enrollid++;
  }
  fps.EnrollStart(enrollid);

  // enroll
  lcd.clear();
  lcd.print("Enroll #");
  lcd.print(enrollid);
  while(fps.IsPressFinger() == false) delay(100);
  bool bret = fps.CaptureFinger(true);
  int iret = 0;
  if (bret != false)
  {
    lcd.clear();
    lcd.print("Remove finger");
    fps.Enroll1();
    while(fps.IsPressFinger() == true) delay(100);
    lcd.clear(); lcd.print("Press again");
    while(fps.IsPressFinger() == false) delay(100);
    bret = fps.CaptureFinger(true);
    if (bret != false)
    {
      lcd.clear(); lcd.print("Remove finger");
      fps.Enroll2();
      while(fps.IsPressFinger() == true) delay(100);
      lcd.clear(); lcd.print("Press yet again");
      while(fps.IsPressFinger() == false) delay(100);
      bret = fps.CaptureFinger(true);
      if (bret != false)
      {
        lcd.clear(); lcd.print("Remove finger");
        iret = fps.Enroll3();
        if (iret == 0)
        {
          lcd.clear(); lcd.print("Enrolling Success");
        }
        else
        {
          lcd.clear();
          lcd.print("Enroll Failed:");
          lcd.print(iret);
        }
      }
      else lcd.print("Failed 1");
    }
    else lcd.print("Failed 2");
  }
  else lcd.print("Failed 3");
}
Working Explanation
To Interface GT511C3 Fingerprint Scanner Module with Arduino, upload the code to the Arduino. The screen reads “GT511C3 FPS with Arduino” as soon as the system starts up. The sensor is now in Scan Mode, however, there are no enrolled templates stored in the memory. Therefore, press the button to register a fingerprint. When enrollment is successful, the LCD displays the ID number 0, and the sensor has once more switched to scanning mode. When you reapply the same finger, it will detect it, compare it to the saved template, and show “Welcome:0” on the screen.
Code Explanation
- First, we installed the library in the Arduino IDE. To install the library, start the Arduino IDE. Navigate to Tools > Manage Libraries. Then we put Fingerprint scanner TTL into the search bar. The alternatives arrived as seen in the image below. We then selected Fingerprint scanner TTL and clicked the install button. After installing the library, we restarted the Arduino IDE to utilize this library in our code.

- Next, we included the relevant libraries, for interfacing with the GT511C3 module, SoftwareSerial for Serial Transmission via digital Arduino pins, and UART and LiquidCrystal for interacting with the LCD.
- The pin connections are then written in the code. As stated in the connection table, D3 and D2 are linked to the FPS UART pins, while D12, D11, D5, D4, D3, and D2 are wired to the LCD.

- Now comes the void setup. It will serve two purposes: The LCD will first show “GT511C3 FPS with Arduino.” The optic sensor’s array of blue LEDs will then be turned on to begin operating. The push button is linked to digital pin D5 through an internal pull-up resistor on the Arduino board.

- The condition button and Enroll feature are present there. We’ll verify the condition first. If the button is touched, the Enroll feature will now allow us to enroll a fresh fingerprint. The template will be given an ID number by this function, and it will be saved in the memory for further identification. The sensor is in Scan mode and waits for the finger to be pushed at the sensing zone to scan it if the button is not pressed. As soon as the sensor is pressed, 1:N identification will compare the fingerprint to the registered templates in under one second. If it is recognized, “Welcome:” and an ID number are displayed on the LCD panel; otherwise, “Welcome: Unknown” is shown.

- We are also using Enroll function that the GT511C3 library currently provides. By using three finger samples, this function enrolls the template. Two HEX instructions are used in this function: IsPressFinger to detect a finger touch and CaptureFinger to capture an image of the finger. If a touch is detected, the template is registered by being assigned an ID number.

- After pressing the push button, the sensor enters the Enroll mode and displays the message “Enroll #” along with the ID number of the template that is now enrolling.
- When you touch the optical sensor, the sensor will detect it and CaptureFinger will take a picture. After a little pause, the LCD will once more show instructions instructing the user to take three samples and save each one as a fingerprint. If the finger is registered, the identity number will appear on the screen; otherwise, a failure warning will appear. You may do the project without the LCD as well. The Serial Monitor will display each message.
Application and Uses
- For security systems
- Modern home and office automation system
- Biometric devices, etc
Related posts:
 Interfacing SHT20 Temperature and Humidity Sensor with Arduino
 DHT11 Temperature/Humidity Sensor with Arduino
 Contactless Temperature Sensor MLX90614 - Arduino
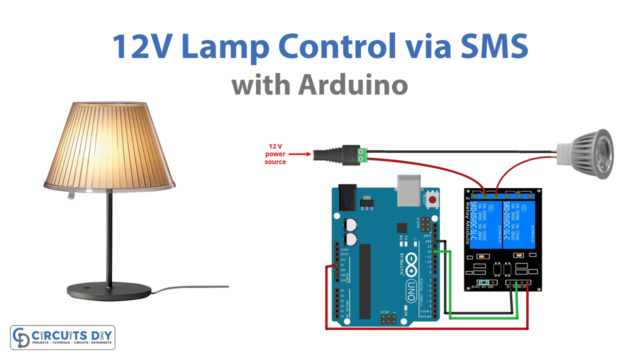 How to Control a 12V Lamp via SMS with Arduino UNO
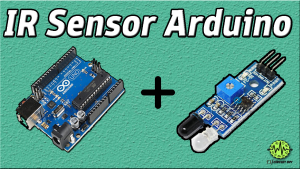 Interfacing Infrared (IR) Proximity Sensor with Arduino
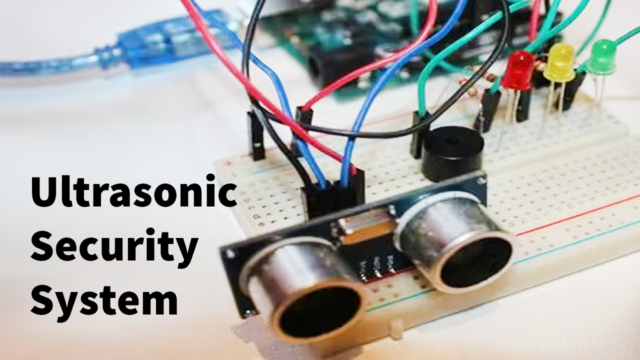 Ultrasonic Security System using HC-SR04 & Arduino