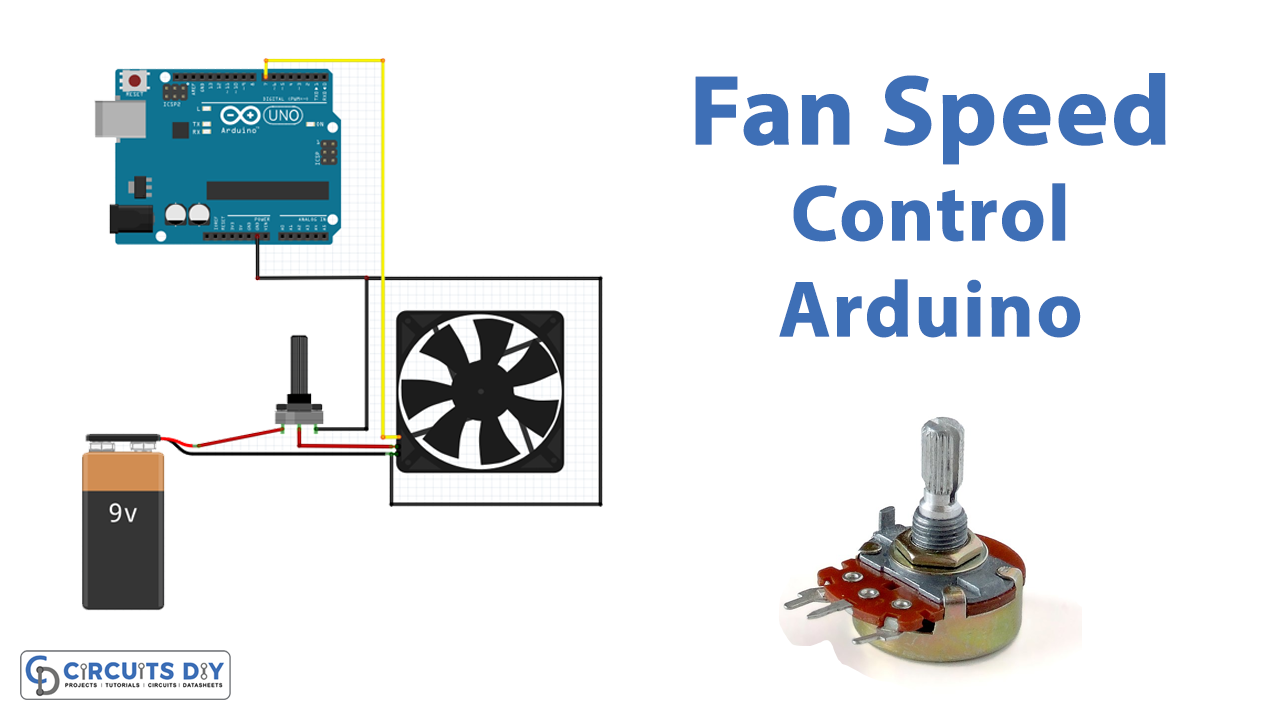
Most of the time, people leave their fans on while leaving the room as they forget to turn it off. They even set their fan to the highest speed irrespective of the weather outside. All these habits consume and waste more and more power each day. So for this, we need to make a, in which a fan can turn itself on and off automatically.
Here the speed of the fan can be varied by changing the input supply, but if we need to change the fan speed depending on temperature changes means. Then we have to implement a microcontroller (Arduino) and temperature sensor LM 35 in the system. Now the fan can change its speed according to the temperature changes inside a room. All these things will save a lot of electrical power.
Hardware Required
| S.no | Component | Value | Qty |
|---|---|---|---|
| 1. | Temperature Sensor | LM35 | 1 |
| 2. | Arduino Uno | – | 1 |
| 3. | Transistor | SL100 | 1 |
| 4. | Resistor | 1KΩ | 2 |
| 5 | LED | – | 1 |
| 6. | Capacitor | 1uF | 1 |
| 7. | Connecting Wires | – | – |
| 8. | Motor | – | 1 |
| 9. | Battery | 12V | 1 |
| 10. | Diode | 1N4001 | 1 |
Circuit Diagram
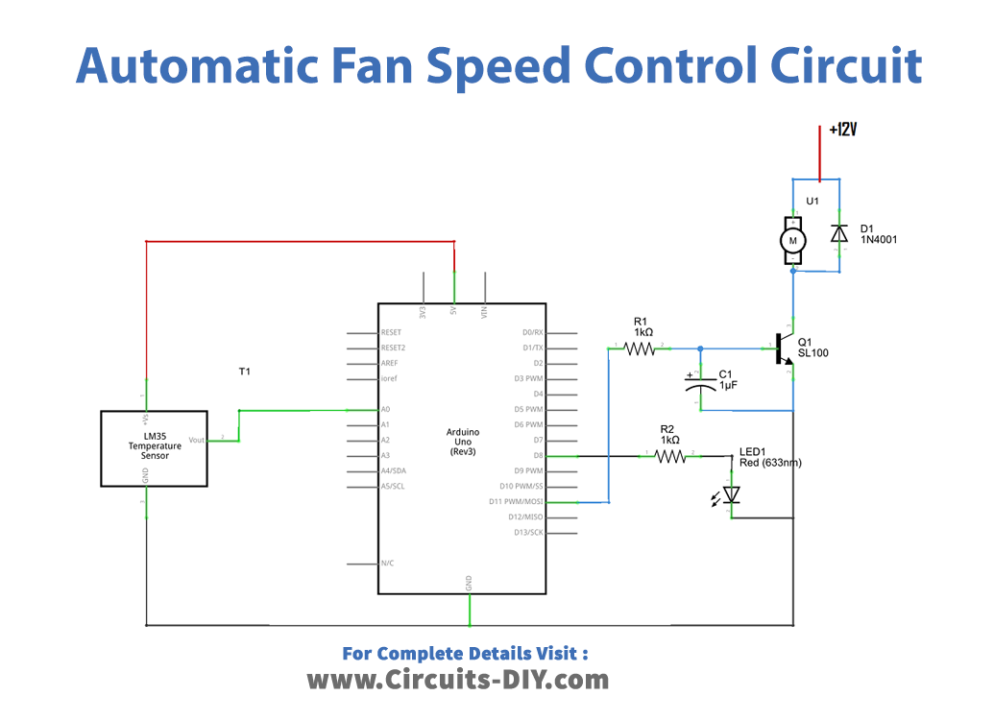
Working Explanation
As shown in the circuit diagram, the main parts of the circuit are the Arduino Uno board and the LM35 temperature sensor. Here the output from the sensor is directly connected with the analog input A0 pin of the Arduino board, and the LED1 is connected with digital pin D8. And the output is taken from the D11 pin of Arduino. Now you can choose any digital pin with a PWM function as an output pin, for this, we have to make those changes in the Arduino program code as well. Here the code given is based on the D11 pin as an output. Whenever the temperature sensor detects the changes in temperature outside the Arduino varies the PWM output at the D11 pin, hence the speed of the fan varies. Further in this circuit, the SL100 transistor acts as a switching transistor. And we need a 12V power supply to bias the circuit.
Arduino Code
#include <LiquidCrystal.h>
LiquidCrystal lcd(7,6,5,4,3,2);
int tempPin = A0;   // connect Sensor output pin
int fan = 11;       // Output drive for fan
int led = 8;        // fan status led pin
int temp;
int tempMin = 25;   // Minimum temperature to start the fan
int tempMax = 75;   // Maximum temperature to turn fan at 100% speed
int fanSpeed;
int fanLCD;

void setup() {
  pinMode(fan, OUTPUT);
  pinMode(led, OUTPUT);
  pinMode(tempPin, INPUT);
  lcd.begin(16,2);
}

void loop() {
   temp = readTemp();     // read temperature
   if(temp < tempMin) {   // if temp is lower than minimum temperature
       fanSpeed = 0;      // fan is off
       digitalWrite(fan, LOW);
   }
   if((temp >= tempMin) && (temp <= tempMax)) {  // if temperature is higher than minimum temperature
       fanSpeed = map(temp, tempMin, tempMax, 32, 255);
       fanLCD = map(temp, tempMin, tempMax, 0, 100);  // speed of fan to display on LCD
       analogWrite(fan, fanSpeed);  // spin the fan at the fanSpeed speed
   }

   if(temp > tempMax) {        // if temp is higher than tempMax
     digitalWrite(led, HIGH);  // turn on led
   } else {                    // else turn off led
     digitalWrite(led, LOW);
   }

   lcd.print("TEMP: ");
   lcd.print(temp);      // display the temperature
   lcd.print("C ");
   lcd.setCursor(0,1);
   lcd.print("FANS: ");
   lcd.print(fanLCD);    // display the fan speed
   lcd.print("%");
   delay(200);
   lcd.clear();
}

int readTemp() {  // get temperature and convert it to celsius
  temp = analogRead(tempPin);
  return temp * 0.48828125;
}
Applications
- Can be used in homes and workplaces to save energy bills.
- Also can be used wherever controlling temperature is an essential task to do.
Related posts:
 Controlling DC, Stepper & Servo with L293D Motor Driver
 Door Sensor with Relay - Arduino Tutorial
 Ultrasonic Sensor with Servo Motor - Arduino Tutorial
 Button Controlled Electromagnetic Lock - Arduino Tutorial
 How to Interface DS18B20 Temperature Sensor with Arduino UNO
 Light Sensor Triggers LED - Arduino Tutorial