Introduction
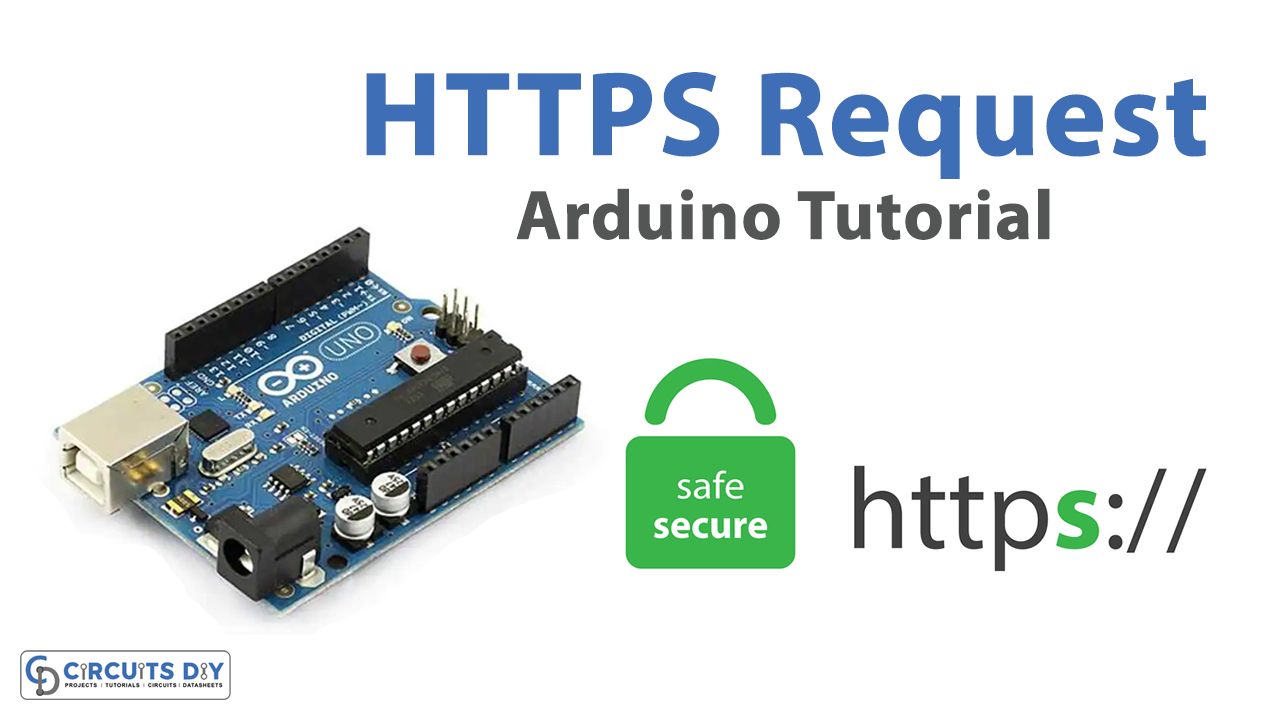
Communicating with web servers using HTTPS and posting its status on the serial monitor using an Arduino Uno microcontroller and an Arduino Ethernet Shield 2 module is a powerful way to leverage the capabilities of these two popular technologies. With this approach, it is possible to connect an Arduino to a remote server over the internet, request information using secure HTTPS protocols, and receive responses from the server. This opens up a wide range of possibilities for creating internet-connected devices that can interact with web services, collect and analyze data, and even control other devices remotely.
HTTPS stands for Hypertext Transfer Protocol Secure and is a secure version of HTTP that uses encryption to protect the privacy and security of data being transmitted over the internet. HTTPS uses a cryptographic protocol called Transport Layer Security (TLS) or its predecessor, Secure Sockets Layer (SSL), to create a secure connection between the client and server. When a web browser or other client connects to a website using HTTPS, the server sends a digital certificate that contains a public key. The client uses the public key to encrypt the data that it sends to the server, and the server uses its private key to decrypt the data. This ensures that the data remains secure during transmission.
Hardware Components
| S.no | Component | Value | Qty |
|---|---|---|---|
| 1. | Arduino | UNO | 1 |
| 2. | USB Cable Type A to B | – | 1 |
| 3. | DC Power for Arduino | – | 1 |
| 4. | Sensor | – | 1 |
| 5. | Jumper Wires | – | 1 |
Steps HTTPS Request with Arduino
- Connect the Ethernet Shield 2 module to your Arduino Uno microcontroller by plugging it into the appropriate headers on the Uno board.
- Open the Arduino IDE and create a new sketch.
- Include the necessary libraries for Ethernet and HTTPS communication by adding the following lines at the top of your sketch:
#include <SPI.h>
#include <Ethernet2.h>
#include <WiFi101.h>
#include <ArduinoHttpClient.h>
- Define the necessary constants for your Ethernet Shield 2 module by adding the following lines to your sketch:
byte mac[] = { 0xDE, 0xAD, 0xBE, 0xEF, 0xFE, 0xED };
IPAddress ip(192, 168, 1, 177);
EthernetClient client;
- Connect to your local network by initializing the Ethernet library and configuring the IP address of your Ethernet Shield 2 module by adding the following lines to your sketch:
Ethernet.begin(mac, ip);
- Set up the HTTPS connection by specifying the server URL and port number, creating an HTTP client object, and connecting to the server using the following lines:
const char* server = "yourserver.com";
int port = 443;
WiFiSSLClient wifiClient;
HttpClient http(wifiClient, server, port);
http.beginRequest();
http.get("/");
http.endRequest();
- Read the server response and print it to the serial monitor using the following lines:
while (http.available()) {
    char c = http.read();
    Serial.write(c);
}
Installing Arduino IDE
First, you need to install Arduino IDE Software from its official website Arduino. Here is a simple step-by-step guide on “How to install Arduino IDE“.
Installing Libraries
Before you start uploading a code, download and unzip the following libraries at /Progam Files(x86)/Arduino/Libraries (default), in order to use the sensor with the Arduino board. Here is a simple step-by-step guide on “How to Add Libraries in Arduino IDE“.
Now copy the following code and upload it to Arduino IDE Software.
Working Explanation
The setup() function initializes the serial communication and sets up the Ethernet connection with a specified MAC address and IP address. The loop() function creates an instance of the WiFiSSLClient class and an instance of the HttpClient class, which takes the WiFiSSLClient object, the server name, and the port number as arguments.
The http.beginRequest() method initiates the HTTP request and http.get("/") sends a GET request to the root of the server. The http.endRequest() method ends the request and http.available() checks for incoming data from the server. The while loop reads the incoming data one character at a time with http.read() and prints it to the serial monitor with Serial.write(). Finally, the delay(5000) function adds a 5-second delay between each HTTP request.
Applications
- Environmental monitoring
- Industrial automation
- Internet of Things (IoT) applications
- Remote data logging and monitoring
- Smart agriculture
- Weather monitoring and forecasting
- Energy management systems
- Medical devices and patient monitoring
Conclusion.
We hope you have found this HTTPS Request Tutorial very useful. If you feel any difficulty in making it feel free to ask anything in the comment section.