Introduction
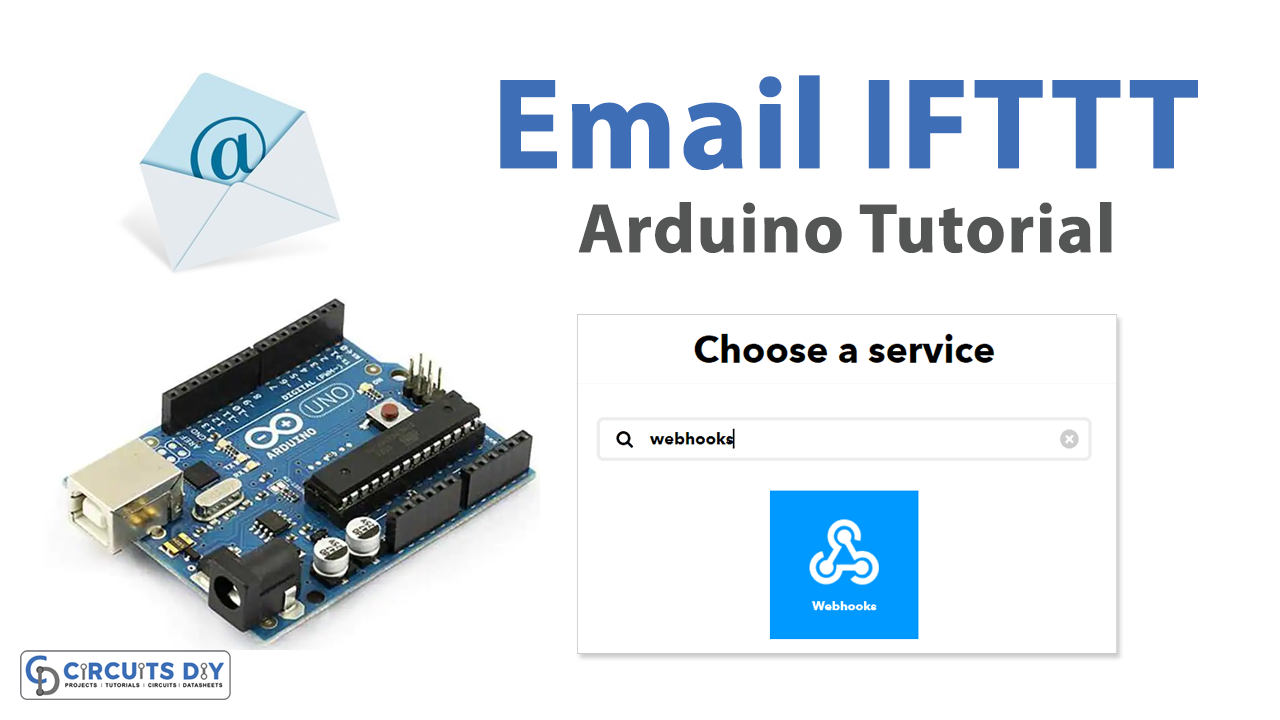
Sending an email using an Arduino Uno microcontroller with an Ethernet Shield and IFTTT Webhooks applet is an innovative way to remotely trigger an email alert by integrating hardware and software. The integration involves the use of an Arduino Uno microcontroller, an Ethernet Shield, and IFTTT Webhooks applet. This technology allows users to send email alerts remotely based on pre-defined conditions, such as the temperature exceeding a certain threshold. The system relies on the Ethernet Shield to connect to the internet and the IFTTT Webhooks applet to trigger the email alert.
IFTTT Webhooks is a service offered by the popular web automation platform IFTTT (If This Then That). It allows users to create custom webhooks, which are essentially HTTP-based APIs (Application Programming Interfaces) that can be used to trigger events or actions within other applications or services. By setting up webhooks, users can automate tasks such as sending notifications, controlling smart home devices, or updating social media profiles.
Hardware Components
You will require the following hardware for Interfacing with Arduino – Send an Email with Arduino.
| S.no | Component | Value | Qty |
|---|---|---|---|
| 1. | Arduino UNO | – | 1 |
| 2. | USB Cable Type A to B | – | 1 |
| 3. | Arduino Ethernet Shield 2 | – | 1 |
| 4. | Ethernet Cable | – | 1 |
| 5. | Power Adapter for Arduino | 9V | 1 |
Steps Interfacing Arduino – Send Email with Arduino UNO
- Include required libraries:
#include <SPI.h>
#include <Ethernet.h>
The Ethernet library is used to establish a network connection and send/receive data over the network. The SPI library is required to communicate with the Ethernet shield.
- Define MAC address and Ethernet client object:
byte mac[] = { 0xDE, 0xAD, 0xBE, 0xEF, 0xFE, 0xED };
EthernetClient client;
The MAC address is the physical address of the Ethernet shield. The EthernetClient object is used to establish a connection with the web server.
- Define HTTP port, method, host name, path name, and query string:
int HTTP_PORT = 80;
String HTTP_METHOD = "GET";
char HOST_NAME[] = "maker.ifttt.com";
String PATH_NAME = "/trigger/send-email/with/key/XXXXXXXXXXXXXXXXXXXXX";
String queryString = "?value1=27";
The HTTP_PORT is the port number that the web server is listening on. The HTTP_METHOD specifies the type of HTTP request, which in this case is a GET request. The HOST_NAME is the domain name of the web server. The PATH_NAME is the specific endpoint that the request is being sent to, in this case a Webhooks endpoint to trigger an IFTTT applet. The queryString is a string of additional data being sent to the applet.
- Setup function:
void setup() {
  Serial.begin(9600);

  if (Ethernet.begin(mac) == 0) {
    Serial.println("Failed to obtaining an IP address using DHCP");
    while (true);
  }

  if (client.connect(HOST_NAME, HTTP_PORT)) {
    Serial.println("Connected to server");

    client.println("GET " + PATH_NAME + queryString + " HTTP/1.1");
    client.println("Host: " + String(HOST_NAME));
    client.println("Connection: close");
    client.println();

    while (client.connected()) {
      if (client.available()) {
        char c = client.read();
        Serial.print(c);
      }
    }

    client.stop();
    Serial.println();
    Serial.println("disconnected");
  } else {
    Serial.println("connection failed");
  }
}
- Loop function:
void loop() {
  // do nothing
}
Schematic
Make connections according to the circuit diagram given below.

Installing Arduino IDE
First, you need to install Arduino IDE Software from its official website Arduino. Here is a simple step-by-step guide on “How to install Arduino IDE“.
Installing Libraries
Before you start uploading a code, download and unzip the following libraries at /Progam Files(x86)/Arduino/Libraries (default), in order to use the sensor with the Arduino board. Here is a simple step-by-step guide on “How to Add Libraries in Arduino IDE“.
Code
Now copy the following code and upload it to Arduino IDE Software.
#include <SPI.h>
#include <Ethernet.h>

byte mac[] = { 0xDE, 0xAD, 0xBE, 0xEF, 0xFE, 0xED };
EthernetClient client;

int HTTP_PORT = 80;
String HTTP_METHOD = "GET";
char HOST_NAME[] = "maker.ifttt.com";
String PATH_NAME = "/trigger/send-email/with/key/XXXXXXXXXXXXXXXXXXXXX";
String queryString = "?value1=27";

void setup() {
  Serial.begin(9600);

  if (Ethernet.begin(mac) == 0) {
    Serial.println("Failed to obtaining an IP address using DHCP");
    while (true);
  }

  if (client.connect(HOST_NAME, HTTP_PORT)) {
    Serial.println("Connected to server");

    client.println("GET " + PATH_NAME + queryString + " HTTP/1.1");
    client.println("Host: " + String(HOST_NAME));
    client.println("Connection: close");
    client.println();

    while (client.connected()) {
      if (client.available()) {
        char c = client.read();
        Serial.print(c);
      }
    }

    client.stop();
    Serial.println();
    Serial.println("disconnected");
  } else {
    Serial.println("connection failed");
  }
}

void loop() {
  // do nothing
}
Working Explanation
The setup() function initializes the serial communication and Ethernet shield. If the Ethernet shield fails to obtain an IP address, the program will stop. If it successfully obtains an IP address, the program will connect to the web server using the EthernetClient object. If the connection is successful, the program will send a HTTP GET request using the client.println() function. The while loop will then wait for a response from the server and print it to the serial monitor using Serial.print(). Once the server has sent all its response data, the client.stop() function is called to close the connection. If the connection fails, the program will print a message indicating that the connection failed.
The loop() function is empty and does nothing. This is because the program only needs to run once to send the HTTP GET request and receive a response. Once the response has been received and printed to the serial monitor, the program will stop.
Applications
- Home automation
- Remote monitoring
- Security systems
- Industrial applications
Conclusion.
We hope you have found this Arduino – Send Email Circuit very useful. If you feel any difficulty in making it feel free to ask anything in the comment section.
Related posts:
 Interfacing UVM30A UV Sensor Module with Arduino
 Interfacing SHT20 Temperature and Humidity Sensor with Arduino
 How to Control a 12V Lamp via SMS with Arduino UNO
 Getting Started with MPU-6050 IMU (6 DOF) Motion Sensor
 Control Stepper Motor with DRV8825 Driver Module & Arduino
 RFID Based Security Door lock System using RYRR10S