Introduction
The term “home automation” refers to a system that automates the control of household equipment. We can now control household appliances from anywhere on the globe using a mobile device, a laptop, or the internet. All of these types of systems are growing more popular since they give versatile functionality which can be readily configured by anybody according to their needs, hence why all IoT systems are getting more popular.
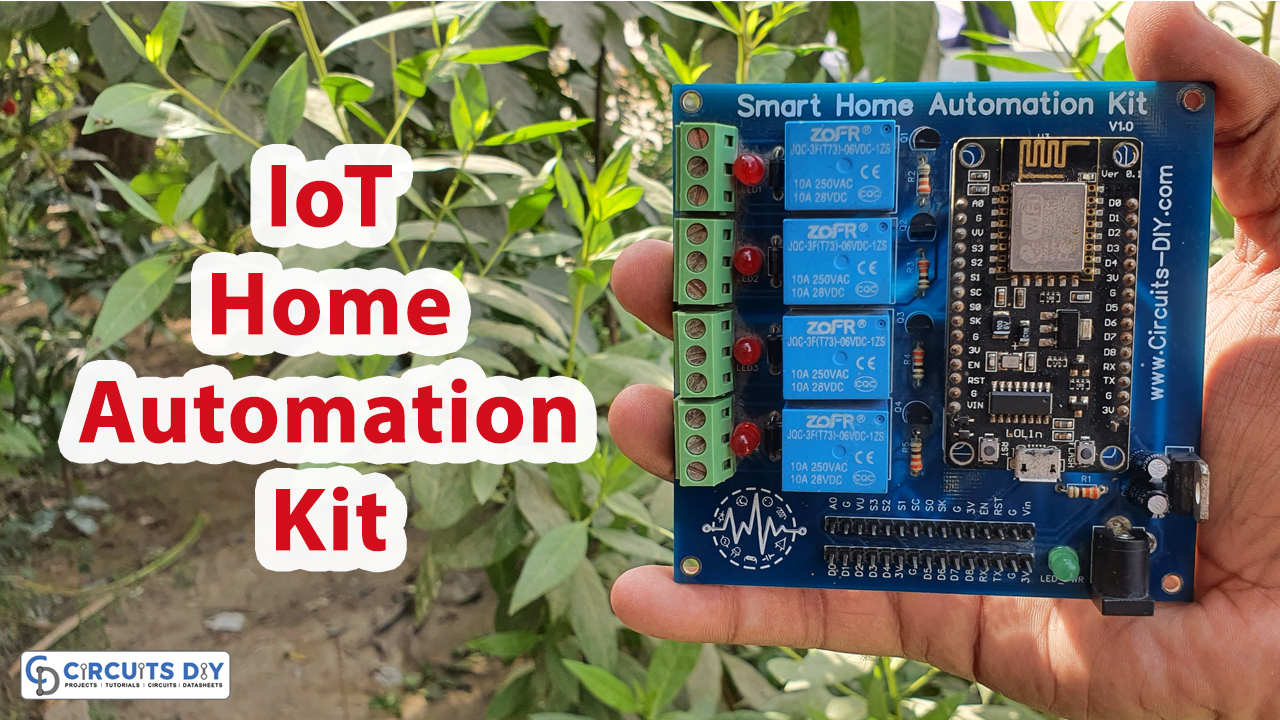
In this electronic project, we are going to make an “IoT Home Automation System” using Blynk App and NodeMCU ESP8266 Microcontroller.

JLCPCB is the foremost PCB prototype & manufacturing company in china, providing us with the best service we have ever experienced regarding (Quality, Price Service & Time).
Hardware Components
The following components are required to make Home Automation Circuit
| S.no | Component | Value | Qty |
|---|---|---|---|
| 1. | PCB For Home Automation Circuit | – | 1 |
| 2. | Relays | 5v/6v | 4 |
| 3. | Male/Female Header | – | 1 |
| 4. | Terminal block | 5mm | 4 |
| 5. | Transistor | BC547 | 4 |
| 6. | Diode | 1N4007 | 4 |
| 7. | Resistor | 330ohm | 5 |
| 8. | Electrolytic Capacitor | 1uF | 1 |
| 9. | LED | 5mm | 5 |
| 10. | Nodemcu | ESP8266 | 1 |
| 11. | Regulator IC | L7805 | 1 |
NodeMCU ESP8266 Pinout

For a detailed description of pinout, dimension features, and specifications download the datasheet of ESP8266
7805 Pinout
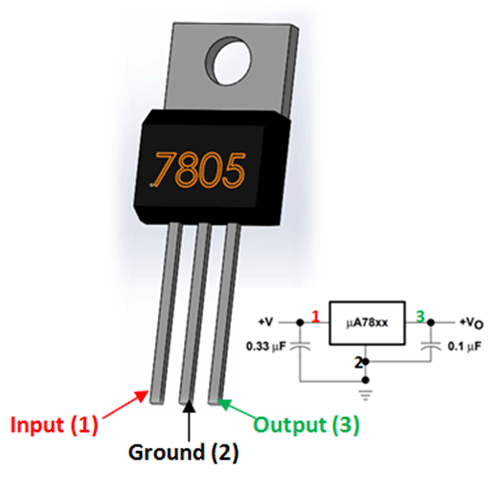
For a detailed description of pinout, dimension features, and specifications download the datasheet of 7805
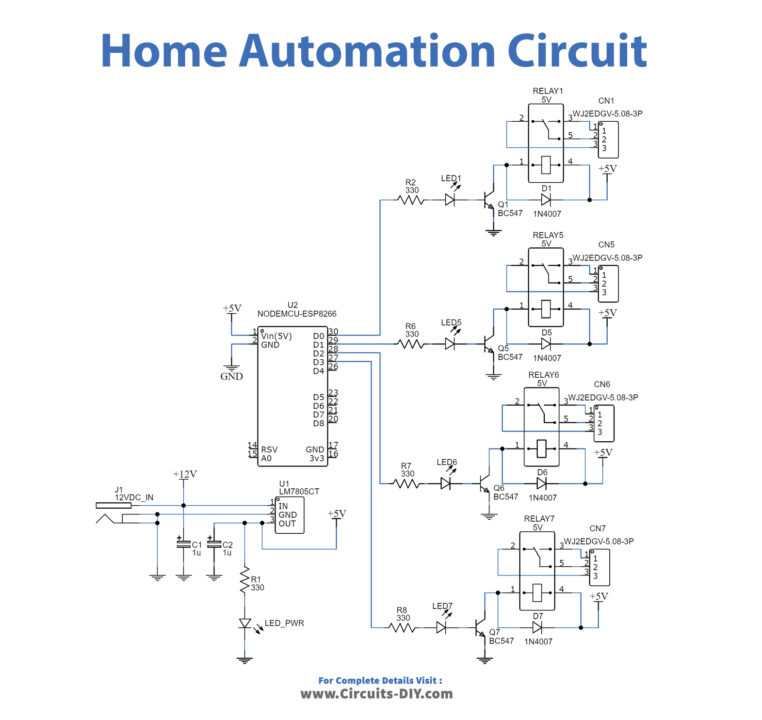
Home Automation Circuit
Library Link
https://github.com/blynkkk/blynk-library
ESP8266 Code
#define BLYNK_PRINT Serial
#include <ESP8266WiFi.h>
#include <BlynkSimpleEsp8266.h>

char auth[] = "Sz5eLNB-rcd9w43wBRMYkhI28eu4ASEY"; // Enter your Auth Token
char ssid[] = "Circuits DIY"; // Enter your WIFI name
char pass[] = "03433212601"; // Enter your WIFI password

//Get the button value
BLYNK_WRITE(V0) {
  digitalWrite(D0, param.asInt()); // Relay 1
}
BLYNK_WRITE(V1) {
  digitalWrite(D1, param.asInt()); // Relay 2
}
BLYNK_WRITE(V2) {
  digitalWrite(D2, param.asInt()); // Relay 3
}
BLYNK_WRITE(V3) {
  digitalWrite(D3, param.asInt()); // Relay 4
}

void setup() {
  //Set the Relay pins as an output
  pinMode(D0, OUTPUT); // Relay 1
  pinMode(D1, OUTPUT); // Relay 2
  pinMode(D2, OUTPUT); // Relay 3
  pinMode(D3, OUTPUT); // Relay 4
  //Initialize the Blynk library
  Blynk.begin(auth, ssid, pass, "blynk.cloud", 80);
}

void loop() {
  //Run the Blynk library
  Blynk.run();
}
Working Explanation
We are controlling four relays in this IoT Home Automation System, each of which may control four appliances. The NodeMCU ESP8266 Wifi Module will receive data from the smartphone through the internet. The ideal IoT Platform is required to encode the ON/OFF signals and deliver them to the server and the ESP8266 Board. Hence, we have picked Blynk. Also, the project needs internet access and cannot be executed without it.
Code Explanation
- First, we have written #define BLYNK_PRINT Serial. Blynk is just an Internet of Things platform that makes controlling and displaying hardware data very simple. Using the free Blynk App, you can design your own user interfaces. The Blynk cloud or a locally operating server may be accessed by any WiFi, Bluetooth/BLE, Ethernet, or Serial device. Then we need to add libraries. Further, we add BlynkSimpleEsp8266.h; a library for Blynk. Also, we have included the ESP8266WiFi.h library; It’s used to connect a Wifi connection with the strongest signal.
- Then we define the character auth, in which we write the auth token. Auth tokens function similarly to a stamped ticket. So, as the token is valid, the user has access. We then write two more character ssid and pass to define the wifi name and password.
- To get the button values, we write BLYNK_WRITE( ) functions; We take the values by using the DigitalWrite function; there we include param.asInt() as one of its parameters which produces an integer value that must be processed in order to establish a trigger for further code words.
- In the void setup, use the PinMode function to define the relay pins as output. Initialize the Blynk by Blynk.begin function.
- In the void loop, to run the Blynk, use the function Blynk.run.
Application and Uses
This automation system can run four different appliances. One can run various appliances like motor, lights, etc
Related posts:
 How to use LoRa RYLR998 Modules with Arduino
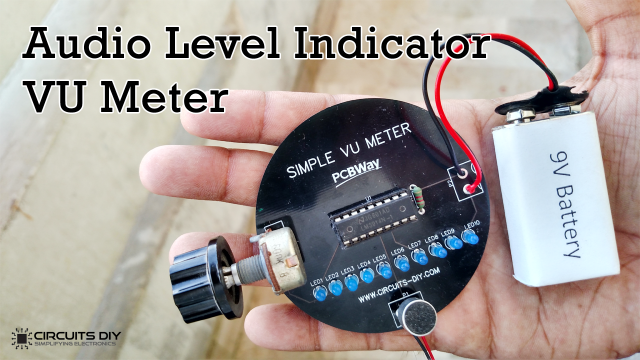 How to make Audio Level Indicator - VU meter using LM3914 IC
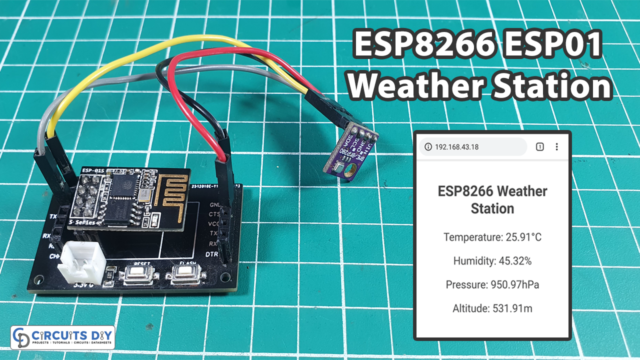 Simple ESP8266 Weather Station with BME280
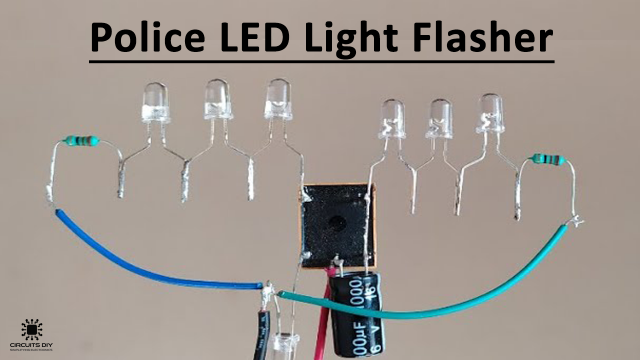 Police LED light Flasher Circuit Using 12V Relay - DIY
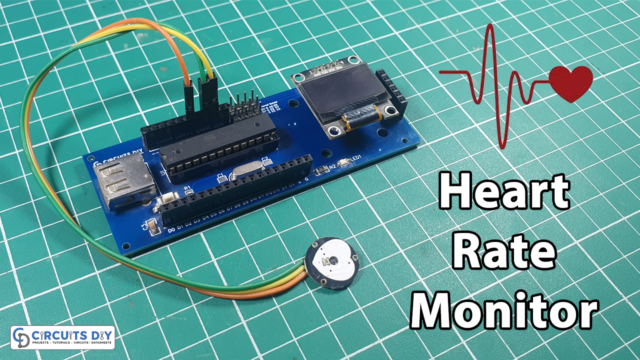 Heart Rate Pulse Sensor - BPM Meter using OLED & ESP32
 How to Make a Water Level Indicator using CD4511 & 74147 IC
I love what you guys are up too. This type of clever work and reporting!
Keep up the excellent works guys I’ve added you guys to
my personal blogroll.