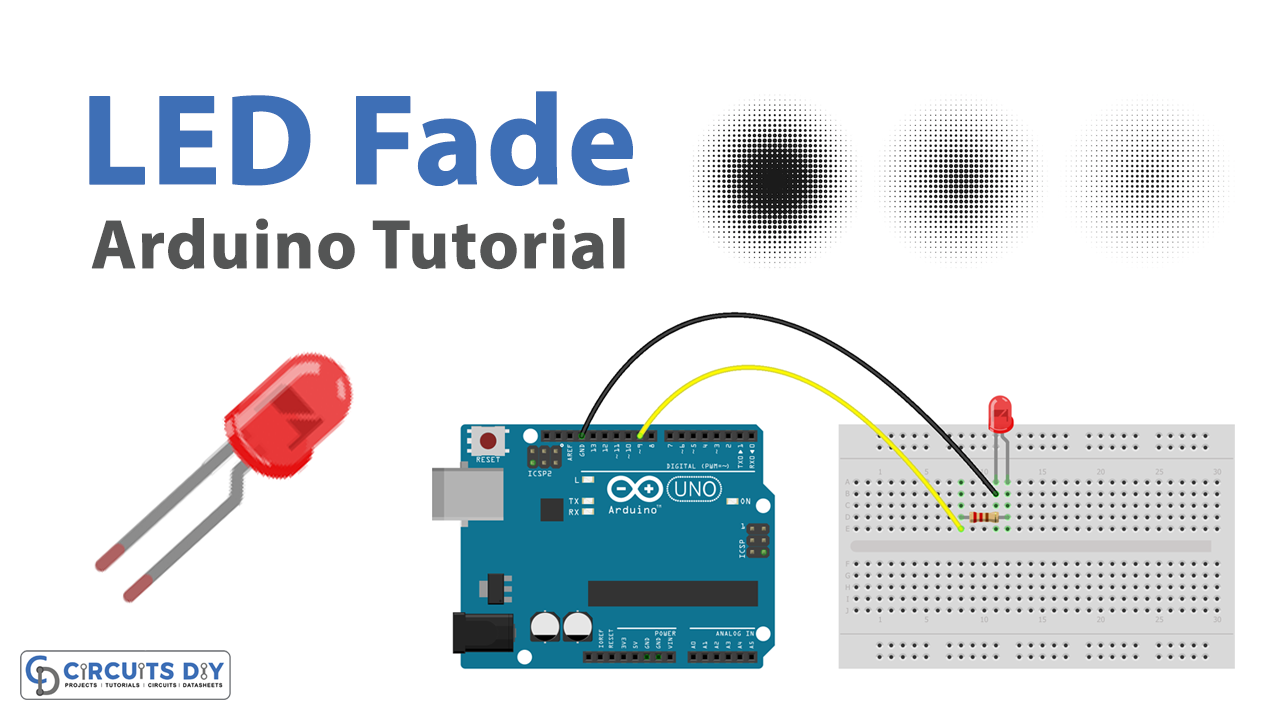
Introduction
An LED fade program using an Arduino UNO microcontroller is a program that causes an LED (light emitting diode) connected to the Arduino to gradually increase and decrease in brightness, creating a fading effect.
To create a fading effect, the program typically uses the analogWrite() function to gradually change the brightness of the LED, and the delay() function to control the speed of the fading.
Hardware Components
You will require the following hardware for LED Fade with Arduino.
| S.no | Component | Value | Qty |
|---|---|---|---|
| 1. | Arduino UNO | – | 1 |
| 2. | USB Cable Type A to B | – | 1 |
| 3. | Power Adapter for Arduino | 9V | 1 |
| 4. | LED | – | 1 |
| 5. | Resistor | 220Ω | 1 |
| 6. | Breadboard | – | 1 |
| 7. | Jumper Wires | – | 1 |
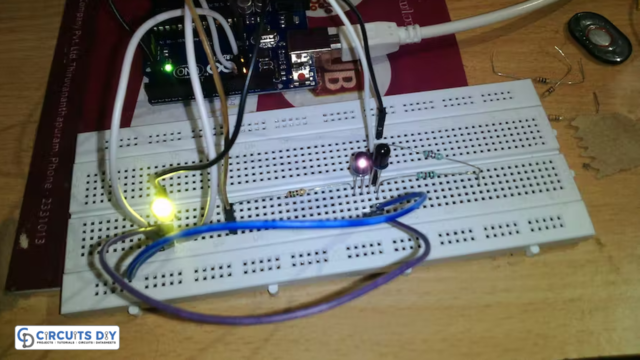
Steps LED Fade with Arduino UNO
- Connect the positive leg of the LED to a digital pin on the Arduino.
- Connect the negative leg of the LED to a resistor.
- Connect the other end of the resistor to the ground.
Next, you can open the Arduino IDE (Integrated Development Environment) on your computer and create a new sketch (program).
- In the sketch, define a variable to hold the pin number that the LED is connected to. For example:
int ledPin = 9;
- In the
setup()function, configure the LED pin as an output using thepinMode()function:
void setup() {
  pinMode(ledPin, OUTPUT);
}
- In the
loop()function, use aforloop to gradually increase the brightness of the LED by repeatedly calling theanalogWrite()function and increasing a variable. For example:
void loop() {
  for (int i = 0; i <= 255; i++) {
    analogWrite(ledPin, i);
    delay(10);
  }
}
- To make the LED fade on and off, you can add a second
forloop to gradually decrease the brightness of the LED after the first loop has finished. For example:
void loop() {
  for (int i = 0; i <= 255; i++) {
    analogWrite(ledPin, i);
    delay(10);
  }
  for (int i = 255; i >= 0; i--) {
    analogWrite(ledPin, i);
    delay(10);
  }
}
- Upload the sketch to the Arduino board by clicking the “Upload” button in the Arduino IDE.
Schematic
Make connections according to the circuit diagram given below.
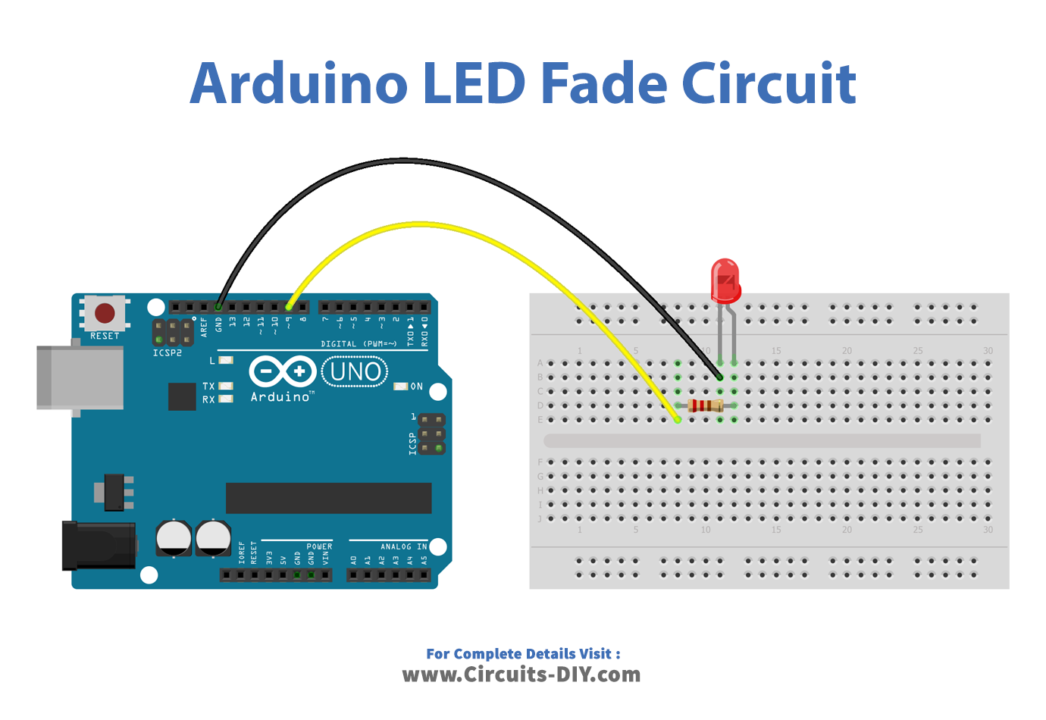
Wiring / Connections
| Arduino | LED |
|---|---|
| D9 | +VE with 220 Resistor |
| GND | GND |
Installing Arduino IDE
First, you need to install Arduino IDE Software from its official website Arduino. Here is a simple step-by-step guide on “How to install Arduino IDE“.
Code
Now copy the following code and upload it to Arduino IDE Software.
int led = 9;           // the PWM pin the LED is attached to
int brightness = 0;    // how bright the LED is
int fadeAmount = 5;    // how many points to fade the LED by

// the setup routine runs once when you press reset:
void setup() {
  // declare pin 9 to be an output:
  pinMode(led, OUTPUT);
}

// the loop routine runs over and over again forever:
void loop() {
  // set the brightness of pin 9:
  analogWrite(led, brightness);

  // change the brightness for next time through the loop:
  brightness = brightness + fadeAmount;

  // reverse the direction of the fading at the ends of the fade:
  if (brightness <= 0 || brightness >= 255) {
    fadeAmount = -fadeAmount;
  }
  // wait for 30 milliseconds to see the dimming effect
  delay(30);
}
Working Explanation
The working of an LED Fade program is as follows. In the setup() function, the LED pin is configured as an output using the pinMode() function. In the loop() function, a loop is used to gradually increase the brightness of the LED from 0 to 255 using the analogWrite() function. The delay() function is called after each iteration of the loop to pause the program for a short period of time, which controls the speed of the fading effect.
After the LED has reached its maximum brightness, a second for loop is used to gradually decrease the brightness of the LED from 255 back down to 0. This causes the LED to fade on and off repeatedly.
Applications
- Indicators
- Decorative lighting
- Displays
- Alarms
- Audio visualization
Conclusion.
We hope you have found this LED Fade Circuit very useful. If you feel any difficulty in making it feel free to ask anything in the comment section.