Introduction
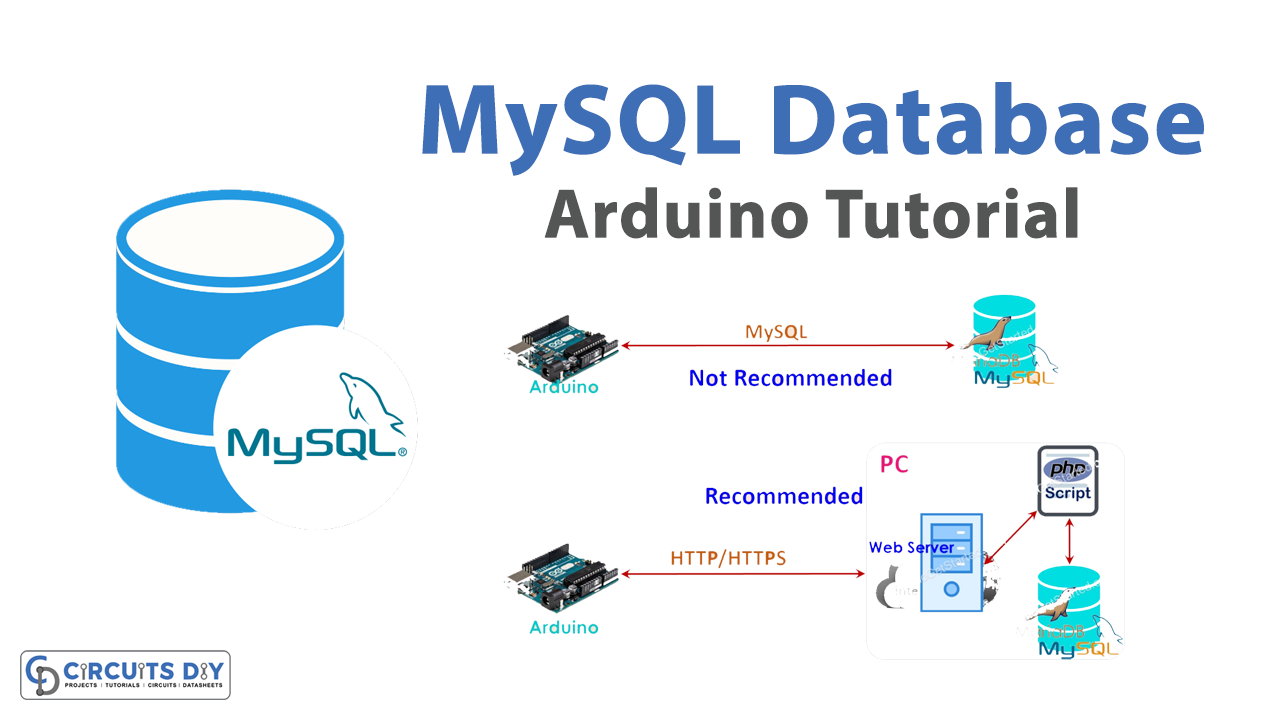
Interfacing an Arduino UNO with a MySQL database using HTTPS requests and an Arduino Ethernet Shield is a powerful technique for integrating physical computing systems with web-based applications. By using an Arduino board and an Ethernet Shield, it is possible to establish a secure and reliable communication channel with a web server that hosts a PHP script that interacts with a MySQL database. This allows the Arduino board to send and receive data from the database, opening up new possibilities for data-driven applications and IoT projects.
MySQL is an open-source relational database management system (RDBMS) that uses Structured Query Language (SQL) for managing and manipulating data. MySQL allows users to store, manage, and retrieve data efficiently and securely. It provides a range of features, such as transaction support, row-level locking, and stored procedures, which enable developers to create sophisticated database-driven applications. MySQL also offers scalability and high availability, making it suitable for enterprise-level applications that require large-scale data processing.
Hardware Components
You will require the following hardware for Interfacing Arduino – MySQL with Arduino.
| S.no | Component | Value | Qty |
|---|---|---|---|
| 1. | Arduino UNO | – | 1 |
| 2. | USB Cable Type A to B | – | 1 |
| 3. | Arduino Ethernet Shield 2 | – | 1 |
| 4. | Ethernet Cable | – | 1 |
| 5. | Power Adapter for Arduino | 9V | 1 |
Steps Interfacing Arduino – MySQL with Arduino UNO
1. Include necessary libraries
#include <SPI.h>
#include <Ethernet.h>
This code imports the SPI and Ethernet libraries, which are required for the Ethernet shield to communicate with the Arduino.
2. Define MAC address and Ethernet client object
byte mac[] = { 0xDE, 0xAD, 0xBE, 0xEF, 0xFE, 0xED };
EthernetClient client;
The “mac” variable is an array that contains the MAC address of the Ethernet shield. The “client” object is an instance of the EthernetClient class, which will be used to establish a connection with the web server.
3. Set HTTP request parameters
int HTTP_PORT = 80;
String HTTP_METHOD = "GET";
char HOST_NAME[] = "192.168.0.26";
String PATH_NAME = "/insert_temp.php";
String queryString = "?temperature=29.1";
These variables set the parameters for the HTTP GET request. The HTTP_PORT variable specifies the port number that the web server is listening on (usually 80 for HTTP). The HTTP_METHOD variable specifies the HTTP method to use for the request (in this case, “GET”). The HOST_NAME variable is a string that specifies the IP address of the web server. The PATH_NAME variable specifies the path to the script that will process the request. The queryString variable is a string that specifies the query string parameter to include in the request.
4. Initialize serial communication
Serial.begin(9600);
This code initializes the serial communication with a baud rate of 9600.
5. Initialize Ethernet shield
if (Ethernet.begin(mac) == 0) {
  Serial.println("Failed to obtaining an IP address using DHCP");
  while(true);
}
This code initializes the Ethernet shield using the MAC address specified in the “mac” variable and tries to obtain an IP address using DHCP. If obtaining an IP address fails, the sketch enters an infinite loop and prints an error message to the serial monitor.
6. Establish connection with web server
if(client.connect(HOST_NAME, HTTP_PORT)) {
  // if connected:
  Serial.println("Connected to server");
  // make a HTTP request:
  // send HTTP header
  client.println(HTTP_METHOD + " " + PATH_NAME + queryString + " HTTP/1.1");
  client.println("Host: " + String(HOST_NAME));
  client.println("Connection: close");
  client.println(); // end HTTP header

  while(client.connected()) {
    if(client.available()){
      // read an incoming byte from the server and print it to serial monitor:
      char c = client.read();
      Serial.print(c);
    }
  }

  // the server's disconnected, stop the client:
  client.stop();
  Serial.println();
  Serial.println("disconnected");
} else {// if not connected:
  Serial.println("connection failed");
}
This code establishes a connection with the web server using the “client” object and prints a message to the serial monitor indicating that the connection is established. It then sends an HTTP GET request with the path, query string and host specified, and waits for a response from the server. For each incoming byte from the server, the code prints it to the serial monitor. After the server has disconnected, the code stops the client and prints a message to the serial monitor indicating that the client has been disconnected. If the connection fails, the code prints an error message to the serial monitor.
7. Loop function
void loop() {

}
Installing Arduino IDE
First, you need to install Arduino IDE Software from its official website Arduino. Here is a simple step-by-step guide on “How to install Arduino IDE“.
Installing Libraries
Before you start uploading a code, download and unzip the following libraries at /Progam Files(x86)/Arduino/Libraries (default), in order to use the sensor with the Arduino board. Here is a simple step-by-step guide on “How to Add Libraries in Arduino IDE“.
Code
Now copy the following code and upload it to Arduino IDE Software.
#include <SPI.h>
#include <Ethernet.h>

// replace the MAC address below by the MAC address printed on a sticker on the Arduino Shield 2
byte mac[] = { 0xDE, 0xAD, 0xBE, 0xEF, 0xFE, 0xED };

EthernetClient client;

int    HTTP_PORT   = 80;
String HTTP_METHOD = "GET";
char   HOST_NAME[] = "192.168.0.26"; // change to your PC's IP address
String PATH_NAME   = "/insert_temp.php";
String queryString = "?temperature=29.1";

void setup() {
  Serial.begin(9600);

  // initialize the Ethernet shield using DHCP:
  if (Ethernet.begin(mac) == 0) {
    Serial.println("Failed to obtaining an IP address using DHCP");
    while(true);
  }

  // connect to web server on port 80:
  if(client.connect(HOST_NAME, HTTP_PORT)) {
    // if connected:
    Serial.println("Connected to server");
    // make a HTTP request:
    // send HTTP header
    client.println(HTTP_METHOD + " " + PATH_NAME + queryString + " HTTP/1.1");
    client.println("Host: " + String(HOST_NAME));
    client.println("Connection: close");
    client.println(); // end HTTP header

    while(client.connected()) {
      if(client.available()){
        // read an incoming byte from the server and print it to serial monitor:
        char c = client.read();
        Serial.print(c);
      }
    }

    // the server's disconnected, stop the client:
    client.stop();
    Serial.println();
    Serial.println("disconnected");
  } else {// if not connected:
    Serial.println("connection failed");
  }
}

void loop() {

}
Working Explanation
In the setup() function, the code initializes the serial monitor with a baud rate of 9600. It then attempts to obtain an IP address using DHCP. If it fails to obtain an IP address, the code will enter an infinite loop. If it successfully obtains an IP address, the code attempts to establish a connection with the web server using the client.connect() method. If the connection is successful, the code sends an HTTP GET request to the web server using the client.println() method.
The HTTP request consists of the HTTP method, path name, and query string. The code also sends the host name and a connection close header. The HTTP request ends with a blank line. After sending the HTTP request, the code enters a loop that reads the response from the web server using the client.read() method. The response is printed to the serial monitor.
When the web server finishes sending the response, it closes the connection. The code stops the client and prints a message to the serial monitor to indicate that the connection has been closed. In the loop() function, the code does nothing, so the loop will continue to run indefinitely until the Arduino is powered off.
Applications
- Industrial automation
- Smart home systems
- Health monitoring systems
- Agriculture and farming
- Security systems
Conclusion.
We hope you have found this MySQL Arduino Tutorial very useful. If you feel any difficulty in making it feel free to ask anything in the comment section.
Related posts:
 Interface MG995 Servo Motor with Arduino
 Solu SL067 Water Sensor - Arduino Tutorial
 How to generate Super Mario Theme Song by using Arduino Microcontroller
 Ultrasonic Sensor with Buzzer using Arduino
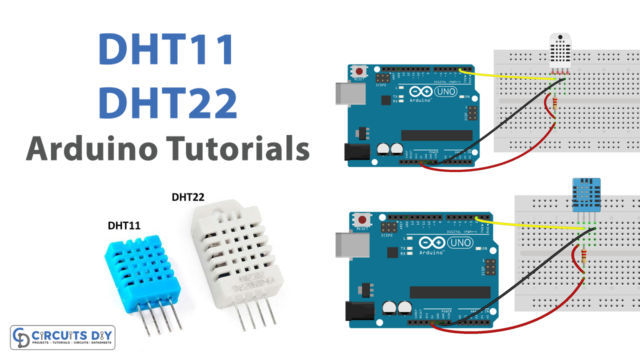 DHT11/DHT22 Temperature Humidity Sensor - Arduino Tutorial
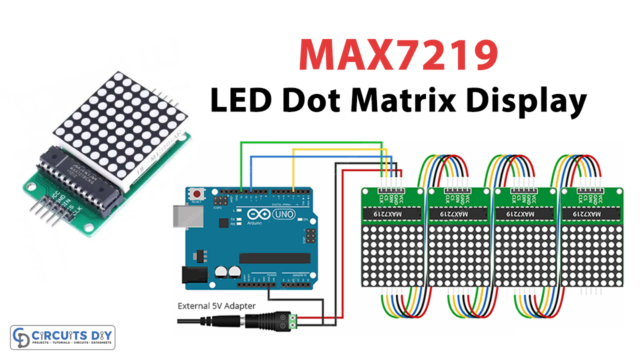 Interfacing MAX7219 LED Dot Matrix Display with Arduino UNO