Introduction
Even if we live in a technologically advanced age, we can still not escape viral illnesses, but we can try to prevent them from spreading. Because of the nature of the issue, modern solutions were necessary. Therefore, this article also addresses the problem of how can we take a patient’s temperature while they have a viral fever. Because this article is about making a Non-Contact Thermometer using MLX90614
We can use a non-contact thermometer in this special situation of viral fever. This device is sometimes referred to as a temperature gun. This product is quite pricey. Therefore, we attempt to make it on our own.
What is a Non-Contact Thermometer?
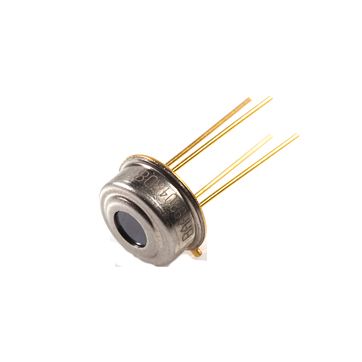
Non-contact thermometers are those that do not involve making physical contact with a surface or the other person. It operates by use of an infrared sensor. It measures the object being measured’s reflected infrared radiation. Because of their longer wavelength than visible light, infrared radiations are invisible.
Hardware Components
You will require the following hardware for making a Non-Contact Thermometer.
Steps for Making a Non-Contact Thermometer
This Non-Contact Thermometer using MLX90614 requires very few electronic components. When you have them; follow the following steps:
Schematic
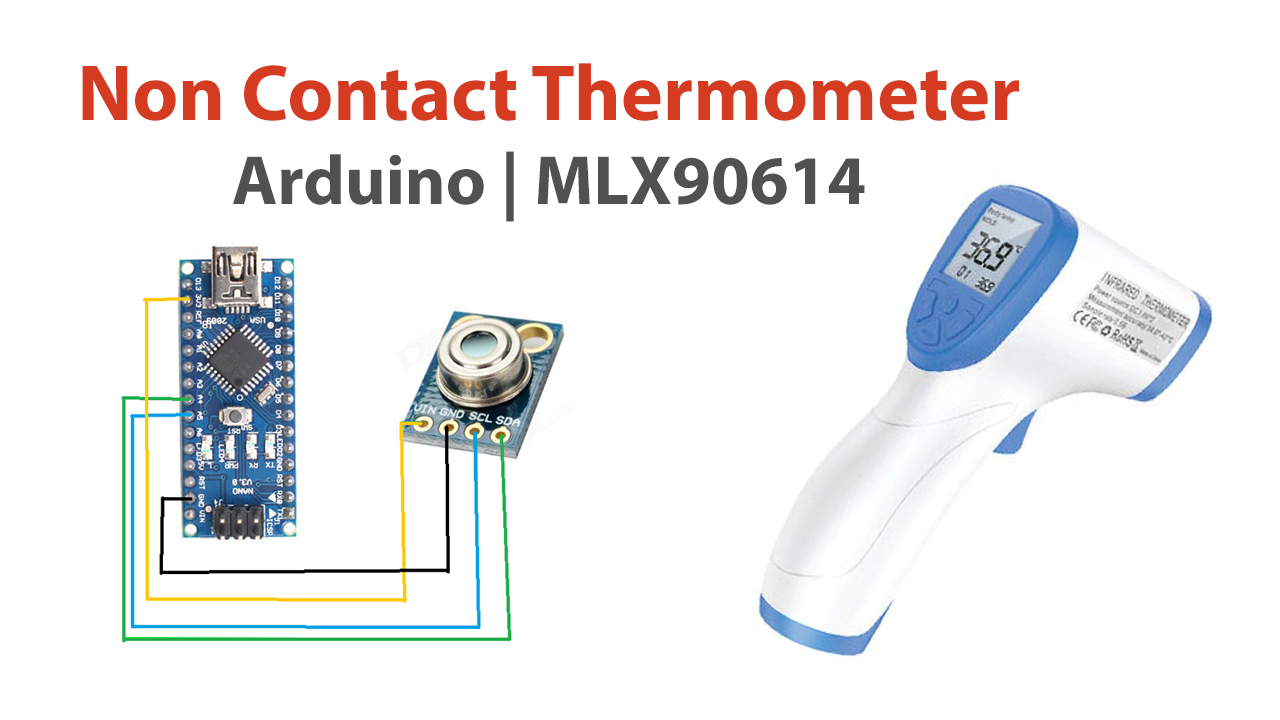
Make connections according to the circuit diagram given below.
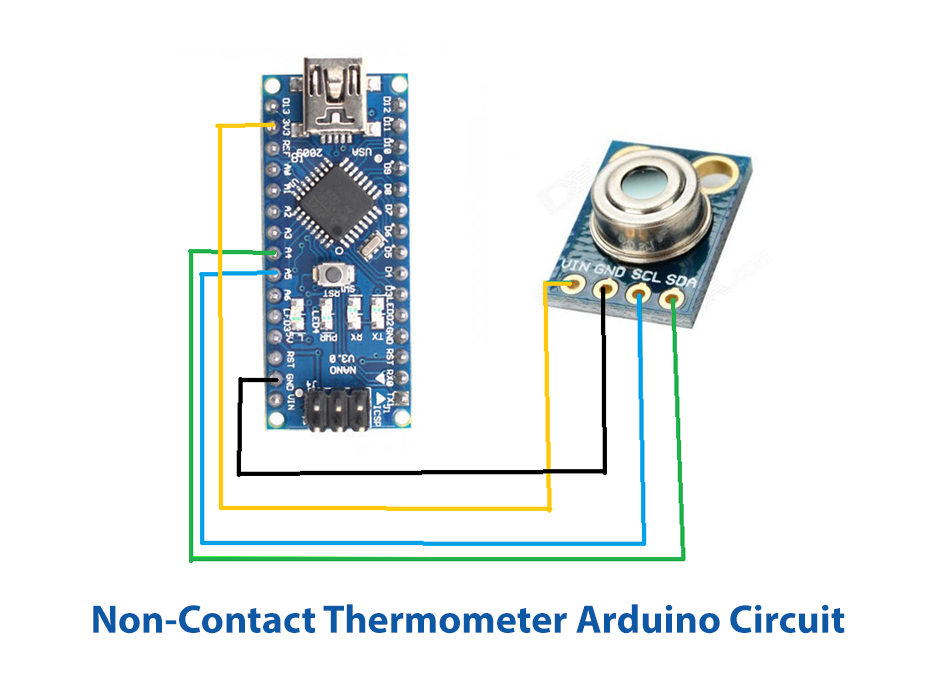
Wiring / Connections
| Arduino | MLX90614 Sensor |
|---|---|
| 5V | VDD |
| GND | GND |
| A5 | SCL |
| A4 | SDA |
Installing Arduino IDE
First, you need to install Arduino IDE Software from its official website Arduino. Here is a simple step-by-step guide on “How to install Arduino IDE“.
Installing Libraries
Before you start uploading a code, download and unzip the following libraries at /Progam Files(x86)/Arduino/Libraries (default), in order to use the sensor with the Arduino board. Here is a simple step-by-step guide on “How to Add Libraries in Arduino IDE“.
Code
Now copy the following code and upload it to Arduino IDE Software.
#include <Wire.h>
#include <Adafruit_MLX90614.h>
Adafruit_MLX90614 mlx = Adafruit_MLX90614();
void setup() {
  Serial.begin(9600);
  mlx.begin();
}
void loop() {

Serial.print("Temperature : ");
Serial.print(mlx.readObjectTempC());
Serial.println(" Celsius");

Serial.print("Temperature : ");
Serial.print(mlx.readObjectTempF());
Serial.println(" Fahrenheit");

Serial.println();
delay(500);
}
Let’s Test It
It’s now time to run and test the circuit. So, power up the Arduino after uploading the code. And, open the serial monitor; you would see the temperature readings coming to your screen. This temperature would be the room temperature. However, you can analyze different readings by taking the circuit other than at room temperature.
Working Explanation
You need to understand the coding in order to understand the working:
- First, we include the Wire.h library for 12C communication Then include the Adafruit MLX90614.h library for improved communication with the MLX90614 Temperature sensor. The MLX90614 sensor may then be called by defining the variable “mlx.” To this variable, we call the Adafruit MLX90614() function.
- Start the serial communication in the void setup with a baud rate of 9600. Use the function mlx.begin()” to initialize the sensor after that.
- In the void loop, we print the text Temperature first, followed by the temperature detected by the sensor. It is displayed here in Celsius. In order to output the unit as “Celsius,” we utilize the function mlx.readObjectTempC(). Printing the term Temperature once again in the next line is required. The temperature is then shown in Fahrenheit. We utilise the function mlx.readAmbientTempF() for this. The unit is then printed as “Fahrenheit.” We give a little delay to get the next readings.
Applications
- Human body temperature measurement
- To measure the temperature of a moving object
- Temperature control systems; etc
Conclusion.
We hope you have found this Non-Contact Thermometer Circuit very useful. If you feel any difficulty making it feel free to ask anything in the comment section.