Introduction
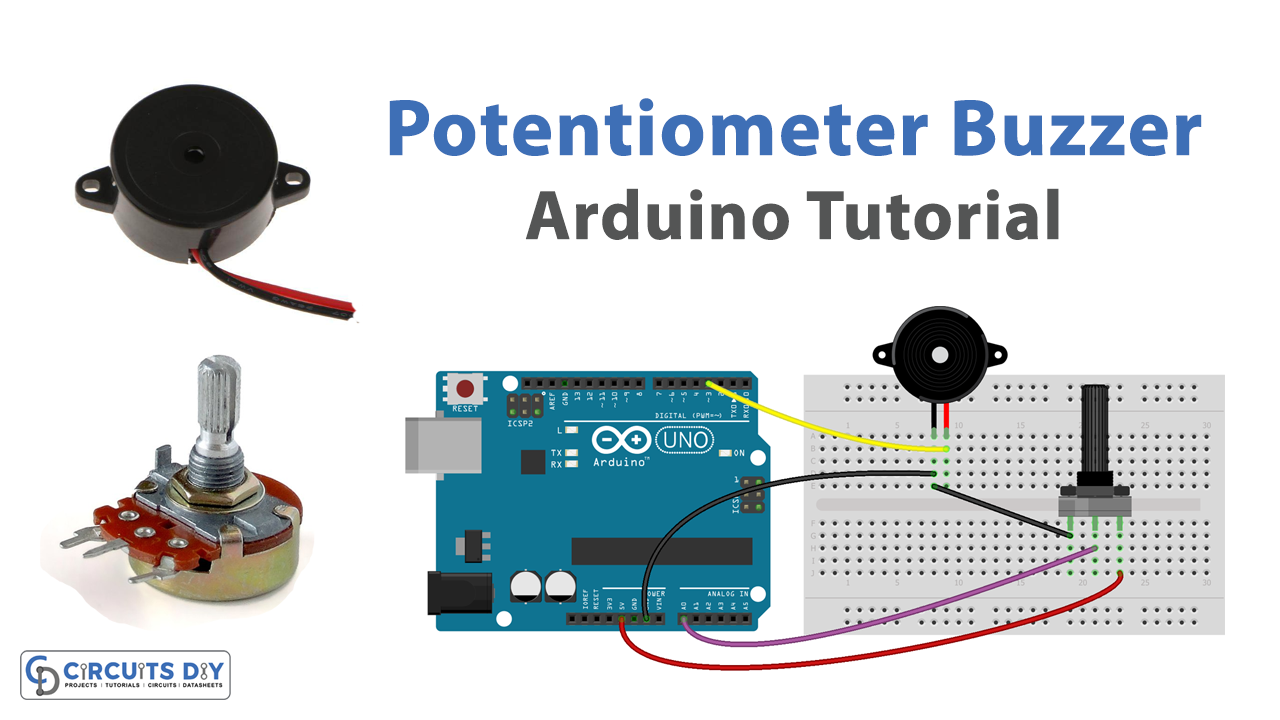
A potentiometer analog threshold-controlled piezoelectric buzzer is a system that uses a potentiometer to control the output of a piezoelectric buzzer. The potentiometer is connected to an analog pin of the Arduino and the piezoelectric buzzer is connected to a digital pin of the Arduino. The Arduino reads the analog value from the potentiometer, compares it to a threshold value, and uses this value to turn on or off the piezoelectric buzzer.
This system is a great example of the flexibility and versatility of microcontrollers, and it can be used in a wide range of applications, such as in industrial control, robotics, DIY projects, and more. The system also has a serial monitor that shows the state of the buzzer and the potentiometer value, which gives real-time feedback on the system.
Hardware Components
You will require the following hardware for Potentiometer Triggers Piezo Buzzer Circuit.
| S.no | Component | Value | Qty |
|---|---|---|---|
| 1. | Arduino UNO | – | 1 |
| 2. | USB Cable Type A to B | – | 1 |
| 3. | Potentiometer | – | 1 |
| 4. | Power Adapter for Arduino | 9V | 1 |
| 5. | Piezo Buzzer | – | 1 |
| 6. | Breadboard | – | 1 |
| 7. | Jumper Wires | – | 1 |
Potentiometer Buzzer with Arduino
- Connect the potentiometer to an analog pin of the Arduino, such as A0, and connect the piezoelectric buzzer to a digital pin of the Arduino, such as D8.
- Open the Arduino IDE and create a new sketch.
- Include the following library at the beginning of the sketch:
#include <Arduino.h> - In the setup() function, initialize the serial communication using the Serial.begin() function and set the baud rate. Also, set the pin mode of the buzzer pin as OUTPUT.
void setup() {
  Serial.begin(9600);
  pinMode(8, OUTPUT);
}
- In the loop() function, read the analog value from the potentiometer using the analogRead() function and store it in a variable.
int val = analogRead(A0);
- Set a threshold value for the potentiometer. If the potentiometer value is greater than the threshold, turn on the buzzer using the tone() function, and if it is less than the threshold, turn off the buzzer using the noTone() function. You can also map the potentiometer value to a frequency range using the map() function.
int threshold = 512;

if (val > threshold) {
  tone(8, map(val, 0, 1023, 2000, 4000));
}
else {
  noTone(8);
}
- Print the state of the buzzer and the potentiometer value on the serial monitor using the Serial.print() function.
Serial.print("Potentiometer value: ");
Serial.print(val);
Serial.print("\tThreshold: ");
Serial.println(threshold);- Add a delay() function to control the rate of updates. This can be added after the Serial.println() statement in the loop() function.
delay(100);
The delay() function will pause the execution of the loop() function for a specified number of milliseconds, which in this case is 100ms. This delay controls the rate at which the potentiometer value is read and the buzzer state is updated.
- Upload the code to the Arduino board and open the serial monitor to view the status of the buzzer and the potentiometer value.
Schematic
Make connections according to the circuit diagram given below.

Wiring / Connections
| Arduino | Buzzer | Potentiometer |
|---|---|---|
| 5V | Left | |
| GND | GND | Right |
| D3 | VCC | |
| A0 | Middle |
Installing Arduino IDE
First, you need to install Arduino IDE Software from its official website Arduino. Here is a simple step-by-step guide on “How to install Arduino IDE“.
Installing Libraries
Before you start uploading a code, download and unzip the following libraries at /Progam Files(x86)/Arduino/Libraries (default), in order to use the sensor with the Arduino board. Here is a simple step-by-step guide on “How to Add Libraries in Arduino IDE“.
Code
Now copy the following code and upload it to Arduino IDE Software.
Arduino Code – Simple Sound – Analog Threshold
const int POTENTIOMETER_PIN = A0; // Arduino pin connected to Potentiometer pin
const int BUZZER_PIN        = 3; // Arduino pin connected to Buzzer's pin
const int ANALOG_THRESHOLD  = 500;

void setup() {
  pinMode(BUZZER_PIN, OUTPUT); // set arduino pin to output mode
}

void loop() {
  int analogValue = analogRead(POTENTIOMETER_PIN); // read the input on analog pin

  if(analogValue > ANALOG_THRESHOLD)
    digitalWrite(BUZZER_PIN, HIGH); // turn on Piezo Buzzer
  else
    digitalWrite(BUZZER_PIN, LOW);  // turn off Piezo Buzzer
}
Arduino Code – Simple Sound – Voltage Threshold
const int POTENTIOMETER_PIN   = A0; // Arduino pin connected to Potentiometer pin
const int BUZZER_PIN          = 3; // Arduino pin connected to Buzzer's pin
const float VOLTAGE_THRESHOLD = 2.5; // Voltages

void setup() {
  pinMode(BUZZER_PIN, OUTPUT); // set arduino pin to output mode
}

void loop() {
  int analogValue = analogRead(POTENTIOMETER_PIN);      // read the input on analog pin
  float voltage = floatMap(analogValue, 0, 1023, 0, 5); // Rescale to potentiometer's voltage

  if(voltage > VOLTAGE_THRESHOLD)
    digitalWrite(BUZZER_PIN, HIGH); // turn on Piezo Buzzer
  else
    digitalWrite(BUZZER_PIN, LOW);  // turn off Piezo Buzzer
}

float floatMap(float x, float in_min, float in_max, float out_min, float out_max) {
  return (x - in_min) * (out_max - out_min) / (in_max - in_min) + out_min;
}
Working Explanation
First, in the setup() function, the serial communication is initialized with a baud rate of 9600, and pin 8 is set as an output pin to control the piezoelectric buzzer. In the loop() function, the analog value of the potentiometer is read using the analogRead() function and stored in the val variable. A threshold value of 512 is set, and the value read from the potentiometer is compared to this threshold value. If the value read from the potentiometer is greater than the threshold, the tone() function is used to generate a tone on the piezoelectric buzzer. The map() function is used to map the potentiometer value between 0 and 1023 to a frequency between 2000 and 4000 Hz. This allows the tone to change as the potentiometer is adjusted.
If the value read from the potentiometer is less than the threshold, the noTone() function is used to stop the tone generation. The Serial.print() and Serial.println() functions are used to send information about the potentiometer value and the threshold to the serial monitor, so the user can see the values in real time.
Applications
- Industrial alarms and warning systems
- Automotive warning signals
- Consumer electronics audio feedback
- Adjustment of the sound level of alarms or warning signals.
Conclusion.
We hope you have found this Circuit very useful. If you feel any difficulty in making it feel free to ask anything in the comment section.
Related posts:
 Arduino High Voltage Driver Circuit Using IRF9540 Power MOSFET
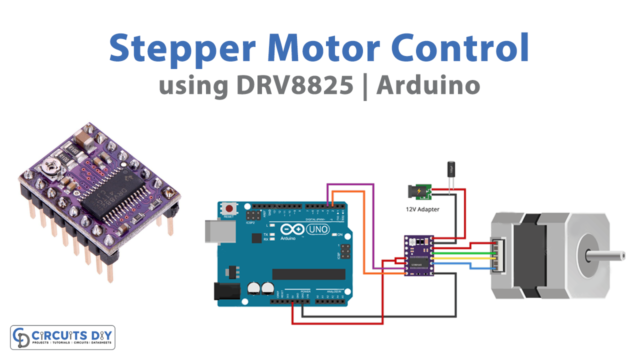 Control Stepper Motor with DRV8825 Driver Module & Arduino
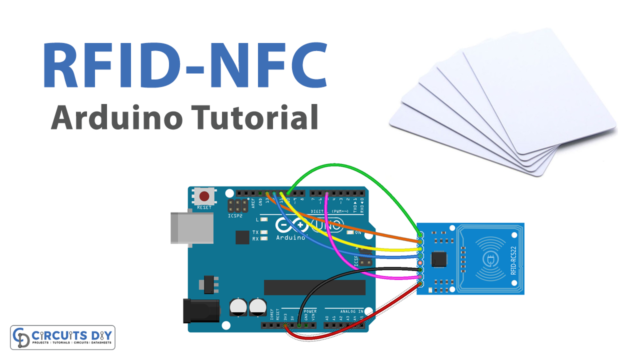 RFID NFC Card Reader - Arduino Tutorial
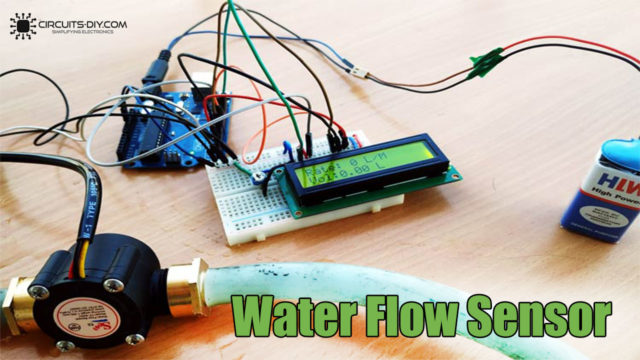 Measuring Water Flow Rate and Volume using Arduino
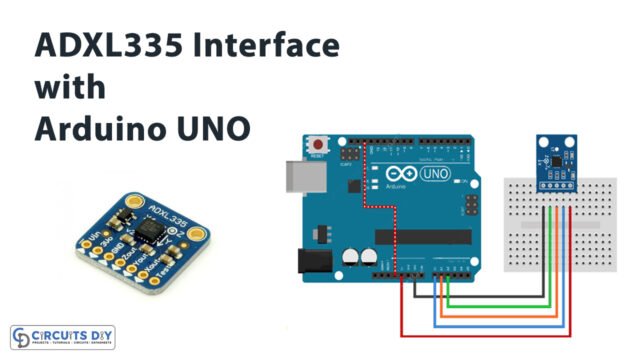 How ADXL335 Accelerometer Interface with Arduino UNO
 Interfacing PN532 NFC RFID Module with Arduino