Introduction
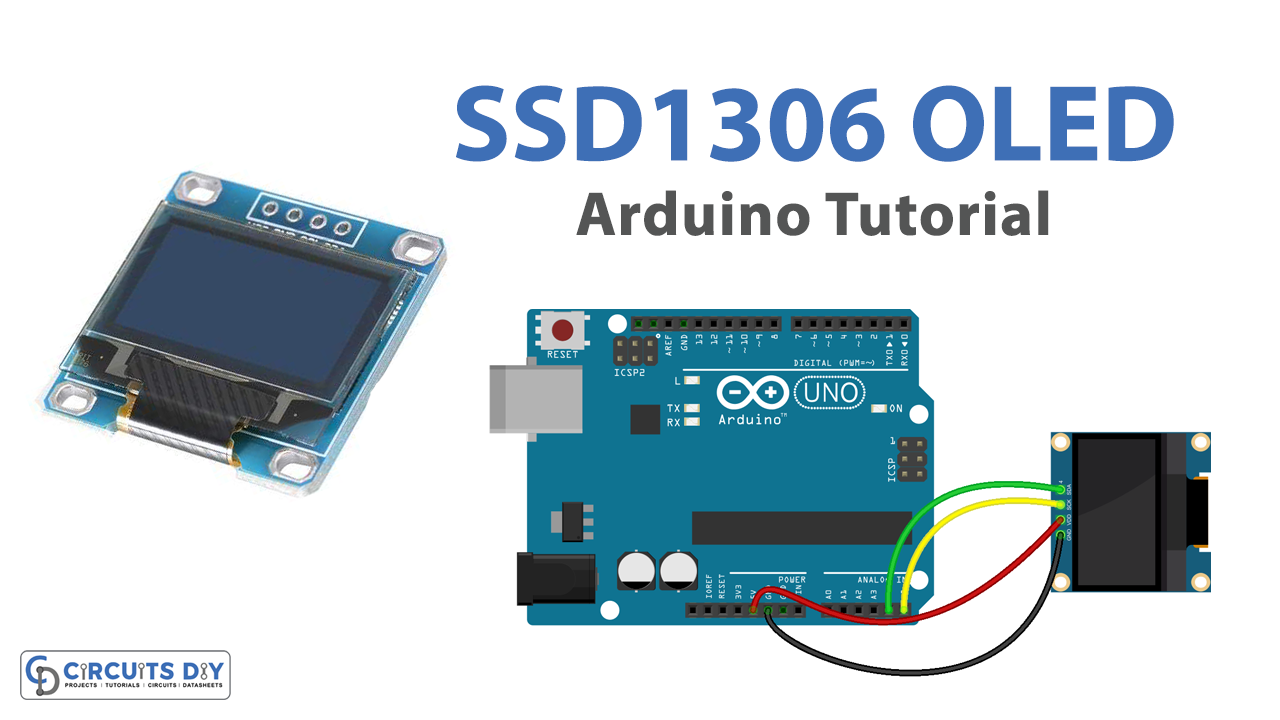
Interfacing an ssd1306 I2C IIC OLED Display module with an Arduino UNO microcontroller involves connecting the OLED display module to the Arduino board and writing code to display data on the OLED screen. The OLED display uses I2C (Inter-Integrated Circuit) communication protocol to communicate with the Arduino board. The OLED display module can display text, images, and graphics on its high-resolution screen.
An SSD1306 I2C IIC OLED Display module is an Organic Light-Emitting Diode (OLED) display that uses the SSD1306 driver IC, communicates via I2C/IIC communication protocol, and has a resolution of 128×64 pixels. The OLED display has high contrast, a fast refresh rate, and low power consumption, making it suitable for various applications, such as displaying text, graphics, and images.
Hardware Components
You will require the following hardware for Interfacing SSD1306 OLED with Arduino.
| S.no | Component | Value | Qty |
|---|---|---|---|
| 1. | Arduino | UNO | 1 |
| 2. | USB Cable Type A to B | – | 1 |
| 3. | OLED Display 128×64 | SSD1306 I2C | 1 |
| 4. | Power Adapter for Arduino | 9V | 1 |
| 5. | Jumper Wires | – | 1 |
SSD1306 OLED with Arduino UNO
- Connect the OLED Display to the Arduino: Connect the OLED Display to the Arduino UNO using the I2C (SDA, SCL) pins.
- Install the Adafruit SSD1306 Library: To display the text on the OLED display, we will use the Adafruit SSD1306 library. You can install it by going to Sketch > Include Library > Manage Libraries and searching for “Adafruit SSD1306” and then clicking on the Install button.
- Initialize the OLED Display: Include the necessary libraries in your code and initialize the OLED display with the following code snippet:
#include <Wire.h>
#include <Adafruit_SSD1306.h>

#define OLED_RESET 4
Adafruit_SSD1306 display(OLED_RESET);

void setup() {
  display.begin(SSD1306_SWITCHCAPVCC, 0x3C);
  display.display();
  delay(2000);
}
- Print “Hello World” on the OLED Display: To display “Hello World” on the OLED display, use the following code:
void loop() {
  display.clearDisplay();
  display.setTextSize(1);
  display.setCursor(0,0);
  display.println("Hello World");
  display.display();
  delay(1000);
}
- Upload the Code: Finally, upload the code to the Arduino UNO microcontroller and you should see “Hello World” displayed on the OLED display.
Schematic
Make connections according to the circuit diagram given below.
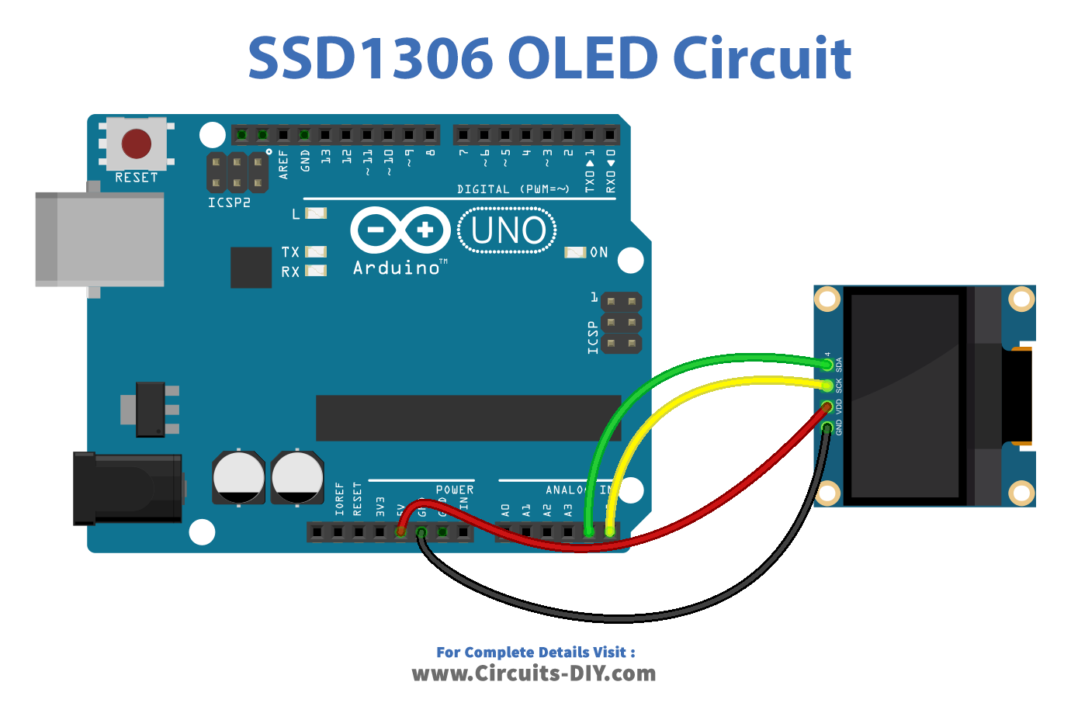
Wiring / Connections
| Arduino | OLED |
|---|---|
| 5V | VCC |
| GND | GND |
| A4 | SDA |
| A5 | SCL |
Installing Arduino IDE
First, you need to install Arduino IDE Software from its official website Arduino. Here is a simple step-by-step guide on “How to install Arduino IDE“.
Installing Libraries
Before you start uploading a code, download and unzip the following libraries at /Progam Files(x86)/Arduino/Libraries (default), in order to use the sensor with the Arduino board. Here is a simple step-by-step guide on “How to Add Libraries in Arduino IDE“.
Code
Now copy the following code and upload it to Arduino IDE Software.
#include <Wire.h>
#include <Adafruit_GFX.h>
#include <Adafruit_SSD1306.h>

#define SCREEN_WIDTH 128 // OLED display width,  in pixels
#define SCREEN_HEIGHT 64 // OLED display height, in pixels

// declare an SSD1306 display object connected to I2C
Adafruit_SSD1306 oled(SCREEN_WIDTH, SCREEN_HEIGHT, &Wire, -1);

void setup() {
  Serial.begin(9600);

  // initialize OLED display with address 0x3C for 128x64
  if (!oled.begin(SSD1306_SWITCHCAPVCC, 0x3C)) {
    Serial.println(F("SSD1306 allocation failed"));
    while (true);
  }

  delay(2000);         // wait for initializing
  oled.clearDisplay(); // clear display

  oled.setTextSize(1);          // text size
  oled.setTextColor(WHITE);     // text color
  oled.setCursor(0, 10);        // position to display
  oled.println("Hello World!"); // text to display
  oled.display();               // show on OLED
}

void loop() {
//put code here if you want "Hello world" to print continuously
}
Working Explanation
The setup() part is used to initialize the OLED display and configure the communication protocols. This section sets the OLED display as the I2C device, sets the I2C address, and sets the dimensions of the OLED screen. In addition, it also initializes the OLED library and sends the initialization commands to the OLED display.
The loop() part of the code continuously checks and updates the display. It clears the OLED screen, sets the cursor position, and writes the text “Hello World” on the OLED screen. The loop runs indefinitely and updates the OLED screen continuously with the “Hello World” text.
Applications
- Displaying sensor readings
- Displaying messages or notifications
- Displaying status or information for IoT projects
- Displaying real-time data and graphs
- Displaying countdown timers or stopwatches
- Creating simple user interfaces for controlling or adjusting settings
- Implementing games or interactive displays.
Conclusion.
We hope you have found this SSD1306 OLED Circuit very useful. If you feel any difficulty in making it feel free to ask anything in the comment section.