Introduction
Interfacing a TTP223 touch sensor with an Arduino UNO involves connecting the touch sensor to the microcontroller and writing a program to read the sensor’s input and perform a specific action based on that input. The TTP223 is a simple touch sensor that can detect the presence of a finger on its surface and trigger a switch. By connecting it to an Arduino UNO, we can use the touch sensor to control various electronic projects and bring a new level of interactivity to our creations.
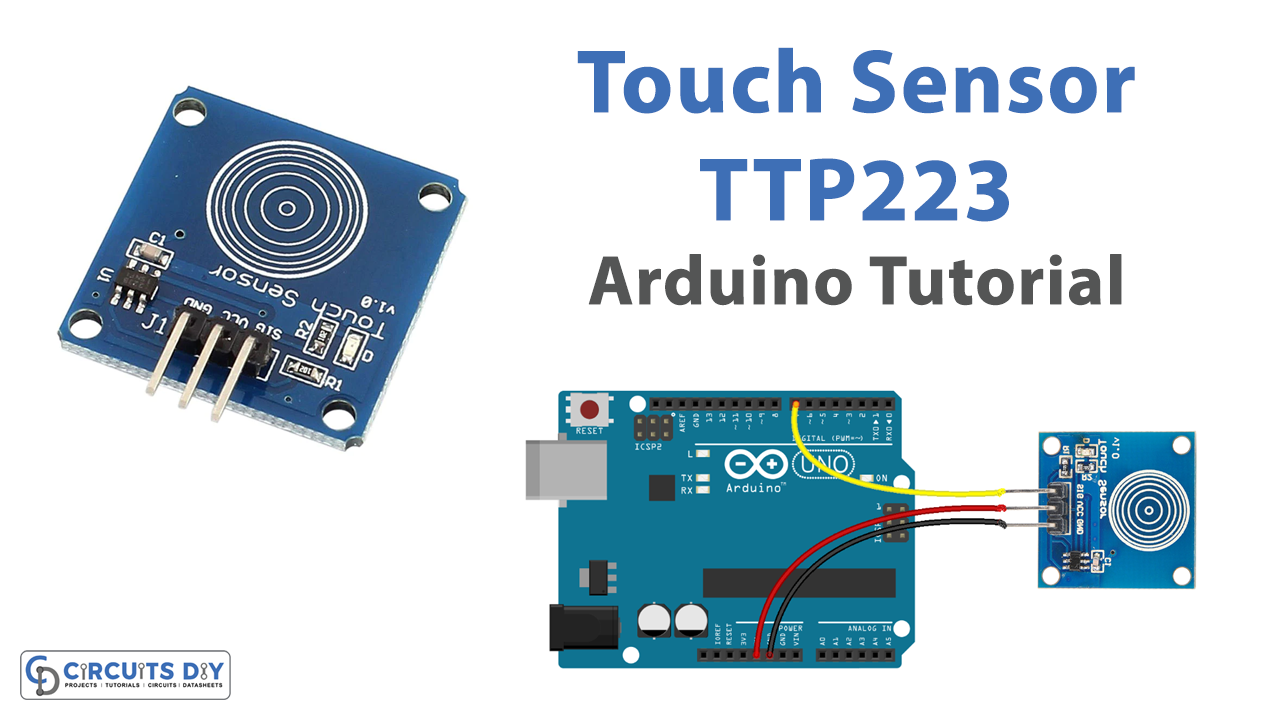
The TTP223 touch sensor is a capacitive touch switch that is commonly used to detect the presence of a human finger on its surface. It works by detecting changes in capacitance when a user touches the sensor’s surface. The TTP223 has a compact form factor and low power consumption, making it suitable for a variety of applications, such as home automation, industrial control, and consumer electronics.
Hardware Components
You will require the following hardware for Interfacing Touch Sensor with Arduino.
| S.no | Component | Value | Qty |
|---|---|---|---|
| 1. | Arduino UNO | – | 1 |
| 2. | USB Cable Type A to B | – | 1 |
| 3. | Touch Sensor | – | 1 |
| 4. | Power Adapter for Arduino | 9V | 1 |
| 5. | Jumper Wires | – | 1 |
Touch Sensor with Arduino UNO
- The first step of the code defines a constant variable
SENSOR_PINas 7. This is the digital input pin on the Arduino that is connected to the sensor’s SIGNAL pin.
const int SENSOR_PIN = 7; // the Arduino's input pin that connects to the sensor's SIGNAL pin
- The next section of the code declares two integer variables:
lastStateandcurrentState.lastStateis used to store the previous state of the input pin, andcurrentStateis used to store the current reading from the input pin.
int lastState = LOW;      // the previous state from the input pin
int currentState;         // the current reading from the input pin
- In the
setup()function, serial communication is initialized at 9600 bits per second using theSerial.begin()method. Then, the input pin is set to INPUT using thepinMode()method.
void setup() {
  // initialize serial communication at 9600 bits per second:
  Serial.begin(9600);
  // initialize the Arduino's pin as aninput
  pinMode(SENSOR_PIN, INPUT);
}
- In the
loop()function, the current state of the input pin is read using thedigitalRead()method and stored in thecurrentStatevariable.
// read the state of the the input pin:
  currentState = digitalRead(SENSOR_PIN);
- Then, the code checks if the previous state (
lastState) was LOW and the current state (currentState) is HIGH. If this is true, the message “The sensor is touched” is printed to the serial monitor.
  if(lastState == LOW && currentState == HIGH)
    Serial.println("The sensor is touched");
- Finally, the last state of the input pin is updated to the current state using the following line:
  // save the the last state
  lastState = currentState;
}
This is a basic example of how to detect touch input with a capacitive touch sensor using an Arduino.
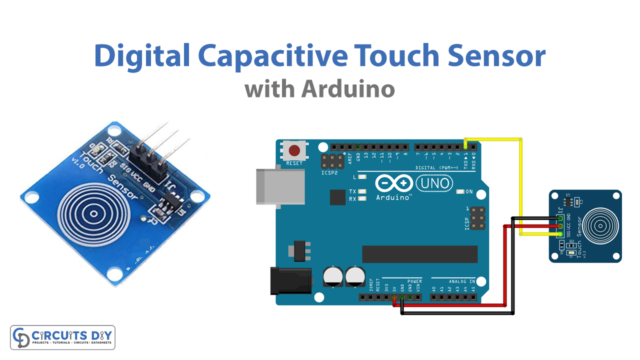
Schematic
Make connections according to the circuit diagram given below.
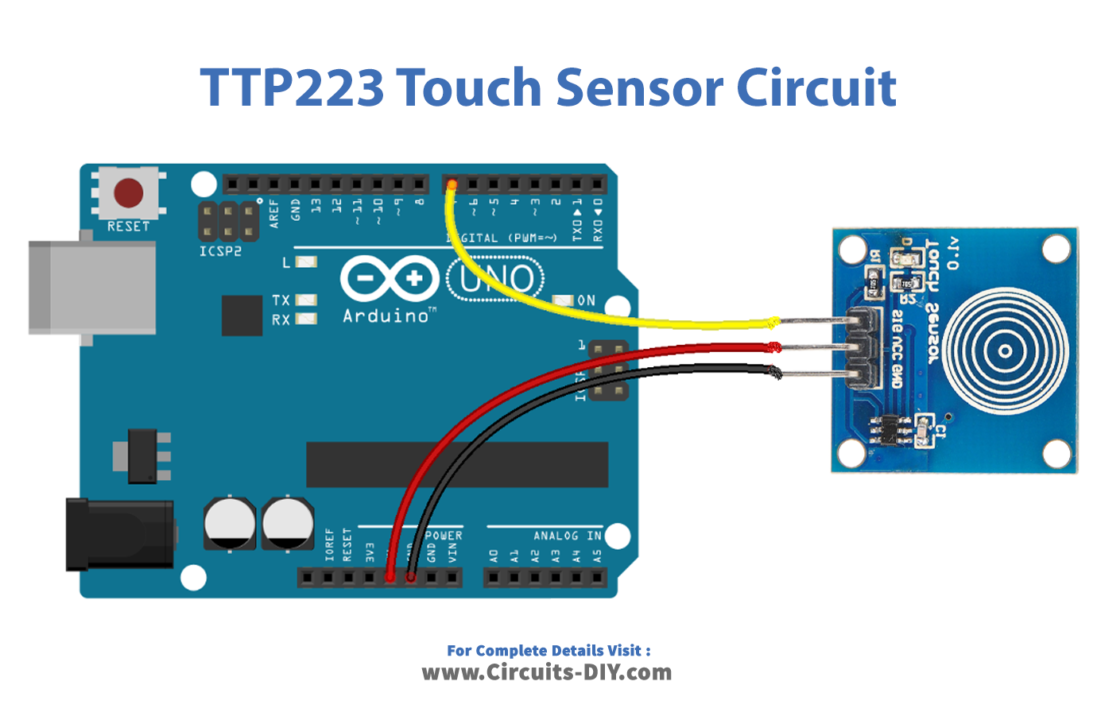
Wiring / Connections
| Arduino | Sensor |
|---|---|
| 5V | VCC |
| GND | GND |
| D7 | SIG |
Installing Arduino IDE
First, you need to install Arduino IDE Software from its official website Arduino. Here is a simple step-by-step guide on “How to install Arduino IDE“.
Code
Now copy the following code and upload it to Arduino IDE Software.
const int SENSOR_PIN = 7; // the Arduino's input pin that connects to the sensor's SIGNAL pin

// Variables will change:
int lastState = LOW;      // the previous state from the input pin
int currentState;         // the current reading from the input pin

void setup() {
  // initialize serial communication at 9600 bits per second:
  Serial.begin(9600);
  // initialize the Arduino's pin as aninput
  pinMode(SENSOR_PIN, INPUT);
}

void loop() {
  // read the state of the the input pin:
  currentState = digitalRead(SENSOR_PIN);

  if(lastState == LOW && currentState == HIGH)
    Serial.println("The sensor is touched");

  // save the the last state
  lastState = currentState;
}
Working Explanation
The code sets up an input pin on the Arduino board that connects to the touch sensor’s signal pin. In the setup function, serial communication is initialized at a baud rate of 9600 bits per second and the input pin is configured as an input.
The loop function continuously reads the state of the input pin and if it detects a change from LOW to HIGH, it prints “The sensor is touched” to the serial monitor. The last state of the input is stored so that it can be compared to the current state in the next iteration of the loop.
Applications
- Home automation
- Automated lighting control
- Personalized touch controls
- Interactive displays
- Touch-activated toys
- Access control systems
- Touch-activated music players
Conclusion.
We hope you have found this Touch Sensor Circuit very useful. If you feel any difficulty in making it feel free to ask anything in the comment section.