Introduction
We’re familiar with touch-sensitive screens. These days, hardly anyone goes without a digital device. Smartphones, tablets like the iPad, the displays on the backs of digital cameras, etc., all have a common feature: they rely on touch panel technology. One of the most widely used sensing technologies is the capacitive touch panel. To accomplish this, it utilized a capacitive touch sensor. Stick to this article to learn Digital Capacitive Touch Sensor Arduino Interface
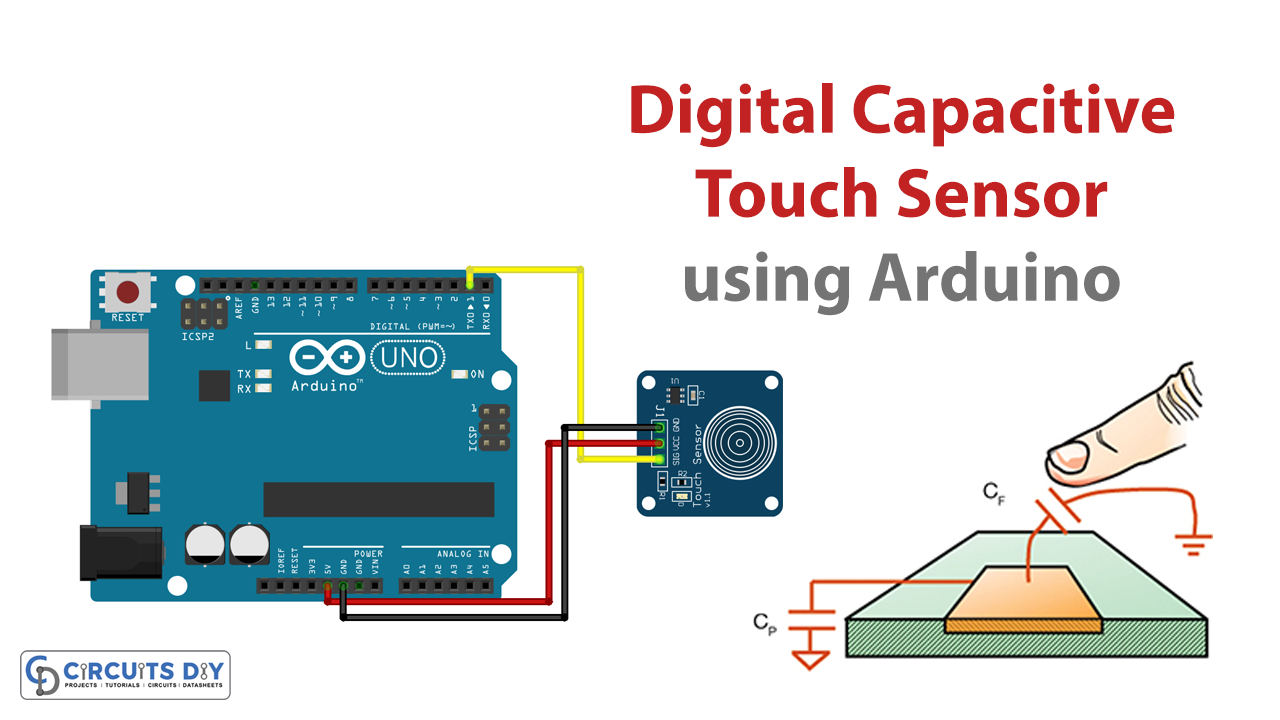
The circuit’s construction involves just a small number of electronic components, one of which is a digital capacitive sensor based on a TTP223B IC. They are available at highly reasonable prices and are easy to find online.
What is a Capacitive Touch Sensor?
The capacitive touch sensor is a tiny sensor that utilizes capacitive sensing technology. This technology works by monitoring the change in capacitance within its projected field due to the presence of a conductive object. Typically, such an object is a human finger, but it could also be any conductive object with a dielectric other than air. Capacitive touch sensors are the kind of sensors used in touch screens.
Hardware Components
You will require the following hardware for the Capacitive Touch Sensor.
| S.no | Components | Value | Qty |
|---|---|---|---|
| 1 | Arduino | UNO | 1 |
| 2 | Capacitive Touch Sensor | TTP223B | 1 |
| 3 | Breadboard | – | 1 |
| 4 | Jumper Wires | – | 1 |
Steps Making Capacitive Touch Sensor
To make this touch sensor circuit, you require very few electronic components that are listed above in the hardware section. Once you have them all, you need to follow the following steps
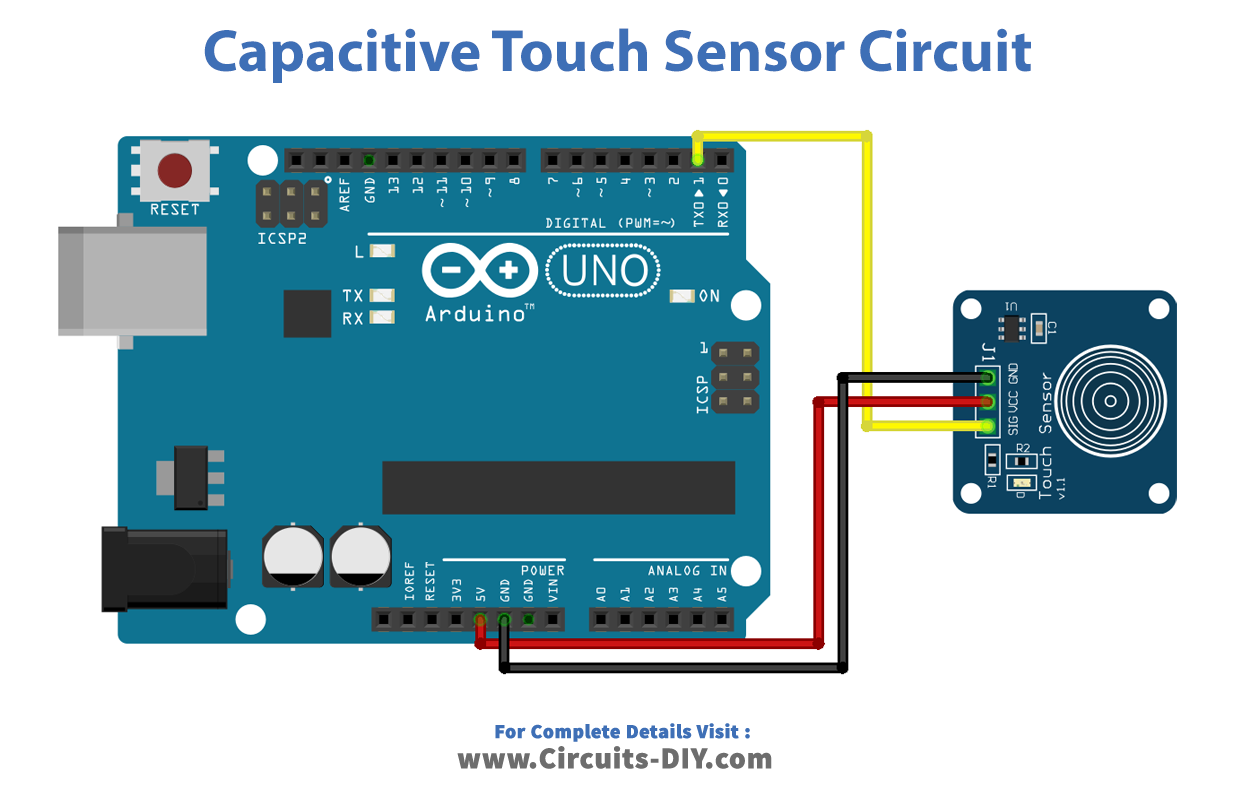
Schematic
Make connections according to the circuit diagram given below.
Wiring / Connections
| Arduino | TTP223B |
|---|---|
| GND | GND |
| 5V | Vcc |
| D1 | SIG |
Installing Arduino IDE
First, you need to install Arduino IDE Software from its official website Arduino. Here is a simple step-by-step guide on “How to install Arduino IDE“.
Code
Now copy the following code and upload it to Arduino IDE Software.
//Digital Capacitive Touch Sensor Arduino Interfacing

#define sensorPin 1 // capactitive touch sensor - Arduino Digital pin D1

int ledPin = 13; // Output display LED (on board LED) - Arduino Digital pin D13

void setup() {
  Serial.begin(9600);
  pinMode(ledPin, OUTPUT);
  pinMode(sensorPin, INPUT);
}

void loop() {
  int senseValue = digitalRead(sensorPin);
  if (senseValue == HIGH){
    digitalWrite(ledPin, HIGH);
    Serial.println("TOUCHED");
  }
  else{
    digitalWrite(ledPin,LOW);
    Serial.println("not touched");
  }
  delay(500);

}
Let’s Test It
After the circuit has been wired and the code has been uploaded to the Arduino, you can test it. The circuit activates once power is supplied to the Arduino. If you touch the sensor now, the serial monitor will display the word “TOUCHED.”
Working Explanation
The working of the circuit depends on the coding. So, let’s jump right into the coding to understand how it works.
- First, we have defined the Arduino digital pin connected to the touch sensor. In our case, we used the digital pin 1 and named it sensorPin.
- Then we defined and named the Arduino pin connected to the LED. Thus, we have used pin 13 of Arduino, called it ledPin.
- In the void setup, where the code only runs once, we initialize the serial monitor. After that, we define the status of both the above-defined pins. We define sensorPin as input because through that pin; we take information (that is, sensing of touch). We define ledPin as output because through this; we show the result.
- In the void loop, where the code runs in a loop, we first take the readings from the sensor by using the digitalRead function. We store these readings in another integer variable named senseValue. After that, we give the condition that if senseValue is high, the LED starts to glow and the serial monitor would print ‘TOUCHED.’ Otherwise, LED will remain low, and the serial monitor will print ‘not touched.’ We then delay avoiding messing up with the next readings.
Applications
- Medical devices
- Automotive applications
- Consumer electronics
- Home appliances
- Industrial controllers
- Digital devices
Conclusion.
We hope you have found this Digital Capacitive Touch Sensor arduino Interface Circuit very useful. If you feel any difficulty in making it feel free to ask anything in the comment section.
Related posts:
 How to Interface Keypad with Arduino
 How to Interface Water Level Sensor with Arduino UNO
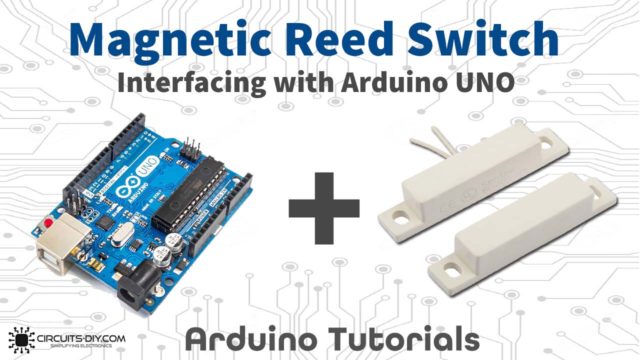 How to Interface Magnetic Reed Switch with Arduino UNO
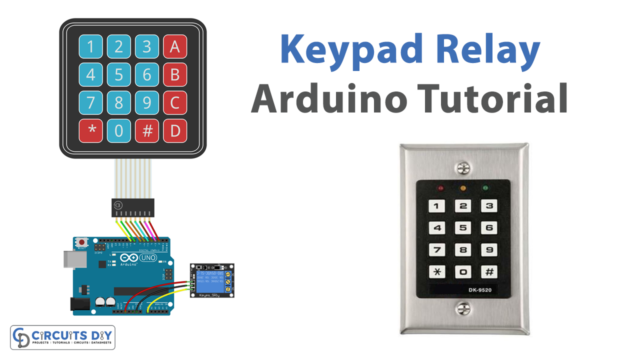 Keypad with Relay - Arduino Tutorial
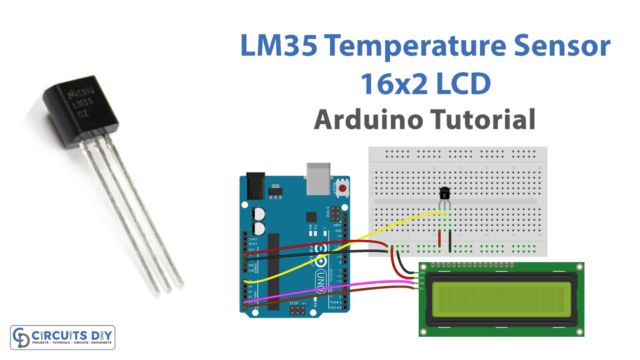 LM35 Temperature Sensor Display on LCD - Arduino Tutorial
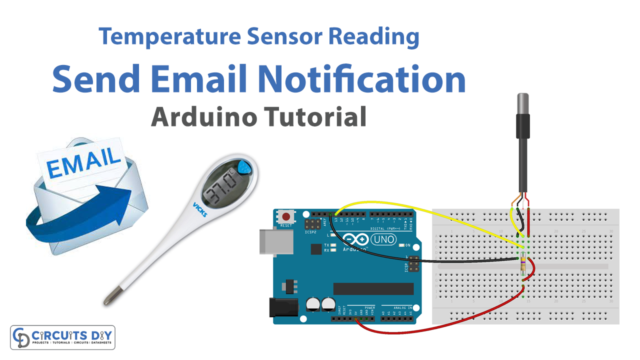 Temperature Sensor Reading Send Email Notification - Arduino Tutorial