Introduction
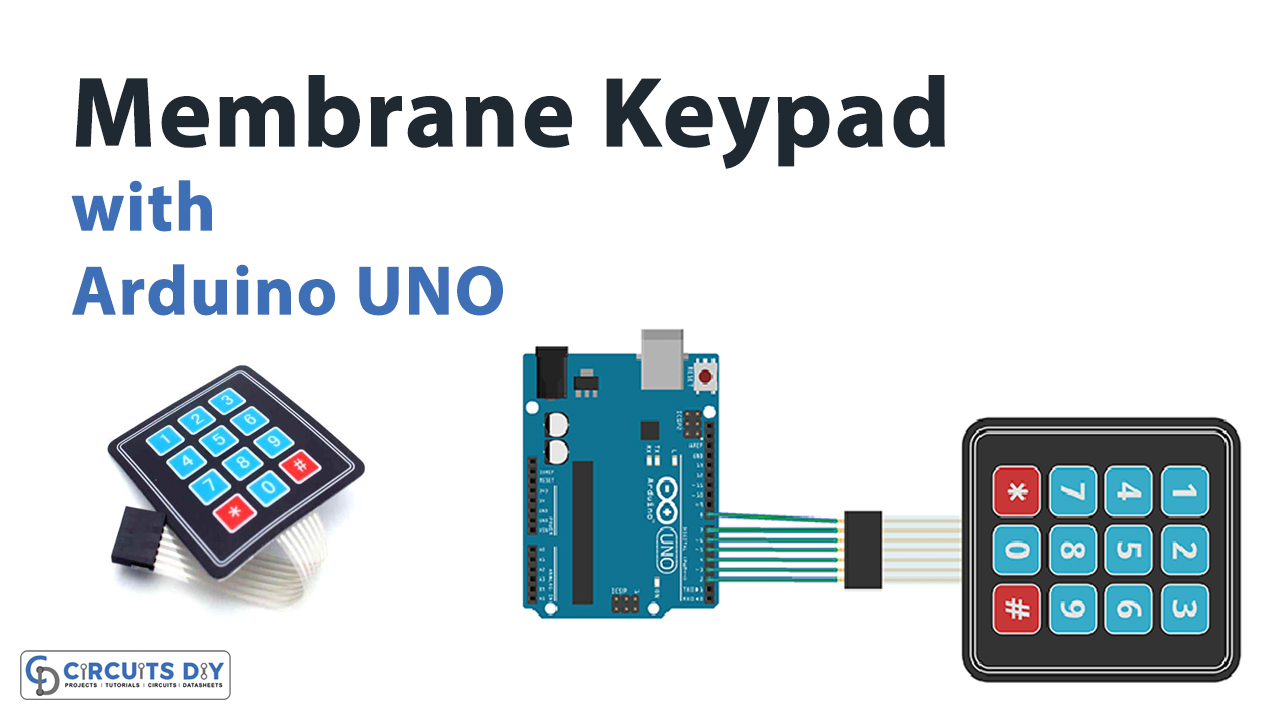
The membrane keypad is the numerical keypad. Many projects use these keypads for calculation and other purposes. They have been found everywhere, from calculators to door lock devices, from cell phones to microwave oven systems. Membrane keypads are made from flexible yet thin materials having different sizes.
They come in sizes 4×4, 4×3, 4×1, etc. But the size doesn’t affect the working, as they all work in the same manner. 4×4 is the most commonly utilized keypad size, used for various electronic projects. Thus, in this tutorial, we will interface “Membrane Keypad with Arduino UNO”.
An Overview About the Working of Keypad
The working of the keyboard is not very difficult. When you press the button, it shorts one of the column lines to one of the row lines. This allows the current to flow between the. For instance, if you press button 1, column 1 and row 1 get shorted. In the same vein, if you press button 2, column 2, and row 1 get shorted. A microcontroller (in our case, it’s Arduino) scans those lines and works accordingly.

Hardware Required
| S.no | Component | Value | Qty |
|---|---|---|---|
| 1. | Arduino | UNO | 1 |
| 2. | USB Cable Type A to B | – | 1 |
| 3. | Jumper Wires | – | – |
| 4. | Membrane Keypad | – | – |
Circuit Diagram

Connections Table
| Arduino | Membrane Keypad |
|---|---|
| D8 Pin | R1 |
| D7 Pin | R2 |
| D6 Pin | R3 |
| D5 Pin | R4 |
| D4 Pin | C1 |
| D3 Pin | C2 |
| D2 Pin | C3 |
Arduino Code
// Circuits DIY
// For Complete Details Visit -> https://circuits-diy.com

#include "Keypad.h"

const byte ROWS = 4; // number of rows
const byte COLS = 3; // number of columns
char keys[ROWS][COLS] = {
{'1','2','3'},
{'4','5','6'},
{'7','8','9'},
{'#','0','*'}
};

byte rowPins[ROWS] = {8, 7, 6, 5}; // row pinouts of the keypad R1 = D8, R2 = D7, R3 = D6, R4 = D5
byte colPins[COLS] = {4, 3, 2};    // column pinouts of the keypad C1 = D4, C2 = D3, C3 = D2
Keypad keypad = Keypad(makeKeymap(keys), rowPins, colPins, ROWS, COLS);

void setup()
{
  Serial.begin(9600);
}

void loop()
{
  char key = keypad.getKey();
  if (key != NO_KEY)
    Serial.println(key);
}
Working Explanation
Bu following the above schematic, connect your membrane keypad with Arduino. Upload the code in the Arduino by using Arduino IDE. When you press the key, the Arduino sets the columns and the rows to the input lines. After that, it picks the row and sets the row high. Further, it verifies the column lines. If the column connection is low, means there has no button pressed. If it drives high, the Arduino understands the row. As a result, it comprehends which button got pressed and shows that on the Serial Monitor.
Code Explanation
- First download the keypad library. You can download it from:
https://github.com/Chris–A/Keypad
- If you see the above-mentioned code, first, it has included the keypad library. Then it defines the number of rows and columns of the keypad. Then, it has defined which row has connected with which pin of an Arduino. Also, w it has defined which column has connected with which digital pin of Arduino.
- Now, in the void setup, it has set the serial monitor by giving the function Serial. begin. In the void loop, the program has formulated if the key gets pressed, it will print that key on the Serial Monitor.
Application and Uses
- In the door lock system
- For the security purpose
- For making the simple calculator
- To control the seven-segment
- To make a simple game, etc
Related posts:
 Light Sensor Triggers Relay - Arduino Tutorial
 Heating System - Arduino Tutorial
 APDS9960 Proximity, Gesture, and Ambient Light Sensor Interfacing with Arduino
 Interfacing Load Cell with Arduino using HX711
 VL53L0X LIDAR Distance Sensor Interfacing with Arduino
 0.96 Inch SPI OLED Full Color IPS Display Module with Arduino


