
Introduction
We all care about the weather since it affects our attitude, thoughts, and feelings. Good weather brings a lot of joy. Unexpected weather, on the other hand, might disrupt our plans. If the weather does not improve, it is either a vacation with our friends or a party with family; it might ruin everything. As a result, it is required to forecast the weather, which necessitates the use of weather stations. The weather station is a device that is used to observe and gather data about the weather. It collects the most critical data, such as temperature, air pressure, and humidity. Here in this article, we will talk about the weather station that will be wirelessly sent to the Android Application. Hence, it needed a Bluetooth module for an interface. Thus, in this tutorial, we are making the Weather Station using RYB080I Bluetooth Low Energy (BLE) Module with Arduino.
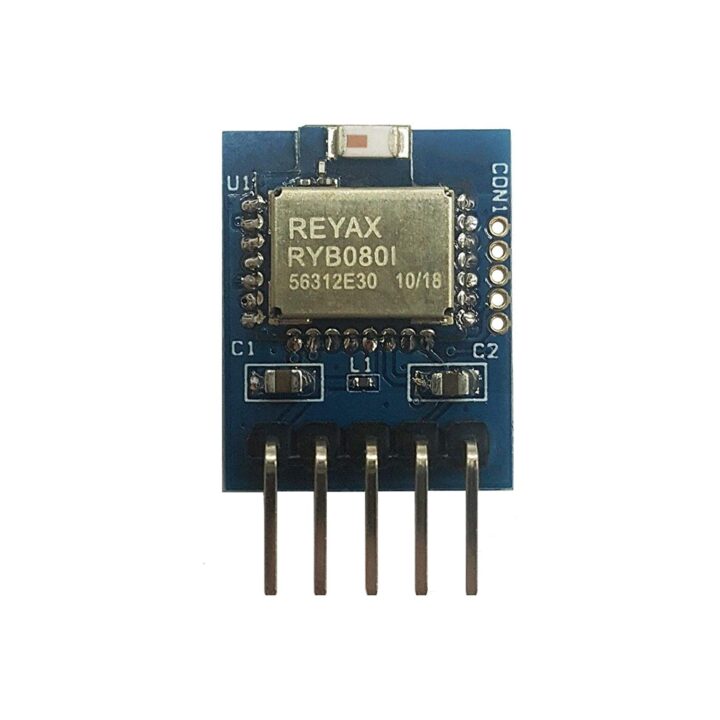
So, the circuit is utilizing the RYB080I Bluetooth module. The RYB080I is a BLE module that supports Bluetooth v4.2 and v5.0. It includes a PCB-integrated antenna and is powered by a TI CC2640R2F ARM® Cortex®-M3 processor. Sending AT instructions to the module is all it takes to control it. The AT commands are used to verify connection status, set power mode, and scan Bluetooth devices, among other things.
Hardware Components
The following components are required to make Weather Station Circuit
| S.no | Component | Value | Qty |
|---|---|---|---|
| 1. | Arduino | Uno | 1 |
| 2. | Temp. & Humidity Sensor | DHT11 | 1 |
| 3. | Bluetooth Module | RYB080I | 1 |
| 4. | Resistor | 2K, 1K | 1, 1 |
| 5. | Connecting Wires | – | 1 |
DHT11 Pinout
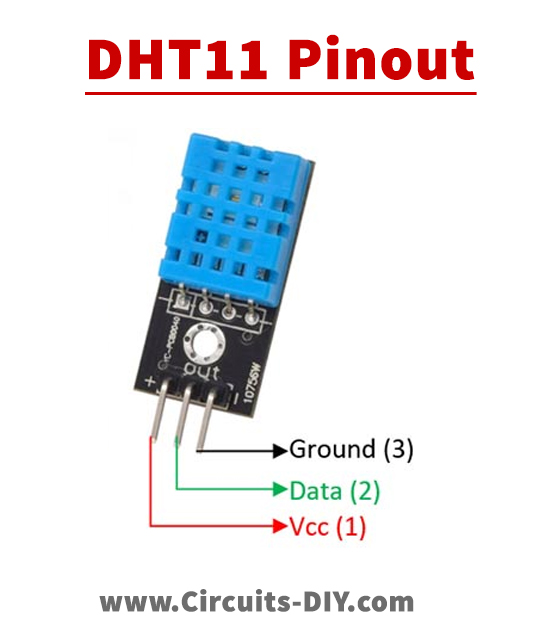
For a detailed description of pinout, dimension features, and specifications download the datasheet of DHT11
Arduino Code For Weather Station using RYB080I
#include "DHT.h"
#define DHTPIN 2 // what digital pin we're connected to
#define DHTTYPE DHT11 // DHT 11
DHT dht(DHTPIN, DHTTYPE);
void setup() {
Serial.begin(9600);
Serial.println("Temperature and Humidity Test");
dht.begin();
}
void loop()
{
float h = dht.readHumidity();
// Read Celsius
float t = dht.readTemperature();
// Read Fahrenheit (isFahrenheit = true)
float f = dht.readTemperature(true);
// Check errors
if (isnan(h) || isnan(t) || isnan(f)) {
Serial.println("Failed to read from DHT sensor!");
return;
}
// Compute heat index in Fahrenheit (the default)
float hif = dht.computeHeatIndex(f, h);
// Compute heat index in Celsius (isFahreheit = false)
float hic = dht.computeHeatIndex(t, h, false);
Serial.println("Humidity: ");
Serial.print(h);
Serial.println(" %");
Serial.println(" ");
Serial.print("Temperature: ");
Serial.print(t);
Serial.println(" C");
delay(2000);
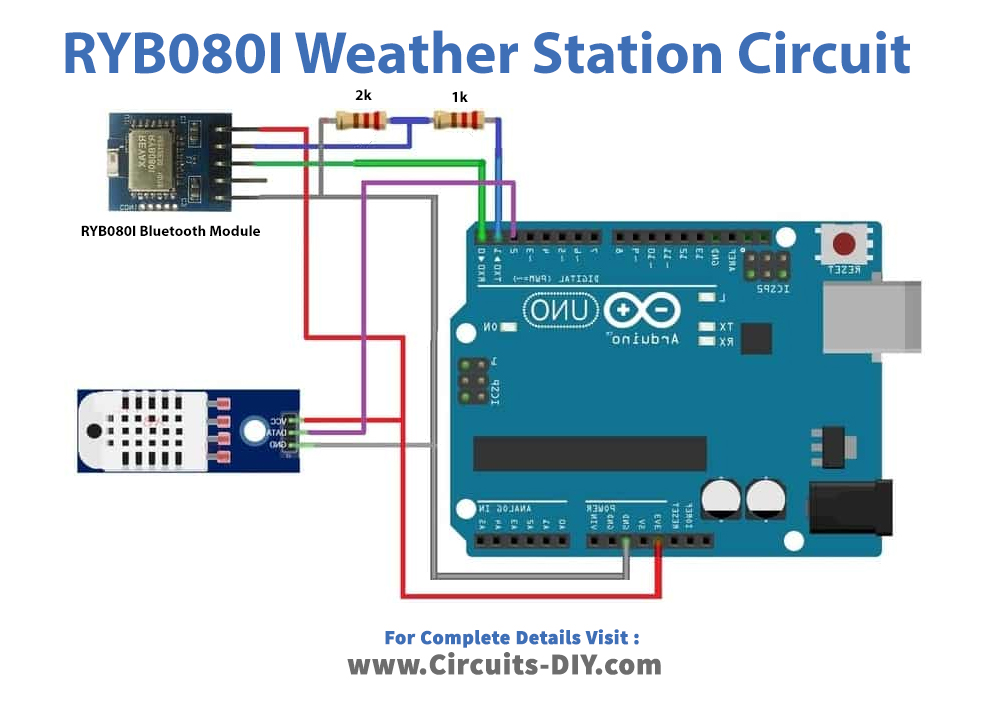
}Weather Station Circuit
Working Explanation
This Weather Station using RYB080I also uses a DHt11 sensor, which is suitable for a home weather station because it can monitor both temperature and humidity. So, when the supply is turned on, it gets readings from the environment, processes them in the controller according to the code, and displays them on the phone’s screen; the Bluetooth module is there to help with that.
Code Explanation
- First, include the DHT library for the temperature sensor. Then declare the Arduino pin which is connected to the sensor, in our case, it is digital pin 2. Then define the variable on which sensors’ values get stored.
- In the void setup, initialize the code by initializing the serial monitor and DHT sensor.
- In the void loop, we have built the code to take readings from the sensor, send them to the Bluetooth module, and print it on your mobile screen
Application and Uses
- Farms, and indeed agriculture on any scale, rely on weather data to direct many parts of their operations, such as the Irrigation of crops to help with planting decisions.
- Anyone who wants to keep an eye on the weather.
- This Modern weather stations, with their capacity to automatically upload live weather data to a smartphone, can be used in sports.
Related posts:
 How to Interface Membrane Keypad with Arduino UNO
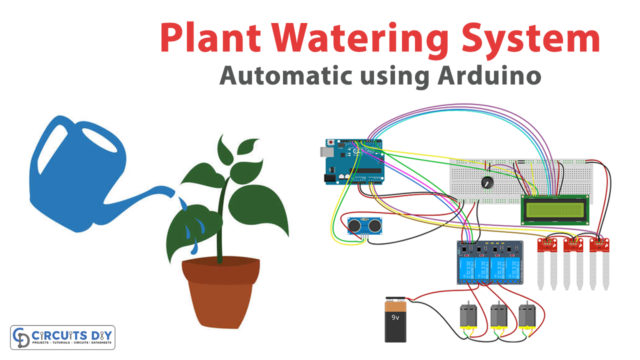 Automatic Plant Watering Project using Arduino
 5 Volt USB Mobile / Car Charger using LM7805 - DIY Project
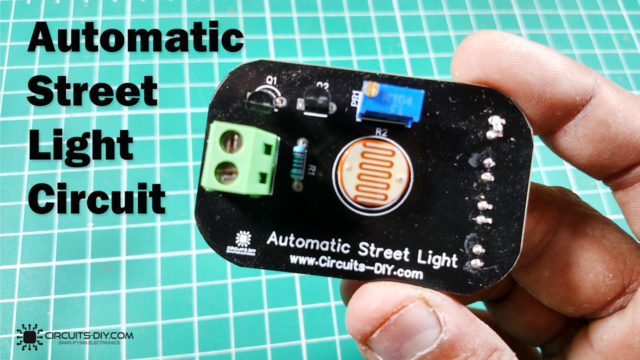 Automatic Street Night Light Circuit Using LDR | DIY Project
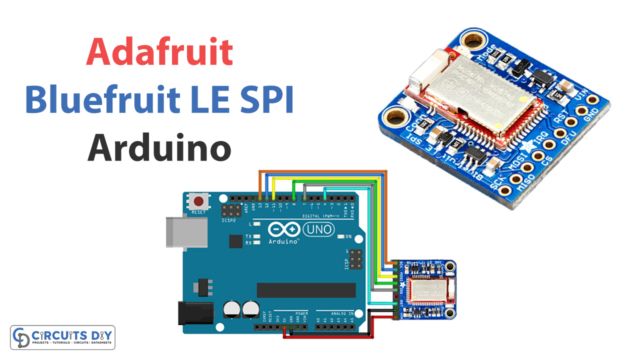 Interfacing Adafruit Bluefruit LE SPI Friend with Arduino
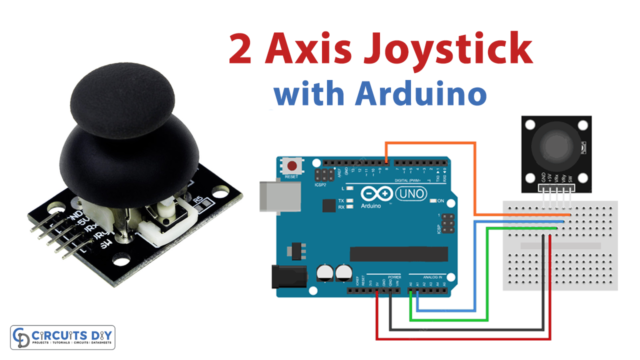 2-Axis Joystick Interfacing with Arduino