Introduction
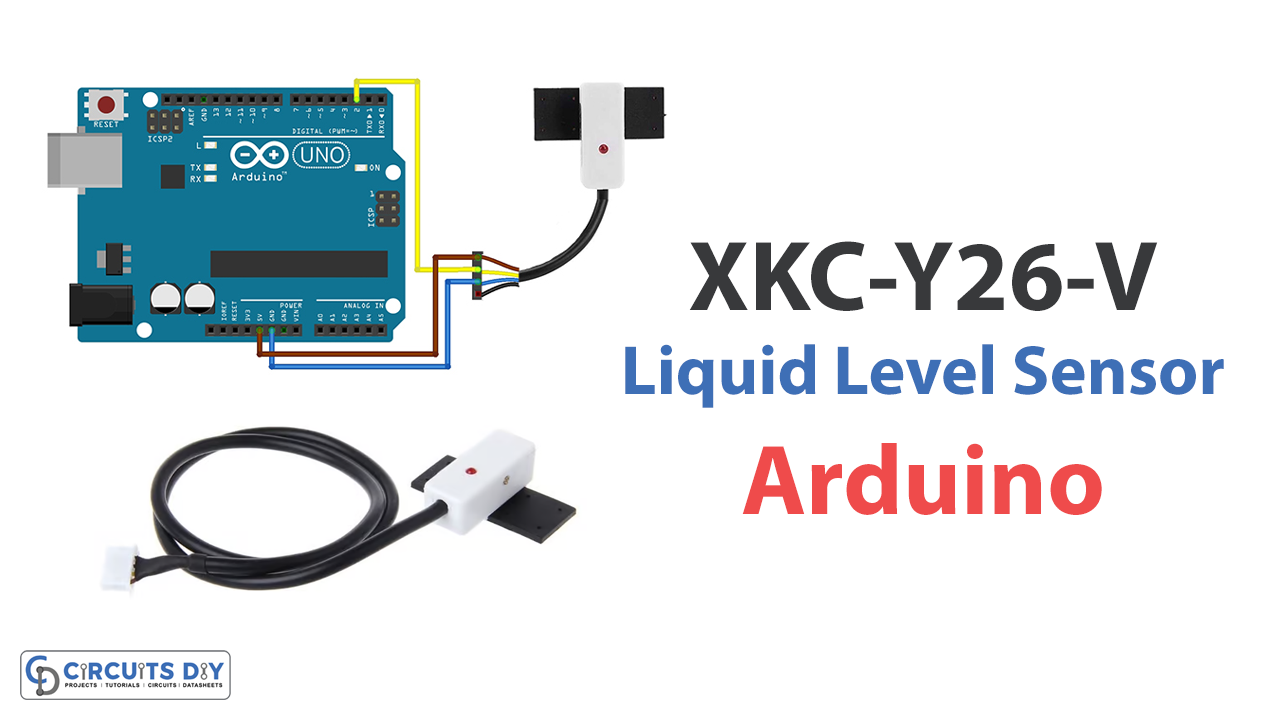
Water level or liquid level measurement is not a new thing. You may have read tons of articles about liquid-level indicators. However, measuring liquid using a non-contact sensor may be a new concept for you, which we will go over in this article. Because this tutorial is about interfacing an XKC-Y26-V non-contact liquid-level sensor with an Arduino.
The use of non-contact level sensors for liquids is advantageous for determining the volume of a storage tank for a number of reasons. Due to its non-contact nature, this through-the-air sensing method does not need the liquid and the sensor to be made of the same materials.
What is Liquid Level Sensor?
A liquid level sensor is used to measure the level of a liquid in a storage tank or other container. It’s versatile enough to utilize for liquids of many kinds, from water and oil to chemicals. Tanks, reservoirs, and process control systems may all benefit from liquid-level sensors. They are used in industrial, commercial, and residential areas for monitoring and controlling the flow of liquids.
In general, liquid flow sensors are used to track and control the flow of liquids in different systems and processes. They can be used to optimize efficiency, reduce waste, and ensure safety.
Hardware Components
You will require the following hardware for Interfacing XKC-Y26-V Non-contact Liquid Level Sensor with Arduino.
| S.no | Component | Value | Qty |
|---|---|---|---|
| 1. | Arduino UNO | – | 1 |
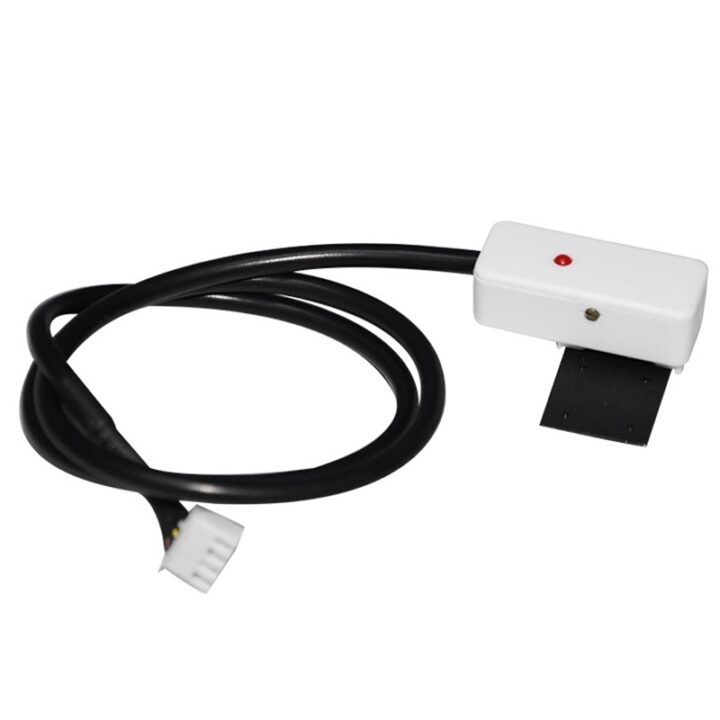
| 2. | Water Liquid Level Sensor | XKC-Y26-V | 1 |
| 3. | Breadboard | – | 1 |
| 4. | Jumper Wires | – | 1 |
Steps Interfacing Liquid Level Sensor
Interfacing XKC-Y26-V Non-contact Liquid Level Sensor with Arduino required the following steps:
Schematic
Make connections according to the circuit diagram given below.
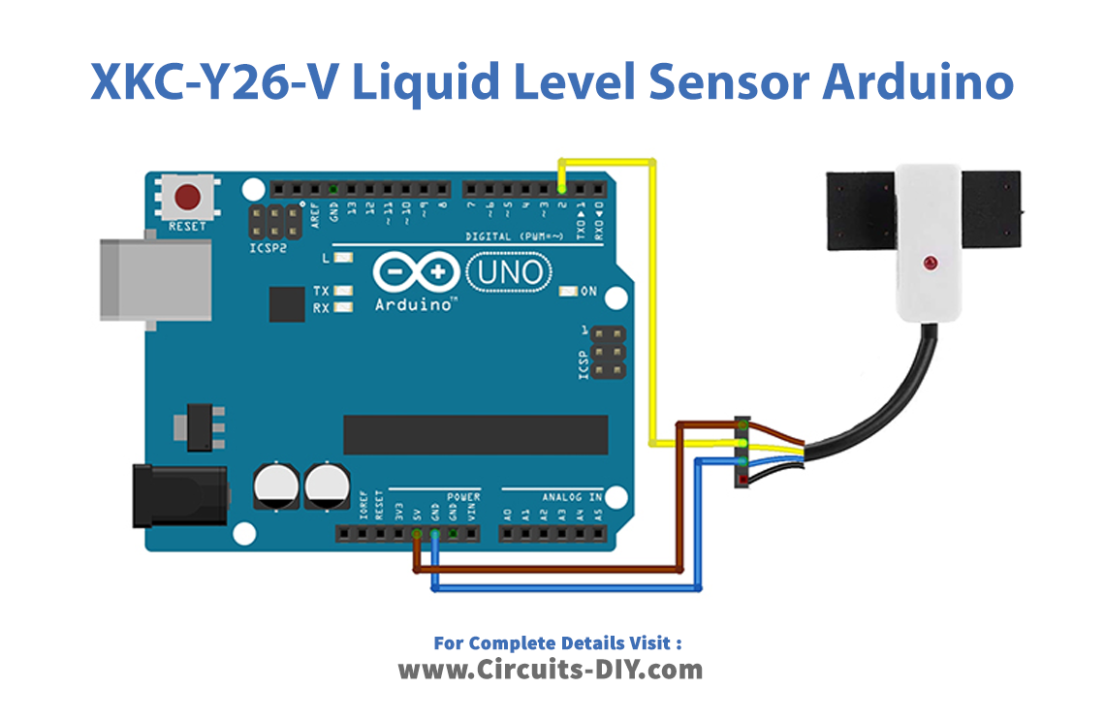
Wiring / Connections
| Arduino | Water Liquid Level Sensor |
|---|---|
| 5V | RED |
| GND | Blue |
| D2 | Out |
Installing Arduino IDE
First, you need to install Arduino IDE Software from its official website Arduino. Here is a simple step-by-step guide on “How to install Arduino IDE“.
Code
Now copy the following code and upload it to Arduino IDE Software.
#define Liquid_Detection_Pin 2     //Output pin on sensor

void setup() {
  Serial.begin(9600);
  pinMode(Liquid_Detection_Pin, INPUT);
}

void loop() {

  if (digitalRead(Liquid_Detection_Pin)) {
    Serial.println("Liquid Detected!");
  }
  else {
    Serial.println("No Liquid!");
  }

  delay(1000);
}
Let’s Test It
It’s now time to test the circuit!
Once you are done with the wiring and upload the code in the Arduino, The digital output is going to be checked every second, and the detection of liquid is going to be shown in the Serial Monitor.
Working Explanation
- First, we define the Arduini pin that is connected to the sensor. The sensor is connected to digital pin 2 of the Arduino
- In the void setup function, the defined pin is set as an input pin
- In the void loop function, the code reads the digital value of the sensor using t
he digitalRead function and prints a message to the serial monitor depending on the value. If the value isHIGH, the sensor detects liquid, and the message “Liquid Detected!” is printed. If the value is low, the sensor is not detecting any liquid, and the message “No Liquid!” is printed. - In the end, the code also includes a delay between each sensor reading.
Applications
- Boiler monitoring systems in industries
- Heating systems
- Modern washing machines
- Automated-coffee machines,
Conclusion
We hope you have found this Circuit very useful. If you feel any difficulty in making it feel free to ask anything in the comment section.