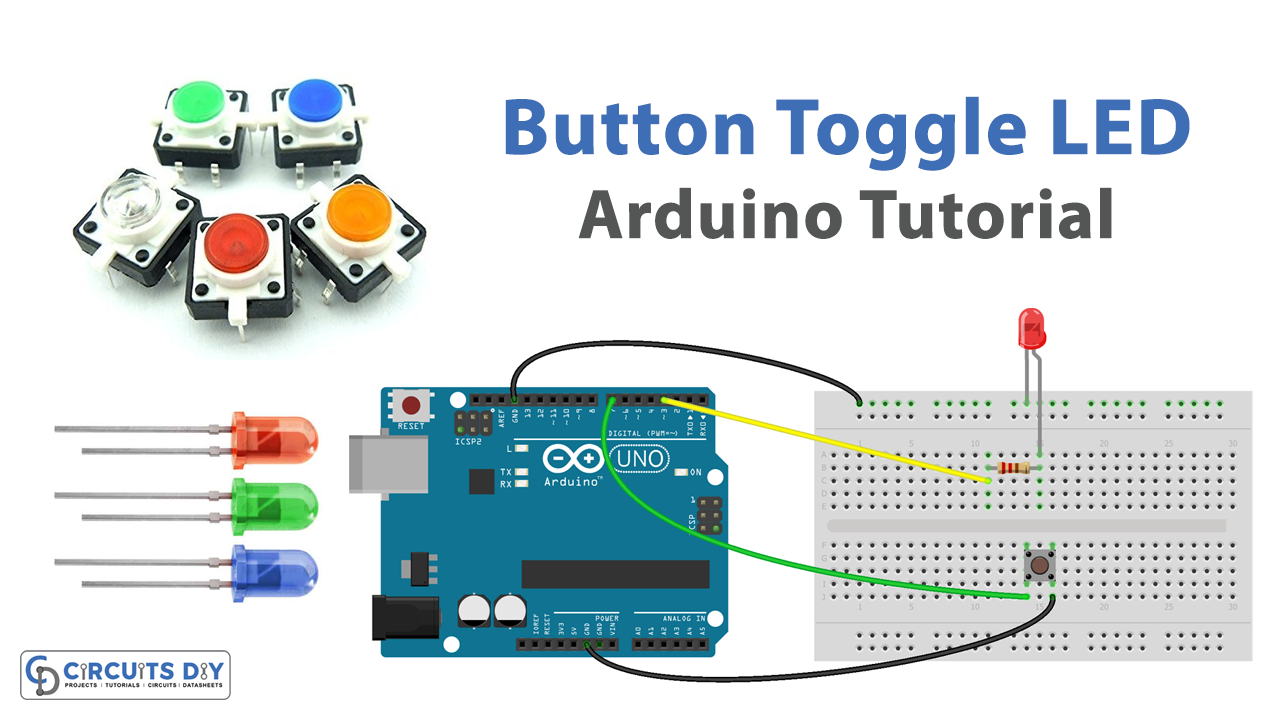
Introduction
A push button toggle LED using an Arduino UNO is a simple circuit and program that allows a user to turn on and off an LED using a push button. The circuit includes a push button switch connected to a digital input pin on the Arduino UNO, and an LED connected to a digital output pin on the Arduino. The program uses the digitalRead() and digitalWrite() functions to read the state of the push button and control the state of the LED.
When the push button is pressed, the program reads the state of the button and, if it is pressed, it will toggle the state of the LED, either turning it on or off. The current state of the LED will also be displayed on the serial monitor.
Hardware Components
You will require the following hardware for Button Toggle LED Circuit
| S.no | Component | Value | Qty |
|---|---|---|---|
| 1. | Arduino UNO | – | 1 |
| 2. | USB Cable Type A to B | – | 1 |
| 3. | Button | – | 1 |
| 4. | Power Adapter for Arduino | 9V | 1 |
| 5. | LED | – | 1 |
| 6. | Resistor | 220Ω | 1 |
| 7. | Breadboard | – | 1 |
| 8. | Jumper Wires | – | 1 |
Button Toggle LED with Arduino
- Connect the pushbutton to pin 2 and the LED to pin 13 of the Arduino UNO.
- Open the Arduino IDE and create a new sketch (program).
- Declare the pin numbers for the pushbutton and LED as constants:
const int buttonPin = 2;
const int ledPin = 13;
- Declare a variable to store the current state of the LED:
int ledState = LOW;
- In the setup() function, configure the pushbutton and LED pins as inputs and outputs:
pinMode(buttonPin, INPUT);
pinMode(ledPin, OUTPUT);
- In the loop() function, read the state of the pushbutton:
int buttonState = digitalRead(buttonPin);
- Use an if statement to check if the button has been pressed:
if (buttonState == HIGH) {
  // toggle the state of the LED
  ledState = !ledState;
  // update the LED
  digitalWrite(ledPin, ledState);
}
- Use the serial monitor to display the current state of the LED:
Serial.print("LED is ");
if (ledState == HIGH) {
  Serial.println("ON");
} else {
  Serial.println("OFF");
}
- Upload the sketch to the Arduino UNO board.
- Open the serial monitor and set the baud rate to 9600.
- Press the button and observe the LED state toggle on the board and the serial monitor.
Schematic
Make connections according to the circuit diagram given below.
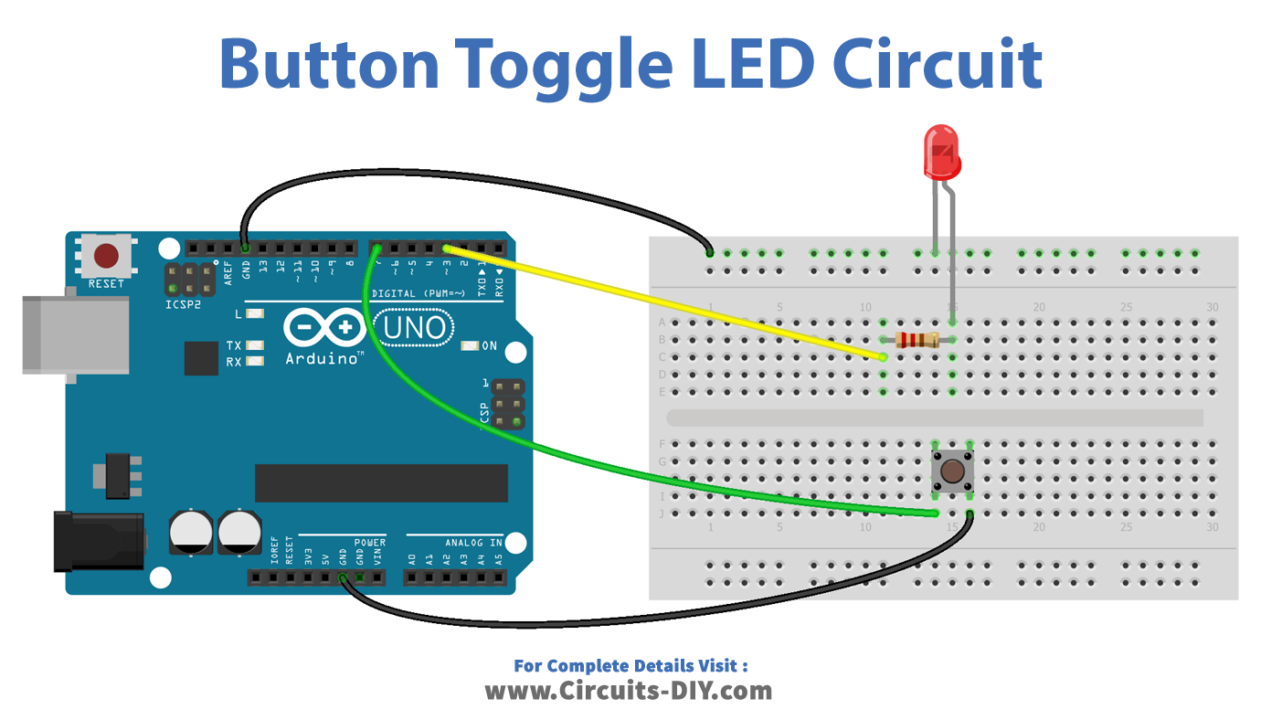
Wiring / Connections
| Arduino | Button | LED |
|---|---|---|
| 5V | D7 | |
| GND | GND | GND |
| D3 | +Ve with resistor |
Installing Arduino IDE
First, you need to install Arduino IDE Software from its official website Arduino. Here is a simple step-by-step guide on “How to install Arduino IDE“.
Code
Now copy the following code and upload it to Arduino IDE Software.
const int BUTTON_PIN = 7; // Arduino pin connected to button's pin
const int LED_PIN    = 3; // Arduino pin connected to LED's pin

// variables will change:
int ledState = LOW;     // the current state of LED
int lastButtonState;    // the previous state of button
int currentButtonState; // the current state of button

void setup() {
  Serial.begin(9600);                // initialize serial
  pinMode(BUTTON_PIN, INPUT_PULLUP); // set arduino pin to input pull-up mode
  pinMode(LED_PIN, OUTPUT);          // set arduino pin to output mode

  currentButtonState = digitalRead(BUTTON_PIN);
}

void loop() {
  lastButtonState    = currentButtonState;      // save the last state
  currentButtonState = digitalRead(BUTTON_PIN); // read new state

  if(lastButtonState == HIGH && currentButtonState == LOW) {
    Serial.println("The button is pressed");

    // toggle state of LED
    ledState = !ledState;

    // control LED arccoding to the toggled state
    digitalWrite(LED_PIN, ledState);
  }
}
Working Explanation
In the setup() function, the input and output pins for the push button and LED are configured using the pinMode() function. The serial communication is also initialized using the Serial.begin() function.
In the loop() function, the digitalRead() function is used to read the state of the push button. When the push button is pressed, the digitalRead() function returns a value of HIGH. A conditional statement is used to check the state of the button, and if the button is pressed, the state of the LED is toggled using the digitalWrite() function. The current state of the LED is then posted on the serial monitor using the Serial.print() and Serial.println() functions.
Applications
- Robotics
- Gaming
- Education
- DIY projects
- Safety systems
- Signaling
Conclusion.
We hope you have found this Arduino Button Toggle LED Circuit very useful. If you feel any difficulty in making it feel free to ask anything in the comment section.
Related posts:
 Interfacing Character LCD Modules 0802 / 1602 / 2002 / 2004 with Arduino
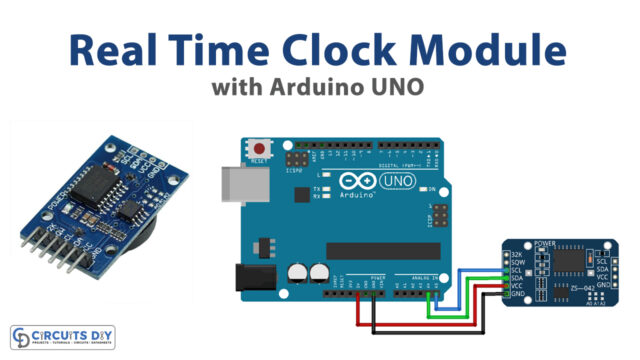 How to Interface Real-Time Clock (RTC) DS3231 Module with Arduino UNO
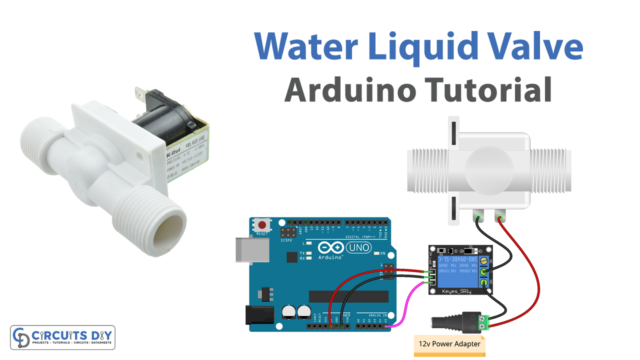 Solenoid Water Liquid Valve - Arduino Tutorial
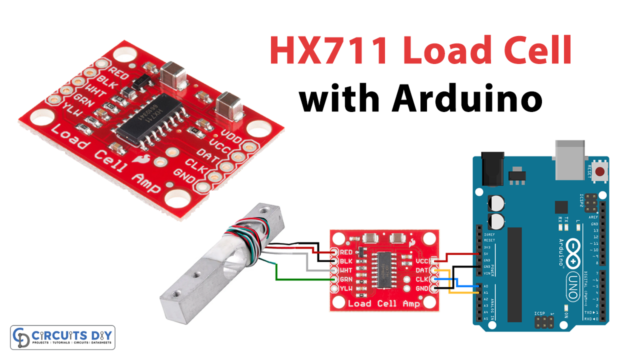 Interfacing Load Cell with Arduino using HX711
 Ultrasonic Security System using HC-SR04 & Arduino
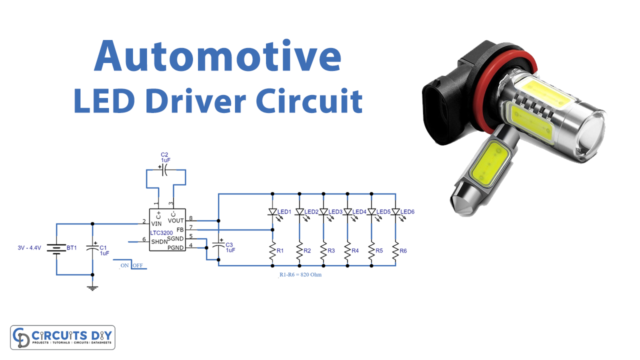 Automotive LED Driver Circuit