Introduction
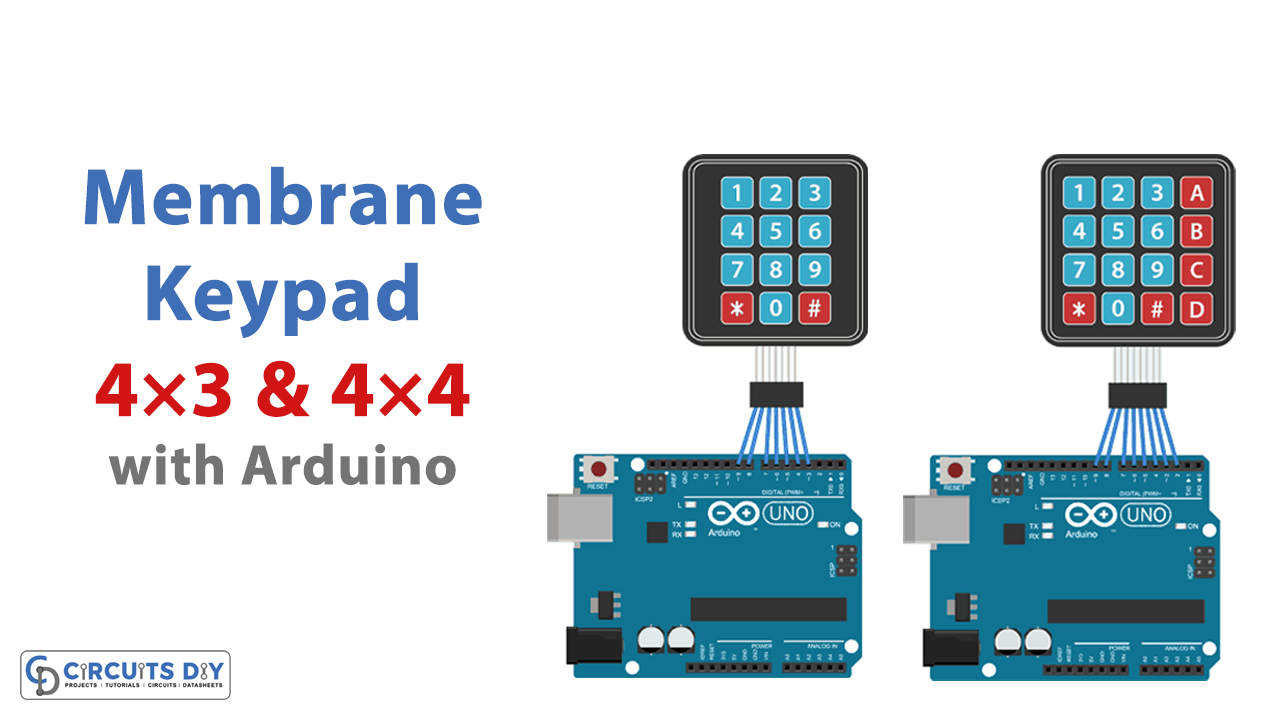
In this tutorial, we will interface the ” 4×3 & 4×4 Membrane Keypad with Arduino UNO” The numerical keypad is the membrane keypad. These keypads are used in various applications for calculations and other purposes. They’ve been discovered in everything from calculators to door locks, mobile phones to microwave ovens. Membrane keypads comprise flexible, thin materials that come in a variety of sizes. They are available in sizes 4×4, 4×3, 4×1, etc. However, the measure has no bearing on how they work because they all operate differently.
4×3 Membrane Keypad
The Keypad 4×3 has a total of 12 Matrix-style buttons. There are no moving parts on this membrane keyboard. To connect it to your microcontroller circuits, you’ll need a female 7-pin berg connection.
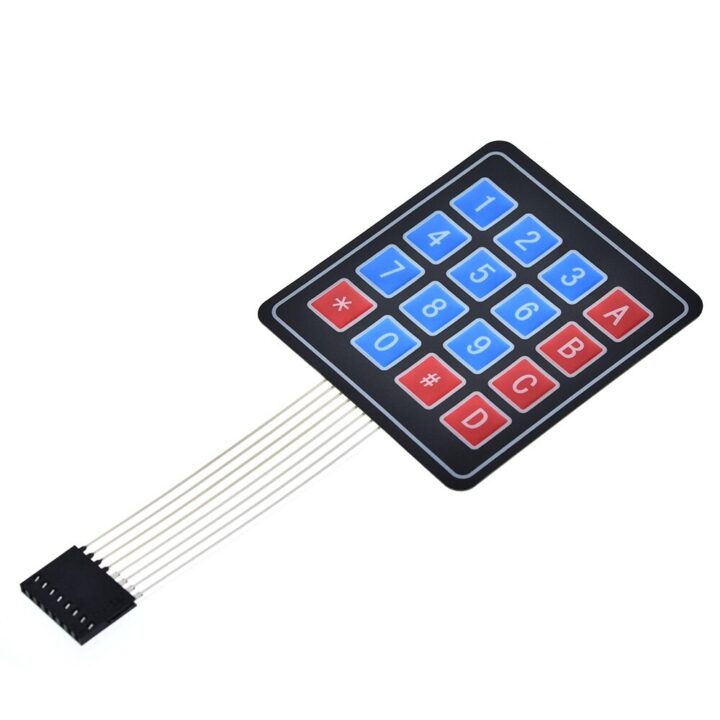
4×4 Membrane Keypad
The Keypad 4×4 has a total of 16 Matrix-style buttons. There are no moving parts on this membrane keyboard. To connect it to your microcontroller circuits like Arduino, you’ll need a female 8-pin berg connection.
Hardware Required
| S.no | Component | Value | Qty |
|---|---|---|---|
| 1. | Arduino UNO | – | 1 |
| 2. | USB Cable Type A to B | – | 1 |
| 3. | Jumper Wires | – | – |
| 4. | Membrane Keypad | 4×3 & 4×4 | 1 |
Circuit Diagram


Connection Table
| Arduino | 4×3 & 4×4 Membrane Keypad |
|---|---|
| D2 | R1 |
| D3 | R2 |
| D4 | R3 |
| D5 | R4 |
| D6 | C1 |
| D7 | C2 |
| D8(4X3) | C3 |
| D9(FOR 4X4) | C4 |
Arduino Code
Code for 4×3 Keypad
#include <Keypad.h>

const byte ROWS = 4; //four rows
const byte COLS = 3; //three columns

char keys[ROWS][COLS] = {
  {'1','2','3'},
  {'4','5','6'},
  {'7','8','9'},
  {'*','0','#'}
};
byte rowPins[ROWS] = {9, 8, 7, 6}; //connect to the row pinouts of the keypad
byte colPins[COLS] = {5, 4, 3}; //connect to the column pinouts of the keypad

//Create an object of keypad
Keypad keypad = Keypad( makeKeymap(keys), rowPins, colPins, ROWS, COLS );

void setup(){
  Serial.begin(9600);
}

void loop(){
  char key = keypad.getKey();// Read the key

  // Print if key pressed
  if (key){
    Serial.print("Key Pressed : ");
    Serial.println(key);
  }
}
Code for 4×4 Keypad
#include <Keypad.h>

const byte ROWS = 4; //four rows
const byte COLS = 4; //four columns

char keys[ROWS][COLS] = {
  {'1','2','3','A'},
  {'4','5','6','B'},
  {'7','8','9','C'},
  {'*','0','#','D'}
};

byte rowPins[ROWS] = {9, 8, 7, 6}; //connect to the row pinouts of the keypad
byte colPins[COLS] = {5, 4, 3, 2}; //connect to the column pinouts of the keypad

//Create an object of keypad
Keypad keypad = Keypad( makeKeymap(keys), rowPins, colPins, ROWS, COLS );

void setup(){
  Serial.begin(9600);
}

void loop(){
  char key = keypad.getKey();// Read the key

  // Print if key pressed
  if (key){
    Serial.print("Key Pressed : ");
    Serial.println(key);
  }
}
Working Explanation
It is not difficult to operate the 4×3 & 4×4 membrane keyboards. Both work in the same way. When you press the button shortens one of the column lines to one of the row lines. The current can now pass between the two. If you push button 1, column 1 and row 1 are shortened. In a similar vein, pressing button 2 shortens column 2 and row 1. Arduino reads those lines and responds appropriately.
So, Connect your membrane keypad to Arduino using the above schematic. Using the Arduino IDE, upload the code to the Arduino. The Arduino sets the columns and rows to the input lines when pressing the key. After that, it selects the row and raises it. It also double-checks the column lines. When the column connection is low, it signifies no button has been touched. The Arduino recognizes the row if it drives high. Consequently, it identifies which button has been hit and displays the information on the Serial Monitor.
Code Explanation
- First, you need to include the keypad.h library. After that, we have defined the number of rows and columns you want to utilize on the keypad. Then, we create a 2-dimensional array keys[ROWS][COLS], which contains characters that will be printed when a certain key on the keypad is pushed. After that, we construct a keypad library object. Five arguments are sent to the function Object keypad; Keypad(makeKeymap(keys), rowPins, colPins, ROWS, COLS).
- Now, in the void setup, it has set the serial monitor by giving the function Serial. begin.
- In the void loop, the program has formulated that if the key gets pressed, it will print that key on the Serial Monitor. To see which key is pushed, we use the getKey() command.
Application and Uses
- For the sake of security, the door lock system
- To create a basic calculator
- To create a basic game, and so on