Overview
The WS2812B LED ring is a popular choice among DIY enthusiasts and makers for creating vibrant and dynamic lighting effects. When combined with the ESP32, a powerful and versatile microcontroller, the possibilities for creative lighting projects are nearly endless.
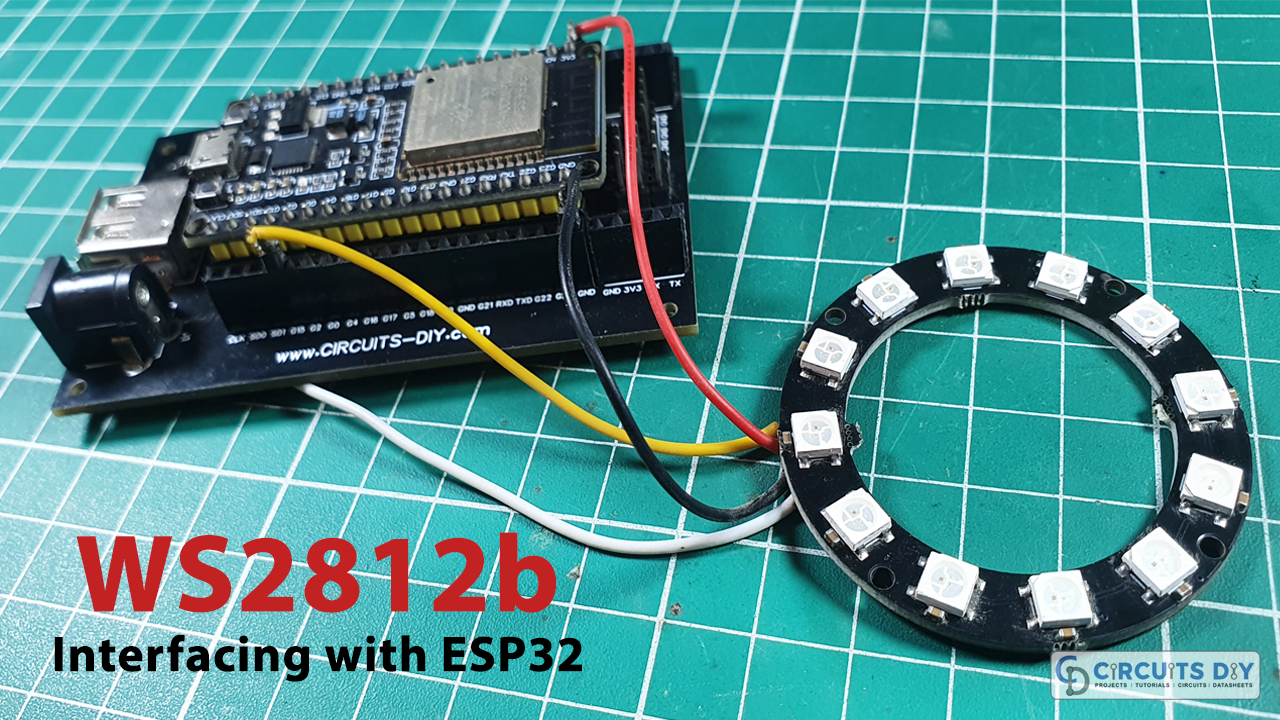
In today’s tutorial, we are going to Interface “WS2812b LED Ring” using an ESP32 Microcontroller.
What are WS2812B LEDs?
Before diving into the interfacing process, let’s briefly understand what WS2812B LEDs are. WS2812B is a type of individually addressable RGB LED, commonly referred to as “Neopixels.” Each WS2812B LED contains a red, green, and blue (RGB) LED chip and a microcontroller that allows you to control the color and brightness of each LED independently. These LEDs can be daisy-chained together to create a string or ring of lights, making them ideal for a wide range of lighting applications.
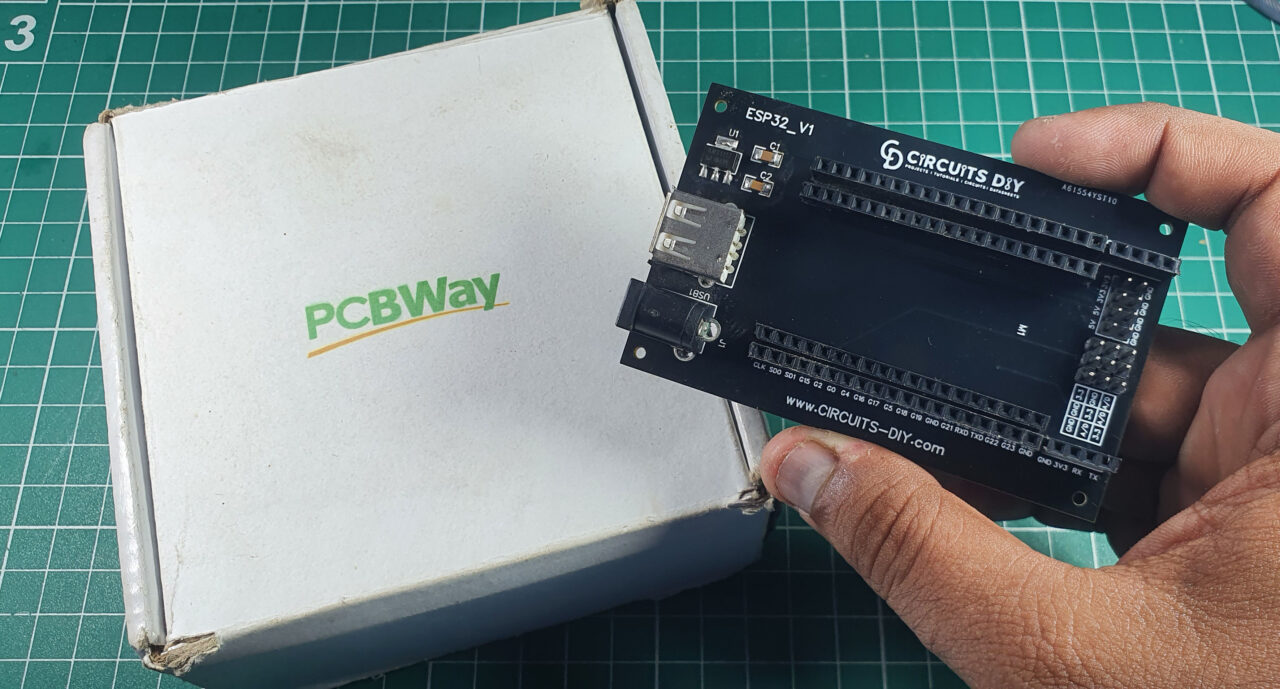
This Project is sponsored by PCBWay. They have an open-source community, people can share their design projects with each other. Moreover, every time people place an order for your board, PCBWay will donate 10% of the cost of PCB to you, for your contribution to the Open Source Community.
Hardware Components
You’ll need the following hardware components to get started:
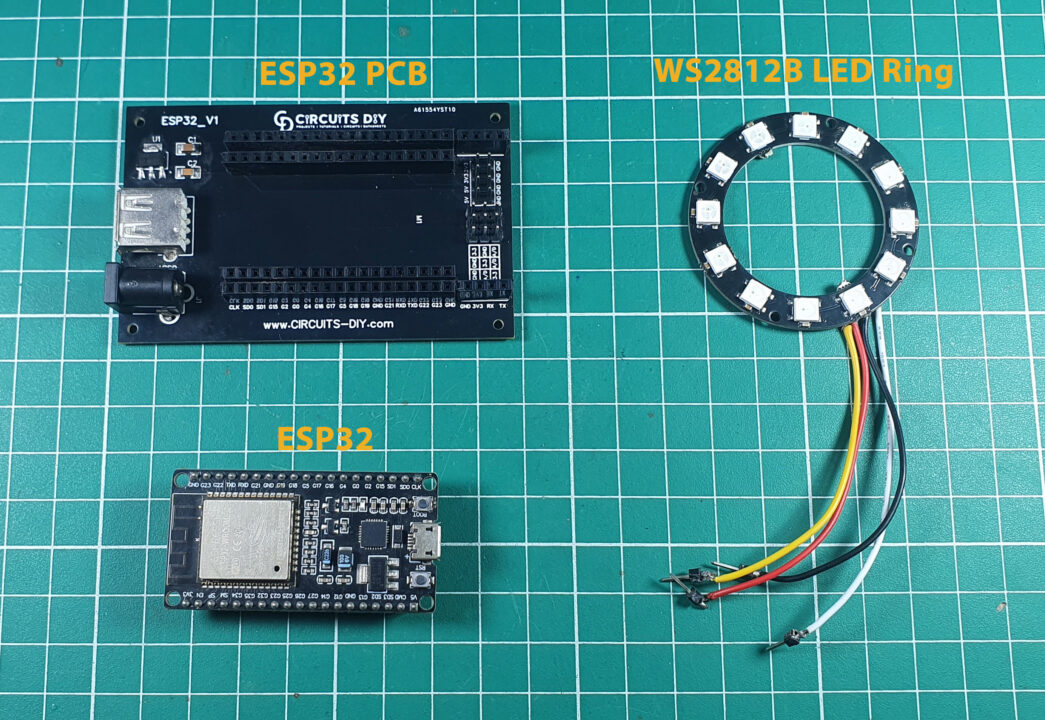
| Components | Value / Model | Qty |
|---|---|---|
| ESP32 | – | 1 |
| LED Ring | WS2812b | 1 |
| Jumper Wires | – | 1 |
| DC Power for ESP32 |
ESP32 Pinout

Steps-by-Step Guide
(1) Setting up Arduino IDE
Download Arduino IDE Software from its official site. Here is a step-by-step guide on “How to install Arduino IDE“.
(2) ESP32 in Arduino IDE
There’s an add-on that allows you to program the ESP32 using the Arduino IDE. Here is a step-by-step guide on “How to Install ESP32 on Arduino IDE“.
(3) Include Libraries
Before you start uploading a code, download and unzip the Adafruit_NeoPixel.h, avr/power.h library at /Program Files(x86)/Arduino/Libraries (default). Here is a step-by-step guide on “How to Add Libraries in Arduino IDE“.
(4) Schematic
Make connections according to the circuit diagram given below.

Wiring / Connections
| ESP32 | WS2812b LED Ring |
|---|---|
| 3V3 | VCC |
| GND | GND |
| GPIO-15 | INPUT |
(5) Uploading Code
Now copy the following code and upload it to Arduino IDE Software.
How code works
The provided code is an Arduino sketch written in C++ that demonstrates how to control a NeoPixel LED strip (specifically, WS2812B or similar types) using an Arduino board. Let’s break down the main parts of this code to understand its functionality:
#include <Adafruit_NeoPixel.h>
#ifdef __AVR__
#include <avr/power.h> // Required for 16 MHz Adafruit Trinket
#endif
The code includes the Adafruit_NeoPixel library, which simplifies the control of NeoPixel LED strips. It also includes some conditional code specific to the Adafruit Trinket 5V 16 MHz board.
#define LED_PIN 15It defines the GPIO pin number to which the data input of the NeoPixel LED strip is connected. In this case, it’s pin 15.
#define LED_COUNT 12
It defines the number of NeoPixels in the LED strip. In this example, there are 12 NeoPixels.
Adafruit_NeoPixel strip(LED_COUNT, LED_PIN, NEO_GRB + NEO_KHZ800);
It initializes the Adafruit_NeoPixel object named strip with the specified number of pixels, the data pin, and the pixel type flags. In this case, it uses the NEO_GRB color order and a data rate of NEO_KHZ800.
- The code includes several custom functions (
colorWipe,theaterChase,rainbow,theaterChaseRainbow) that create different animated lighting effects. These functions are called from theloopfunction to display various patterns and colors on the NeoPixel strip. colorWipe: Fills the NeoPixel strip with a specified color, pixel by pixel.theaterChase: Creates a theater marquee-style chasing lights effect with a specified color.rainbow: Generates a flowing rainbow cycle along the entire strip.theaterChaseRainbow: Combines the theater chase effect with a rainbow color cycle.
The code is well-commented, making it easy to understand how each part works. It serves as a great starting point for beginners looking to experiment with NeoPixel LED strips and create colorful lighting effects with their Arduino board.
Applications
- Home Ambiance Lighting
- Holiday Decorations
- Music Visualizer
- Gaming Enhancements
- Event Lighting etc
Conclusion
Interfacing a WS2812B LED ring with an ESP32 microcontroller opens up a world of creative possibilities. Whether you’re looking to enhance your home ambiance, create captivating holiday decorations, build interactive art installations, or explore various other applications.