Introduction
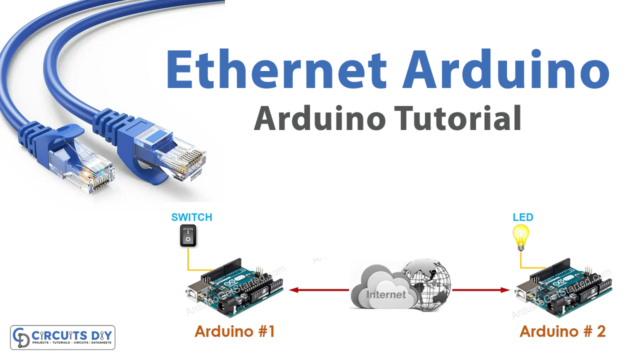
Connecting an Arduino UNO microcontroller to the internet using an Arduino PHPoC Shield 2 opens up a wide range of possibilities for creating Internet of Things (IoT) applications. With this setup, the Arduino board can send and receive data over the internet, allowing it to interact with other devices or servers on the internet. This enables the board to be used for a variety of applications, such as monitoring and controlling home automation systems, sending and receiving data from remote weather stations, or gathering sensor readings from a variety of sources.
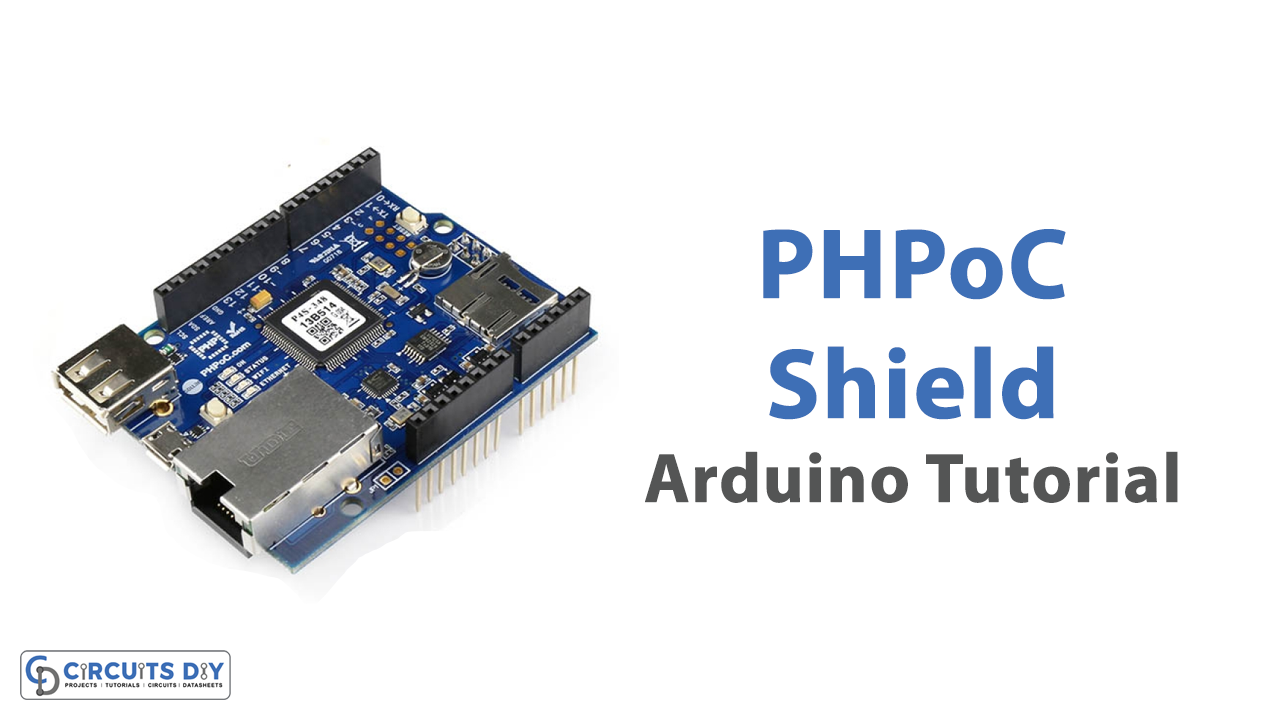
The Arduino PHPoC Shield 2 is an add-on board for Arduino microcontrollers that provides Ethernet connectivity and allows the board to connect to the internet. The shield includes a microcontroller that handles Ethernet communication and provides a range of built-in functions to facilitate communication with other devices on the internet. It also includes a number of input/output pins that can be used to interface with other hardware devices.
Hardware Components
You will require the following hardware for Interfacing PHPoC Shield with Arduino.
| S.no | Component | Value | Qty |
|---|---|---|---|
| 1. | Arduino UNO | – | 1 |
| 2. | USB Cable Type A to B | – | 1 |
| 3. | Ethernet Cable | – | 1 |
| 4. | Arduino PHPoC Shield 2 | – | 1 |
| 5. | Power Adapter for Arduino | 9V | 1 |
PHPoC Shield with Arduino UNO
- Include the necessary library
#include <Phpoc.h>
This code snippet includes the necessary library for the PHPoC [WiFi] Shield.
- Define the setup function
void setup() {
  Serial.begin(9600);

  // initialize PHPoC [WiFi] Shield:
  Phpoc.begin(PF_LOG_SPI | PF_LOG_NET);
}
This code snippet defines the setup() function. This function is called once when the Arduino board is powered on or reset. In this function, the serial communication is initialized with a baud rate of 9600 bits per second. This allows the board to communicate with the computer via the serial monitor. The Phpoc.begin() function initializes the PHPoC [WiFi] Shield with two flags: PF_LOG_SPI and PF_LOG_NET. These flags enable logging for the SPI and network modules of the PHPoC [WiFi] Shield.
- Define the loop function
void loop() {
}
Installing Arduino IDE
First, you need to install Arduino IDE Software from its official website Arduino. Here is a simple step-by-step guide on “How to install Arduino IDE“.
Installing Libraries
Before you start uploading a code, download and unzip the following libraries at /Progam Files(x86)/Arduino/Libraries (default), in order to use the sensor with the Arduino board. Here is a simple step-by-step guide on “How to Add Libraries in Arduino IDE“.
Code
Now copy the following code and upload it to Arduino IDE Software.
#include <Phpoc.h>
void setup() {
  Serial.begin(9600);

  // initialize PHPoC [WiFi] Shield:
  Phpoc.begin(PF_LOG_SPI | PF_LOG_NET);
}

void loop() {
}
Working Explanation
In the setup() function, Serial.begin(9600) initializes the serial communication with a baud rate of 9600, which is the speed at which data is transmitted between the Arduino board and the connected computer.
The Phpoc.begin(PF_LOG_SPI | PF_LOG_NET) function initializes the PHPoC Shield 2 by specifying the type of shield and the logs to display. In this case, PF_LOG_SPI and PF_LOG_NET are specified, which means that the logs related to the SPI and network interfaces of the shield will be displayed.
Applications
- Home automation
- Weather Monitoring
- Security systems
- Industrial automation
- Agriculture.
Conclusion.
We hope you have found this PHPoC Shield Circuit very useful. If you feel any difficulty in making it feel free to ask anything in the comment section.