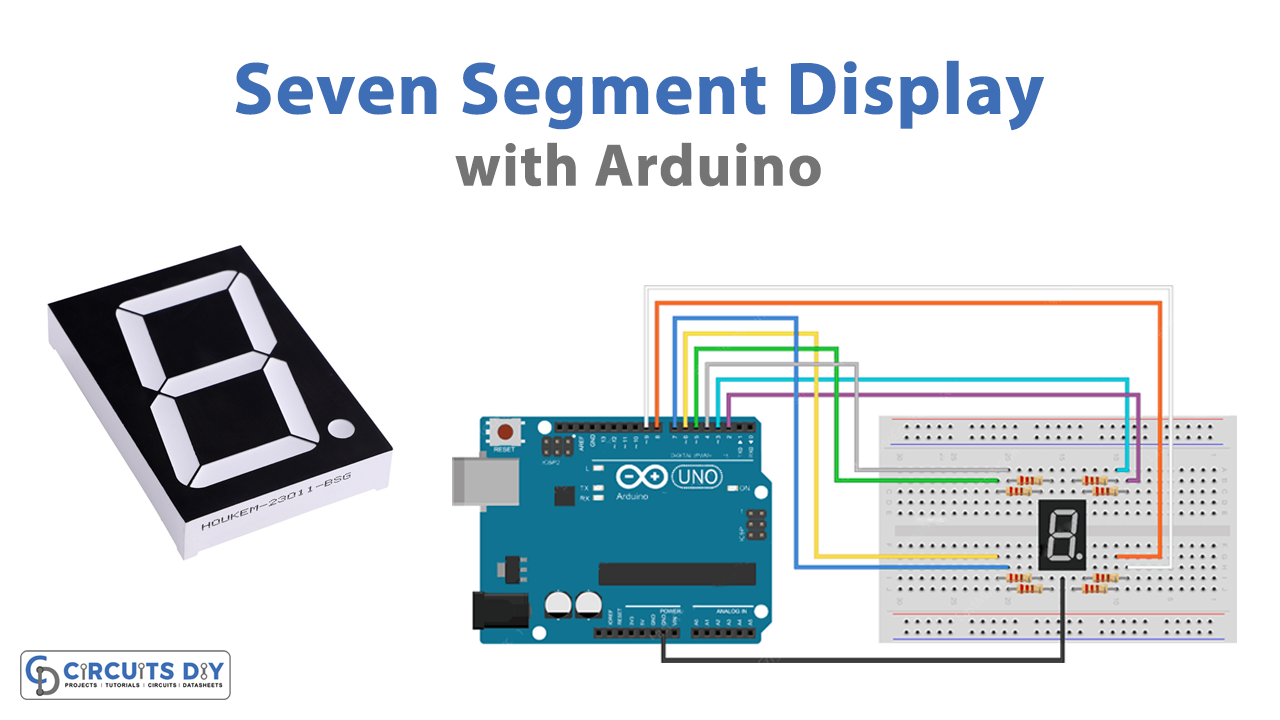
Counters are used in almost every digital gadget. Counters are an essential part of digital watches, calculators, digital timers, digital meters, and any other device that displays numerical data. A seven-segment counter circuit is an electrical device that counts and displays numerical digits. The Simple Counter is most typically used to display available numbers from 0 to 9. So, in this tutorial, we will interface ” Seven Segment Display with Arduino UNO.”
A component having seven LEDs grouped in a rectangular pattern is known as a seven-segment display. Every LED has referred to a segment, and each of the terminals corresponds to one of the segments. We may use the binary-digit inputs to control the LEDs in segments A through G, allowing you to show decimal numbers from 0 to 9 or letters from A to F.
Types of Seven-Segment Display
Seven Segment displays are available in two different types:
- Common Cathode
- Common Anode
Common Cathode Seven Segment
The Anode(+) side of LEDs is connected to the a,b,c,d,e,f, and g pins of a seven-segment display in a common anode. When we give a positive supply to any of the a, b, c, d, e, f, or g pins on a common anode seven-segment display, the led lights up.
Common Anode Seven Segment
The Cathode(-) side of LEDs is linked to the a,b,c,d,e,f, and g pins of a seven-segment display in a common anode. When we ground any of the a, b, c, d, e, f, g pins on a common anode seven-segment display, the led lights up.
Seven Segment Display Truth table
| Count | a | b | c | d | e | f | g |
| 0 | 1 | 1 | 1 | 1 | 1 | 1 | 0 |
| 1 | 0 | 1 | 1 | 0 | 0 | 0 | 0 |
| 2 | 1 | 1 | 0 | 1 | 1 | 0 | 1 |
| 3 | 1 | 1 | 1 | 1 | 0 | 0 | 1 |
| 4 | 0 | 1 | 1 | 0 | 0 | 1 | 1 |
| 5 | 1 | 0 | 1 | 1 | 0 | 1 | 1 |
| 6 | 1 | 0 | 1 | 1 | 1 | 1 | 1 |
| 7 | 1 | 1 | 1 | 0 | 0 | 0 | 0 |
| 8 | 1 | 1 | 1 | 1 | 1 | 1 | 1 |
| 9 | 1 | 1 | 0 | 1 | 1 | 1 | 1 |

Hardware Required
| S.no | Component | Value | Qty |
|---|---|---|---|
| 1. | Arduino UNO | – | 1 |
| 2. | USB Cable Type A to B | – | 1 |
| 3. | Jumper Wires | – | – |
| 4. | Seven Segment Display | – | 1 |
| 5. | Bread Board | – | 1 |
| 6. | Resistor | – | 8 |
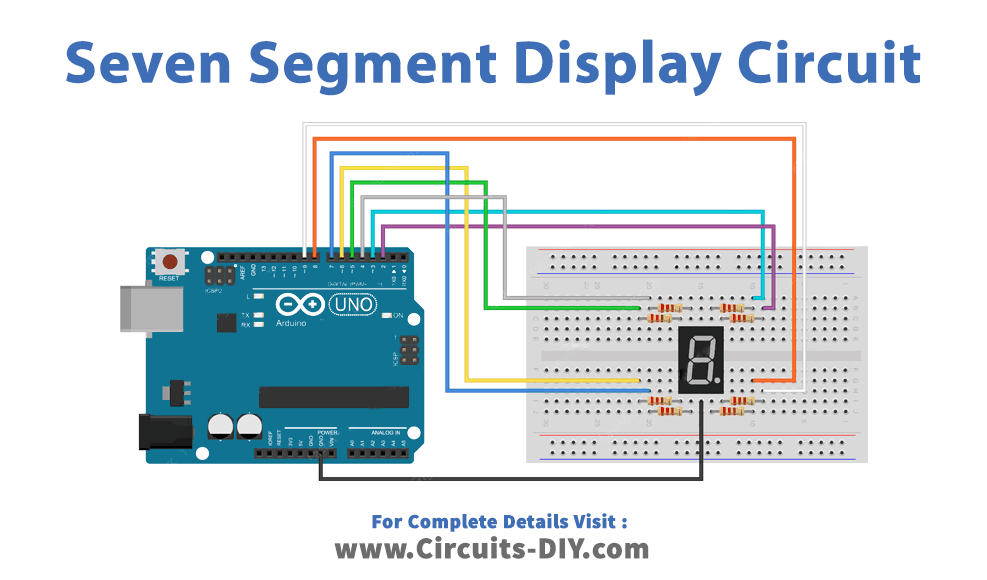
Circuit Diagram
Arduino Code
#include "SevSeg.h"
SevSeg sevseg;

void setup()
{
	//Set to 1 for single digit display
	byte numDigits = 1;

	//defines common pins while using multi-digit display. Left empty as we have a single digit display
	byte digitPins[] = {};

	//Defines arduino pin connections in order: A, B, C, D, E, F, G, DP
	byte segmentPins[] = {3, 2, 8, 7, 6, 4, 5, 9};
	bool resistorsOnSegments = true;

	//Initialize sevseg object. Uncomment second line if you use common cathode 7 segment
	sevseg.begin(COMMON_ANODE, numDigits, digitPins, segmentPins, resistorsOnSegments);
	//sevseg.begin(COMMON_CATHODE, numDigits, digitPins, segmentPins, resistorsOnSegments);

	sevseg.setBrightness(90);
}

void loop()
{
   //Display numbers one by one with 2 seconds delay
   for(int i = 0; i < 10; i++)
   {
     sevseg.setNumber(i);
     sevseg.refreshDisplay();
     delay(2000);
   }
}
Working Explanation
For the Seven Segment Display Interface with Arduino, connect the circuit according to the diagram given. Then copy the above code and paste it into your Arduino IDE. Power the circuit, and you will observe the counting on your seven-segment display. It counts until you power off the circuit.
Code Explanation
- The code starts with the SevSeg library, which simplifies the 7-segment signals. The next step is to build a SevSeg object, myDisplay we named it which we will utilize throughout the code.
- In the void, we have to specify the number of digits on the display. We set it to 1 because we’re utilizing a single-digit display. Then, we give the digitPins array. When utilizing a multi-digit display, the digitPins array merely identifies the ‘common pins.’ Since we are using a single-digit display, therefore we have left it blank. The segmentPins array is the second array we initialized. shows This array of all the Arduino pin numbers that are connected to pins on the LED display that controls the segments. These must also be arranged in the right sequence since the library expects the pins to be arranged in the correct sequence: A, B, C, D, E, F, G, DP. After establishing these variables, we use the begin() function to provide them to the SevSeg
- In the void loop, the code starts counting from 0 to 9. It utilizes the SevSeg library function setNumber() in conjunction with refreshDisplay () to display the number each time. After then, there’s a little pause before I am incremented and the next number is shown.
Application and Uses
- Digital Meters
- Stopwatches and counters, etc
Related posts:
 Interfacing HC-06 Bluetooth Wireless Module with Arduino
 Interface One Channel Relay Module with Arduino
 Display Temperature from LM35 Sensor on OLED - Arduino Tutorial
 Button Toggle LED - Arduino Tutorial
 How to Interface LM35 and LM34 Temperature Sensors with Arduino UNO
 5V Dual Channel Relay Module Interfacing with Arduino