Introduction
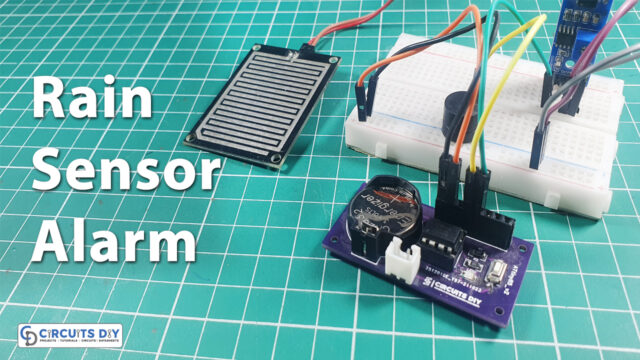
OLED, which is known as an Organic Light Emitting Diode is commonly utilized to create digital displays in electronic devices. Used in smartphones, handheld games, etc. So, in this tutorial, we are going to interface ” OLED (I2C) with ATtiny85 – Hello World Program”.
The 12C OLED display is a lightweight, super easy, and flexible device. It’s very compact and generates a brighter image. It’s easy to handle because it requires only two pins. Even it’s compact but still has a built-in Graphic display data of 1KB. They composed the memory of 8 pages. And, every page includes 128 columns in it. And, every column can effortlessly store 8 bits of information. Also, the OLED displays reflect better quality pictures. It has an enormous power efficiency and greater response time.
JLCPCB is the foremost PCB prototype & manufacturing company in china, providing us with the best service we have ever experienced regarding (Quality, Price Service & Time).
To better understand how this project works, we recommend taking a look at the following tutorials:
- How to Install Arduino IDE
- How to Add Library in Arduino IDE
- How to Add ATtiny85 Microcontroller in Arduino IDE
- How to Program ATtiny85 with Arduino Uno
Hardware Require
| S.no | Component | Value | Qty |
|---|---|---|---|
| 1. | OLED display | 12C | 1 |
| 2. | controller | ATtiny85 | 1 |
| 3. | Arduino board | – | 1 |
Circuit Diagram
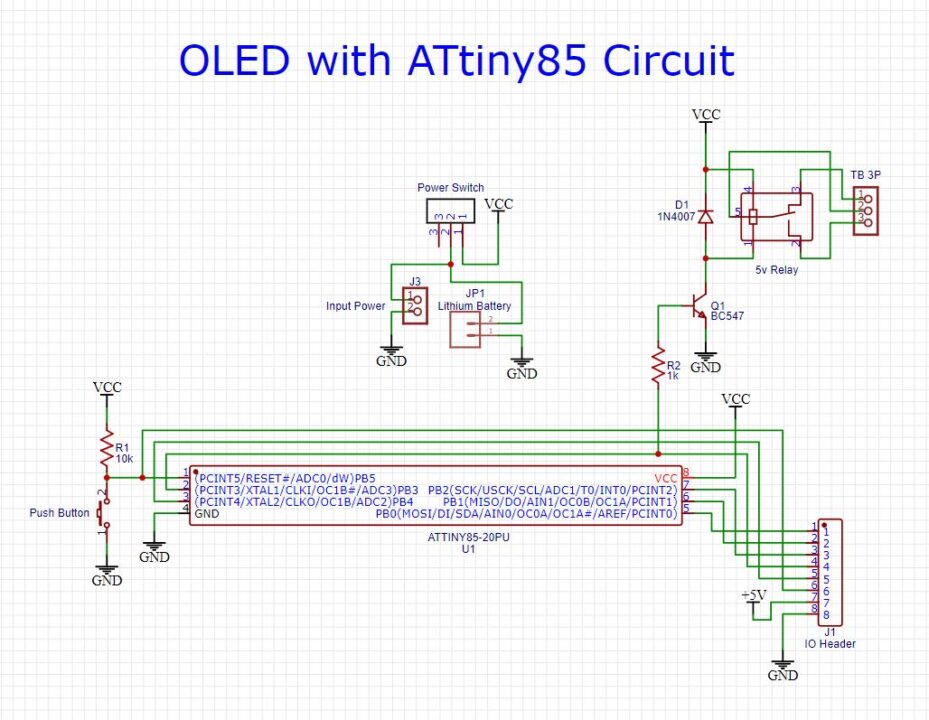
Connection Table
| OLED | Attiny85 |
| SCL | PB2 |
| SDA | PB0 |
| VCC | VCC |
| GND | GND |
Code
// Circuits DIY
// For Complete Details Visit -> https://circuits-diy.com
#include "SSD1306_minimal.h"
#include <avr/pgmspace.h>
#define DEG "\xa7" "C"
SSD1306_Mini oled; // Declare the OLED object
void splash() {
oled.startScreen();
oled.clear(); // Clears the display
oled.cursorTo(0, 0); // x:0, y:0
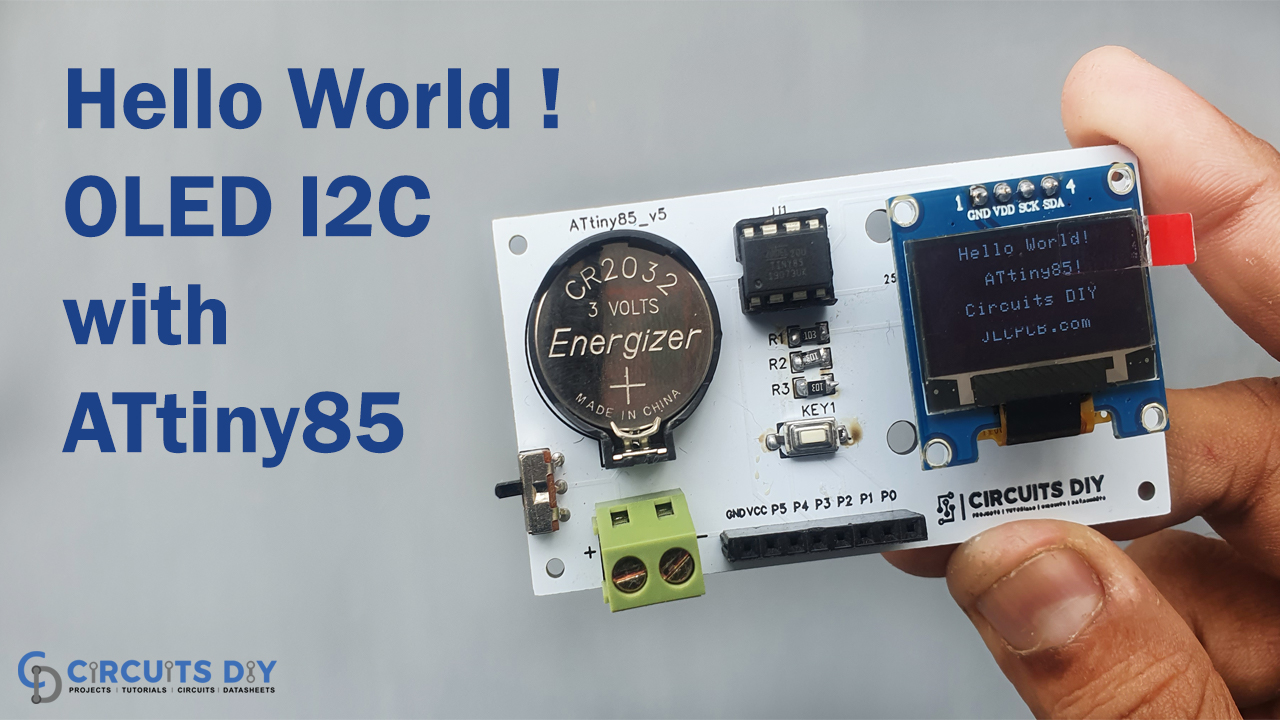
oled.printString(" Hello World!");
oled.cursorTo(0, 10); // x:0, y:23
oled.printString(" ATtiny85!");
oled.cursorTo(0, 20); // x:0, y:23
oled.printString(" Circuits DIY");
oled.cursorTo(0, 30); // x:0, y:23
oled.printString(" JLCPCB.com");
}
void setup() {
oled.init(0x3C); // Initializes the display to the specified address
oled.clear(); // Clears the display
delay(1000); // Delay for 1 second
splash(); // Write something to the display (refer to the splash() method
}
void loop() {
}Working Explanation
To interface OLED (I2C) with ATtiny85, follow the circuit diagram. Upload the above code ATtiny85. Give supply to the circuit and you will see the “hello world” and other strings (that were written in the code) on your OLED display. You can print some other strings and numbers by using the same code sketch.
Code Explanation
- First, the code has included the required libraries for the circuit. After that, it has defined the width and height of an OLED display.
- In the void splash( ), the code has initialized the OLED display and clears the display.
- Then it has set the cursor using the command OLED.cursorTo. Then to print the string “hello world” on the display, we give the command OLED.printString. Now to print another sting, we must have change the axis. So, we give OLED.cursorTo command again but with different axis to print “Attiny85” In the same vein, we have printed “circuits diy”, and “JLCPCB.om”.
- In the void setup, initialize display to the specified address by using oled.init( ). After that, use commands oled.clear(), delay(1000) to clear the display and give 1s of delay. Then call splash.
- Void loop () will remain empty.
Applications
- To make digital displays.
- In computer, televisions, gadgets etc
- In handheld game console