
In this tutorial, we are going to make a “Variable Timer Relay” using Arduino. Timers are used in many applications in our day-to-day life. As some electronic or electrical appliances need a time-limited power supply, or the usage of some devices depends on limited time. One can see the timers in washing machines, micro ovens, etc. These devices use a timer, to switch the loads for a particular amount of time. Traditionally, various loads would have been manually controlled. Such as the operator would turn ON the load. After desired conditions were met, the loads again would have been turned off by the operator.
Automating electrical devices depends on time simple and robust solutions, are based on Arduino. By using this Arduino variable timer relay, we can control high-voltage electrical appliances or electronic devices. Here 16×2 LCD display is used to indicate the time duration and status of this design, once the program is uploaded to the Arduino then it can work independently (with some external battery power source).
Hardware Required
| S.no | Component | Value | Qty |
|---|---|---|---|
| 1. | Arduino UNO Board | – | 1 |
| 2. | Transistor | BC547 | 1 |
| 3. | SPDT Relay | – | 1 |
| 4. | LCD | 1602 | 1 |
| 5. | Resistor | 10KΩ, 220Ω | 3,1 |
| 6. | Switch | – | 3 |
| 7. | Variable Resistor | 10KΩ | 1 |
| 8. | Connecting Wires | – | – |
| 9. | Diode | 1N4007 | 1 |
| 10. | Battery | 5V | 1 |
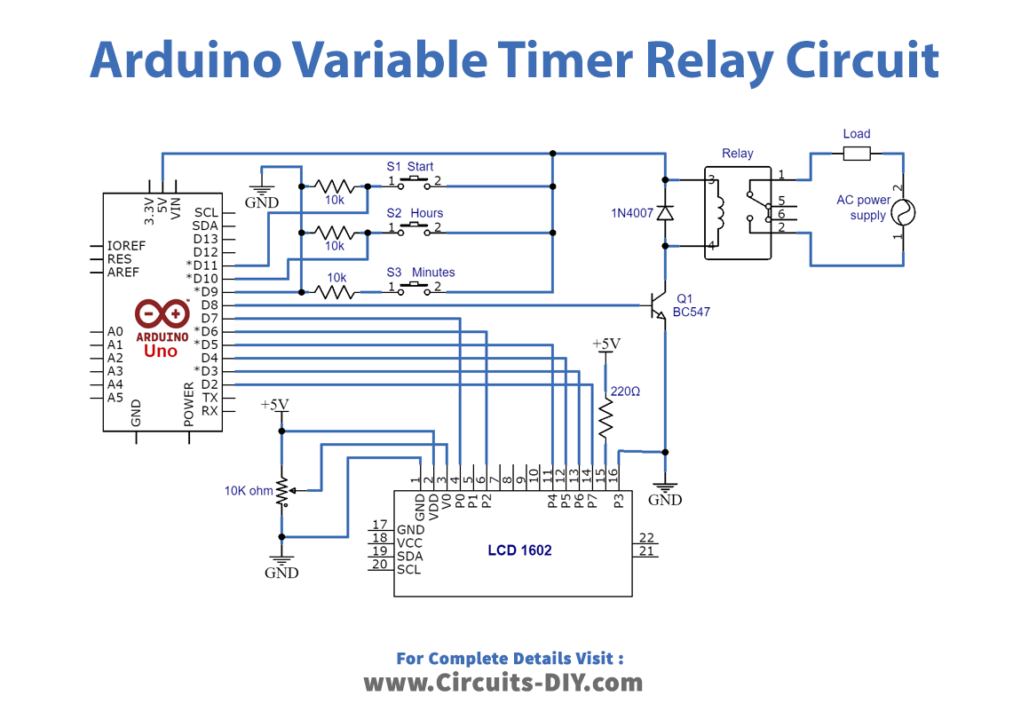
Circuit Diagram
Working Explanation
The components included in this project are the Arduino Uno board, to control SPDT (Single pole double throw) relay. And a 16 x 2 character LCD that indicates the time duration status. Here digital pins D2 to D7 are connected to the LCD display. To control the contrast of the LCD display, VR1 variable resistor is used. The transistor Q1 BC547 reacts as a switching device. Which controls the power supply to the relay coil, depending on the Arduino output.
These three push buttons are employed, to set different time durations. The S1 switch makes the count start, S2 changes the hours, and S3 changes the minutes of time duration. The output signal is taken from the Arduino D8 pin, and it drives the relay through the transistor. Handle with extreme care, if you are using a high-voltage supply at the relay end.
After making the connection, upload the following Arduino sketch. And pretest the operation with a real-time clock.
Arduino Code
#include <LiquidCrystal.h>
LiquidCrystal lcd(7,6,5,4,3,2);
const int set = 9;
int hours=10;
int start=11;
int relay=8;
int b=0,h=0,t=0;
int buttonState = 0;
int lastButtonState = 0;

void setup() {

  pinMode(set,INPUT);
  pinMode(hours,INPUT);
  pinMode(relay,OUTPUT);
  pinMode(start,INPUT);
  lcd.begin(16,2);
  lcd.setCursor(0,0);
  lcd.print("Adjustable Timer");
}
int timer( int b,int h)
{
         if(b<=9)
           {
            lcd.setCursor(3,1);
            lcd.print(0);
            lcd.setCursor(4,1);
            lcd.print(b);
          }
     else{lcd.setCursor(3,1);lcd.print(b);}
         lcd.setCursor(2,1);
         lcd.print(":");
     if(h<=9)
           {
            lcd.setCursor(0,1);
            lcd.print(0);
            lcd.setCursor(1,1);
            lcd.print(h);
          }
     else{lcd.setCursor(0,1);lcd.print(h);}

  }
void loop()
      {

         buttonState = digitalRead(set);

       if (buttonState != lastButtonState)
       {

       if(buttonState == HIGH)
         {

           lcd.clear();
           lcd.print("Set time in min:");

          ++b;
           timer(b,h);

       }

         lastButtonState = buttonState;
          }

      if (digitalRead(hours)== HIGH)

         {
              lcd.clear();
              lcd.print("Set time in hours");
              ++h;
              timer(b,h);
              while(digitalRead(hours)==HIGH);


          }

          if(digitalRead(start)==HIGH)
          {
             lcd.clear();
             t=((h*60)+(b))*1000;
             lcd.print("Timer is set for");
             timer(b,h);
             digitalWrite(relay,HIGH);
             delay(t);
             digitalWrite(relay,LOW);
             while(digitalRead(start) == HIGH );

           }


      }
Applications
- Machines: single machine, star-delta motor starting, industrial automation, and processes.
- Buildings: lighting control, automatic doors, car park barriers, roller shutters.
- Water segment: pump controls and irrigation systems.
- HVAC: fans and centralized water systems.
Related posts:
 VL53L0X LIDAR Distance Sensor Interfacing with Arduino
 Interface MT8870 DTMF Decoder Module with Arduino
 Button Controlled Electromagnetic Lock - Arduino Tutorial
 Smoke Detector using MQ-2 Gas Sensor
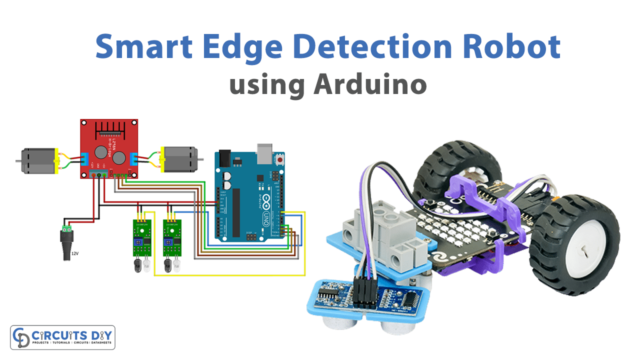 Smart Edge Detection Robot using Arduino
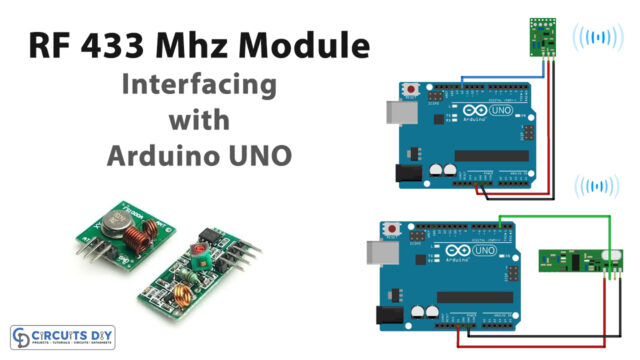 How to Interface RF Transmitter/Receiver Module With Arduino UNO